How do you make butter tarts?
Short answer
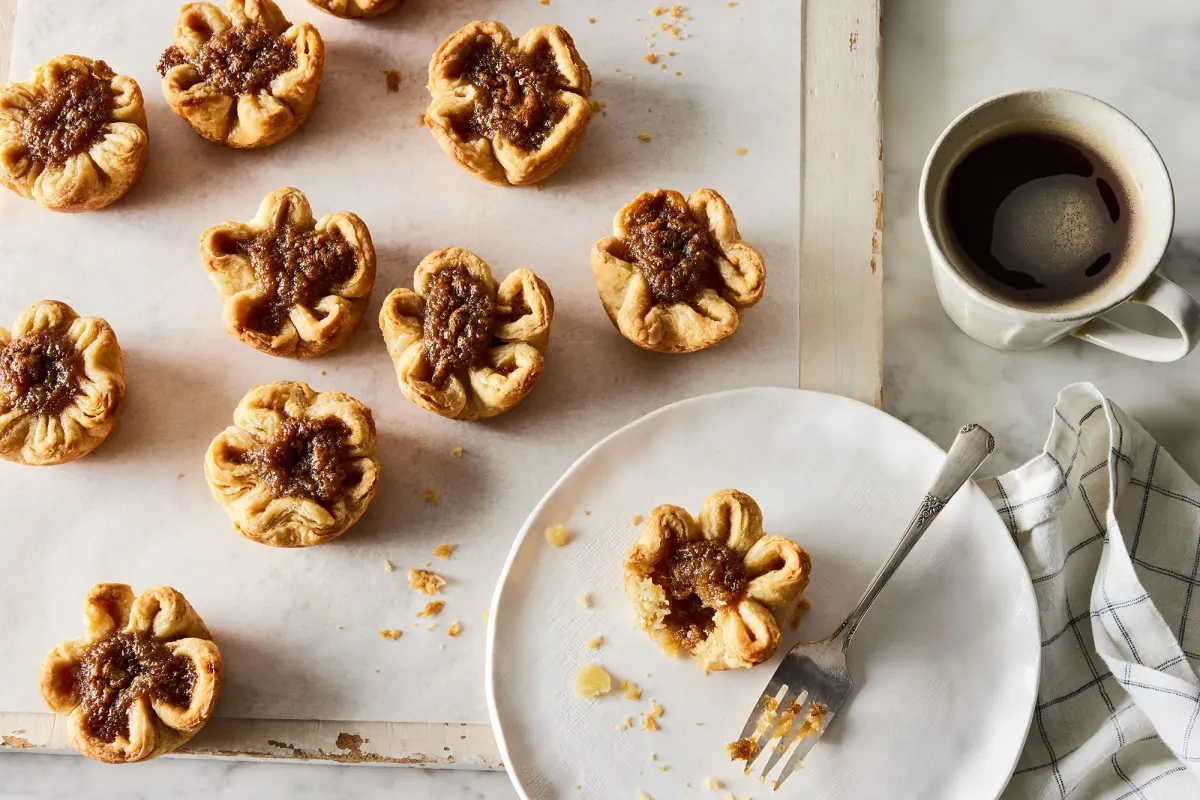
Butter tarts are made by filling a flaky, buttery pastry shell with a rich, semi-liquid mixture of butter, sugar, eggs, and often raisins or pecans. The filling is poured into unbaked shells and baked until the crust is golden and the sugary center is set with a slightly runny, caramelized consistency.
On this page
How to make classic butter tart filling
The hallmark of a great butter tart is the balance between a crisp pastry and a gooey, molten center. To create the filling, whisk together brown sugar, softened butter, an egg, vanilla extract, and a splash of vinegar or lemon juice. The acid is crucial because it cuts through the intense sweetness of the sugar and helps the filling set with a distinct, slightly chewy texture. Many traditionalists argue over the inclusion of raisins or nuts, but the base remains consistent across most Canadian recipes.
When preparing the mixture, ensure the butter is fully emulsified with the sugar and egg to prevent a greasy layer from forming on top during baking. If you choose to add mix-ins, place them directly into the bottom of the pastry shells rather than stirring them into the liquid. This ensures an even distribution of fruit or nuts in every tart. Pour the filling until the shells are about two-thirds full to prevent the sugar from bubbling over and sticking to the pan.
Best pastry techniques for beginners
A successful butter tart requires a cold, high-fat pastry crust that provides a sturdy vessel for the sugary filling. Use high-quality, unsalted butter kept at refrigerator temperature until the moment you cut it into the flour. If the butter melts before the dough hits the oven, the crust will be tough rather than flaky. Always use ice-cold water when bringing the dough together, and handle the mixture as little as possible to keep the gluten development to a minimum.
- Mix flour and salt, then cut in cold, cubed butter until the mixture resembles coarse crumbs.
- Add ice water one tablespoon at a time, tossing with a fork until the dough barely holds together.
- Form the dough into a disk, wrap it tightly in plastic, and refrigerate for at least thirty minutes.
- Roll the dough out on a lightly floured surface to about one-eighth of an inch thick.
- Cut circles using a round cookie cutter and gently press them into a muffin tin.
Why the filling bubbles over
The most common frustration for home bakers is the filling leaking out of the crust and caramelizing onto the muffin tin, making the tarts nearly impossible to remove. This usually happens when the shells are overfilled or when the oven temperature is not high enough to set the edges of the pastry quickly. If the oven is too cool, the sugar mixture liquefies and boils over before the crust has a chance to firm up. Always preheat your oven thoroughly and consider placing the muffin tin on a preheated baking sheet to encourage a quick bottom-crust set.
Another factor is the sugar-to-egg ratio. If the mixture contains too much sugar relative to the egg, it will remain thin and runny, increasing the likelihood of a mess. Aim for a ratio that allows the egg to coagulate during the baking process, creating that signature "set" center. If you find your tarts are consistently messy, try chilling the filled, unbaked tarts in the refrigerator for fifteen minutes before sliding them into the oven to firm up the butter in the pastry.
Common mistakes when baking butter tarts
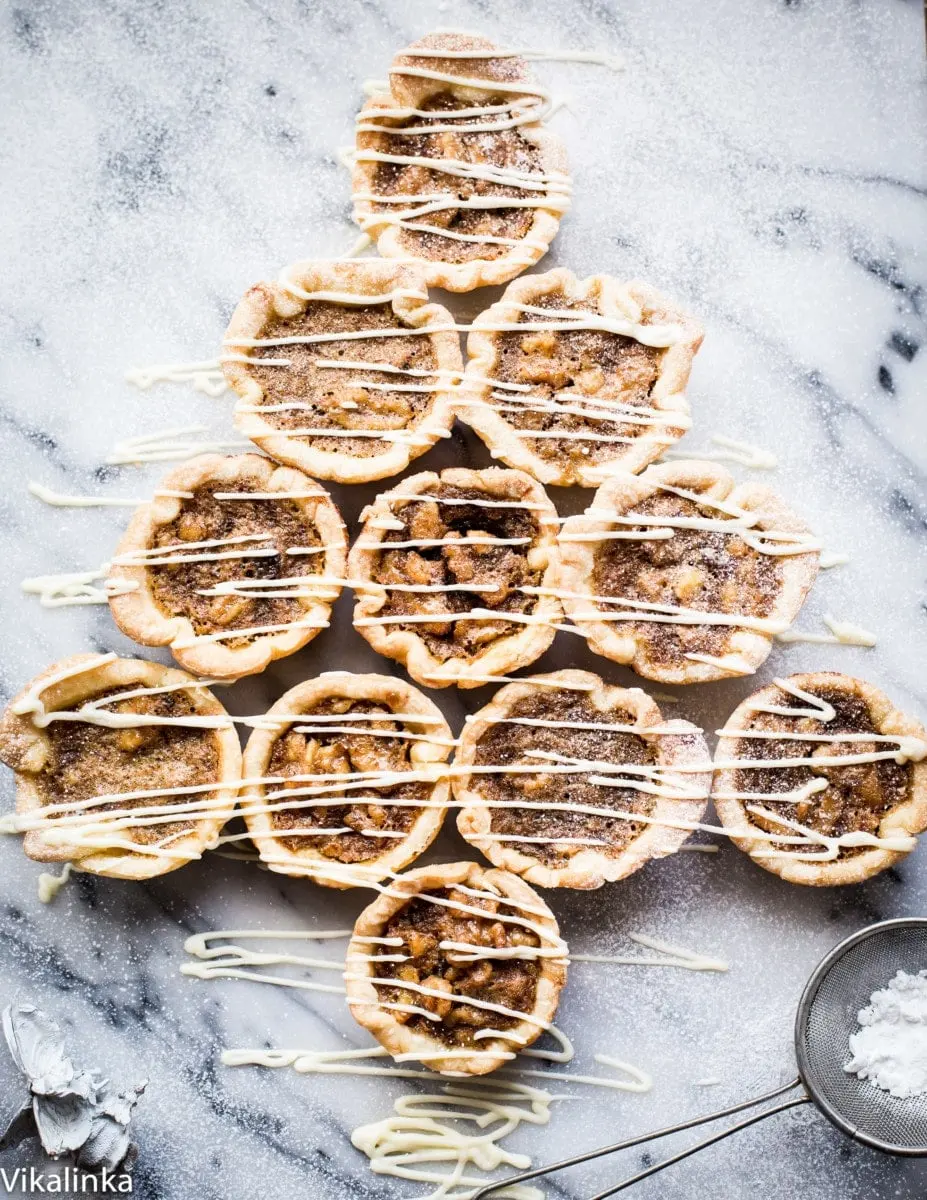
One frequent error is overworking the pastry dough, which results in a hard, cracker-like shell rather than a delicate, flaky one. Another mistake is using granulated sugar instead of brown sugar; brown sugar provides the necessary molasses content that gives butter tarts their characteristic flavor and deep, golden color. Additionally, failing to grease the muffin tin properly can lead to the sugar-heavy filling bonding the pastry to the metal, causing the tarts to crumble when you attempt to lift them out.
- Ignoring the chill time for the dough, which leads to shrinking shells.
- Using warm butter, which results in a greasy, tough crust.
- Forgetting to prick the bottom of the shells, which can cause them to puff up unevenly.
- Baking at too low a temperature, preventing the sugar from caramelizing properly.
- Removing the tarts from the pan too quickly, which causes the soft centers to collapse.
How to store and serve butter tarts
Butter tarts are best enjoyed at room temperature, though they can be stored in an airtight container for up to three days. If you prefer a warmer treat, place them in a low-temperature oven for a few minutes, but be careful not to melt the filling entirely. For longer storage, butter tarts freeze exceptionally well. Place them in a single layer in a freezer-safe container, separating layers with parchment paper, and they will maintain their texture for up to two months.
When serving, consider the contrast of textures. A freshly baked tart has a warm, runny center that pairs beautifully with a dollop of unsweetened whipped cream or a scoop of vanilla bean ice cream. If you are gifting them, ensure they have cooled completely on a wire rack before packaging, as the sugar remains very hot even after the pastry feels cool to the touch. With practice, you will master the delicate balance of a crisp, buttery shell and a perfectly gooey, rich, and sweet center.
Key facts
- Butter tarts are a quintessential Canadian pastry consisting of a flaky crust filled with a mixture of butter, sugar, syrup, and egg.
- The earliest known recipe for butter tarts appeared in the 1900 publication The Women's Auxiliary of the Royal Victoria Hospital Cookbook in Barrie, Ontario.
- A runny, gooey center is considered the hallmark of a high-quality butter tart, while a completely set center indicates overbaking.
- Adding raisins, currants, or chopped walnuts is a common variation, though purists often argue these additions detract from the classic flavor.
- Using cold butter and minimal water when preparing the pastry dough is essential to ensure a light, flaky texture after baking.
- To prevent the filling from bubbling over and sticking to the pan, fill each tart shell only two-thirds of the way to the top.
The bottom line
Creating the perfect butter tart requires a delicate balance of a crisp, buttery crust and a rich, semi-liquid filling. By maintaining cold ingredients for the pastry and carefully monitoring the baking time, you can achieve the classic gooey texture that defines this iconic treat. Whether you prefer them plain or with optional add-ins, mastering the filling consistency is the key to a successful homemade batch.
People also ask
Should I use corn syrup or maple syrup in my butter tarts?
Traditional recipes call for corn syrup to achieve the signature gooey consistency and mild sweetness. While maple syrup can be used for a distinct Canadian flavor, it alters the texture and requires adjustments to the liquid ratios.
Why do my butter tarts leak out of the shells during baking?
This usually happens if the crust is rolled too thin or if the shells are overfilled. Ensure your pastry is at least 1/8-inch thick and leave enough space at the top of the shell to account for the filling's expansion.
Can I freeze butter tarts after they are baked?
Yes, butter tarts freeze exceptionally well for up to three months. Store them in an airtight container and thaw them at room temperature or warm them slightly in the oven before serving.
Is it necessary to blind bake the pastry shells before adding the filling?
Blind baking is not strictly required, but it helps prevent a soggy bottom crust. If you prefer a crispier base, bake the empty shells for five minutes before pouring in the filling.
How do I prevent the sugar from burning on the edges of the tart?
High sugar content can cause the edges to caramelize too quickly. Keep a close watch during the final minutes of baking and remove the tray as soon as the edges are golden brown.
Why are my butter tarts grainy instead of smooth?
Graininess often occurs if the sugar is not properly whisked into the butter and eggs. Ensure the sugar is fully dissolved into the liquid mixture before pouring it into the shells.
This answer was created with the help of AI research tools and reference sources. Spotted an error? Let us know — we correct mistakes quickly. See our editorial policy.