How do you make a paper mask?
Short answer
Making a paper mask involves creating a base structure from heavy cardstock or papier-mâché, then shaping it to fit the face. You can use simple templates, adhesive tape, and decorative materials to customize the design. This craft project requires basic household supplies and provides a versatile foundation for artistic expression.
On this page
How to choose the right materials for a paper mask
The foundation of a durable paper mask is the quality of the paper used. For a quick, rigid structure, cardstock or heavy construction paper—typically 65 to 110 pounds—is ideal because it holds its shape without collapsing under paint or glue. If you prefer a molded, custom-fit mask, papier-mâché is the superior choice. This method requires newspaper strips, a mixture of flour and water, and a balloon or a plastic mask mold to create a sturdy, lightweight shell.
Avoid using standard printer paper, as it is too thin and prone to tearing when exposed to moisture or adhesive. If you are working on a complex design, consider using recycled cardboard for the structural frame, as it provides extra stability for protruding features like ears or horns. Always ensure your adhesive is compatible with the paper type; white school glue works well for papier-mâché, while hot glue is best for attaching decorative elements to a cardstock base.
How to build a simple paper mask base
Creating a basic mask begins with a flat template that you transfer onto your chosen paper. You can find printable patterns online or draw your own by tracing the outline of a face on a piece of paper. Ensure the eye holes are spaced correctly by measuring the distance between your pupils before cutting.
- Draw the desired shape on your cardstock, ensuring it is wide enough to cover your temples.
- Cut out the mask shape using sharp craft scissors for clean edges.
- Use a hole punch on the sides of the mask to create attachment points for elastic string or ribbon.
- Gently curve the paper by rolling it around a cylindrical object, like a water bottle, to help it contour to the shape of your face.
- Reinforce the bridge of the nose with an extra strip of paper to prevent the mask from flattening during wear.
How to add details and decorations
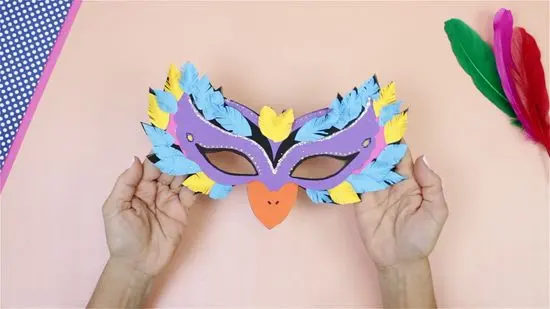
Once the base is constructed, you can add depth and character using various artistic techniques. Layering paper scraps can create relief features such as eyebrows, cheekbones, or animal snouts. For intricate designs, use a craft knife to cut out patterns, but always place a cutting mat underneath to protect your work surface.
- Use acrylic paints for a vibrant, opaque finish that dries quickly.
- Apply glitter, sequins, or feathers with a low-temperature glue gun to add texture.
- Use markers or colored pencils for fine details like eyelashes or whiskers.
- Seal your finished mask with a clear spray varnish to protect the colors from fading or moisture.
- Attach fabric ribbons to the side holes for a comfortable and adjustable tie-back system.
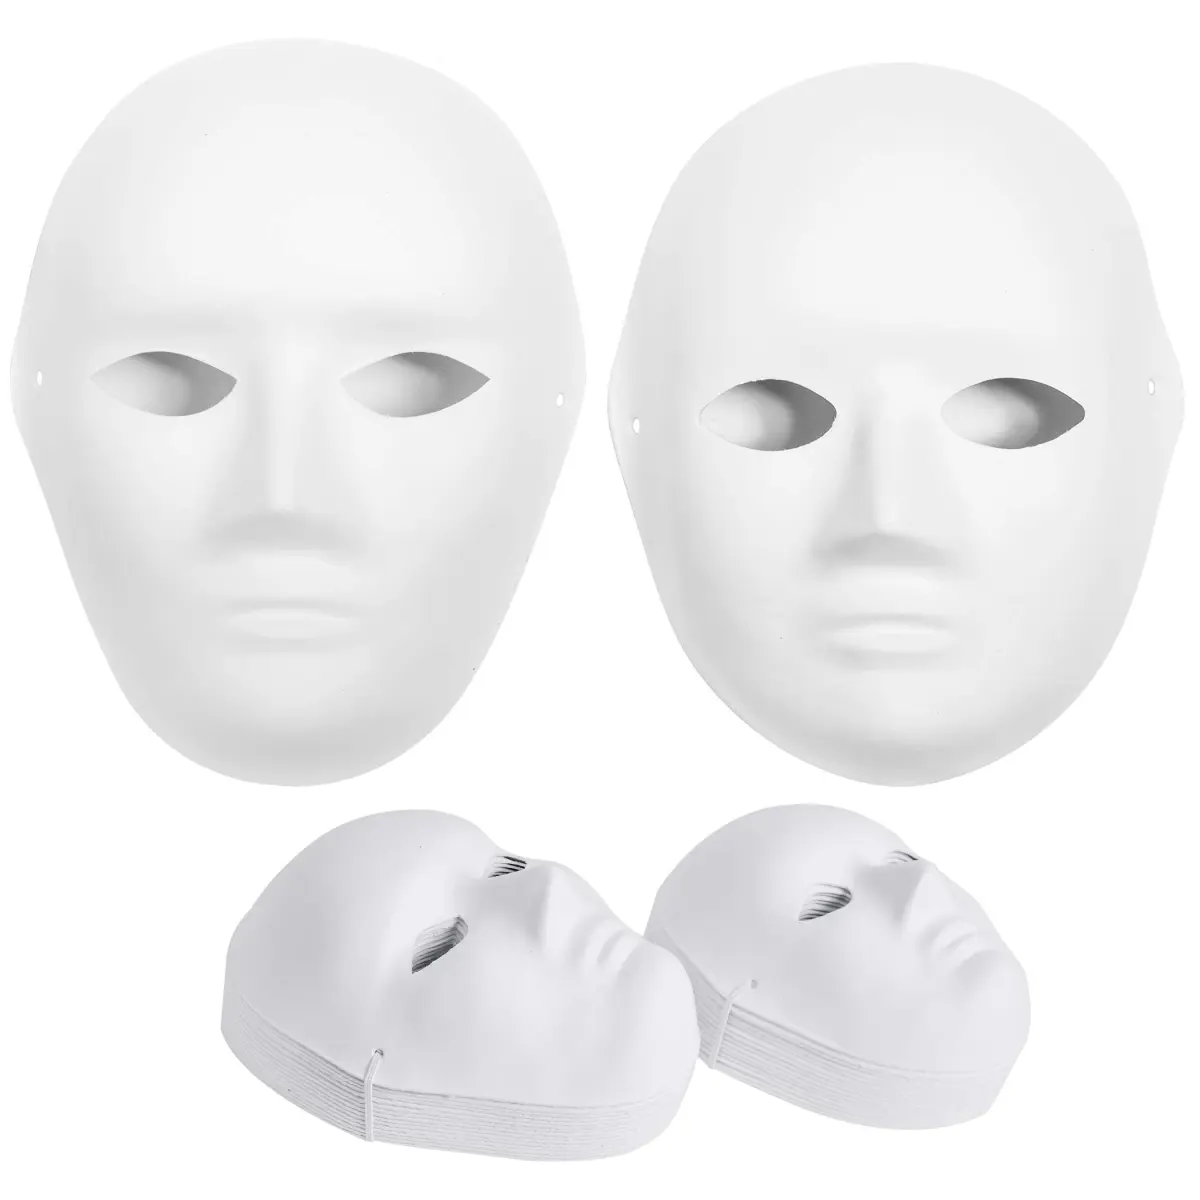
How long does it take to make a paper mask
The time required depends heavily on the technique you choose. A simple cardstock mask can be completed in approximately 30 to 60 minutes, including cutting, assembly, and basic decoration. This is an excellent option for children or quick costume needs. The process is straightforward and requires minimal drying time, making it ideal for immediate use.
Conversely, a papier-mâché mask is a multi-day project. You must allow each layer of paper to dry completely before applying the next, which can take 12 to 24 hours depending on the humidity in your environment. After the final layer is applied, the mask needs an additional day to cure before it can be painted or decorated. If you are on a strict deadline, prioritize the cardstock method to ensure the mask is ready when you need it.
Common mistakes when making a paper mask
One of the most frequent errors is failing to account for the mask's weight. If you add too many heavy decorations, such as large plastic gems or thick cardboard attachments, the mask will constantly slide down your face. Always test the weight of your embellishments before gluing them permanently. Another common issue is improper sizing; if the eye holes are too small or misaligned, it will significantly obstruct your vision and cause discomfort.
Avoid applying too much glue or water-based paste, as this will saturate the paper and cause it to warp or lose its structural integrity. If you are using a balloon as a mold for papier-mâché, do not inflate it too tightly, as the pressure changes can cause it to pop during the drying process. Finally, never skip the sealing step, as unsealed paper masks are highly susceptible to sweat and humidity, which can cause the material to soften and lose its shape during extended wear.
Key facts
- Use cardstock or heavy construction paper to ensure the mask maintains its shape while being worn.
- Measure the distance between your pupils to ensure eye holes are correctly aligned for comfortable vision.
- Elastic string or ribbon attached to the sides is more durable than tape for securing the mask.
- Avoid using heavy embellishments like thick cardboard or metal, as they cause the mask to slide off the face.
- Pre-cut the eye holes before decorating to prevent accidental smearing of paint or markers.
- A base layer of gesso or white primer helps colors appear more vibrant on colored construction paper.
The bottom line
Creating a paper mask is a rewarding craft that relies on structural integrity and precise measurements. By selecting sturdy cardstock, ensuring proper eye alignment, and using durable fasteners like elastic cord, you can produce a functional and comfortable accessory. Avoid common pitfalls like using thin paper or excessive weight, and focus on careful pre-cutting to achieve a professional, symmetrical result that fits your face perfectly.
People also ask
Can I use printer paper to make a mask?
Printer paper is generally too thin and flimsy to hold a mask shape effectively. If you must use it, glue several sheets together to create a thicker, more durable cardstock-like material.
What is the best way to attach the string?
Punch small holes on the sides of the mask using a hole puncher, then thread the elastic through and tie a secure knot. Reinforce the holes with a small piece of clear tape on the back to prevent tearing.
How do I make the mask fit my face shape?
Gently curve the paper by rolling it around a cylindrical object like a water bottle before attaching the string. This helps the mask contour to the face rather than remaining flat.
Is it safe to use hot glue on a paper mask?
Hot glue is effective, but it can burn through thin paper or cause it to warp. Use a low-temperature glue gun or a tacky craft glue for better control and safety.
How can I make the mask more comfortable to wear?
Glue a small piece of felt or foam padding to the inside area where the mask touches your forehead or nose. This prevents skin irritation and absorbs sweat during extended use.
How do I ensure the mask is symmetrical?
Fold your paper in half vertically before drawing your outline, then cut through both layers simultaneously. This guarantees that both sides of the mask are identical in shape and size.
This answer was created with the help of AI research tools and reference sources. Spotted an error? Let us know — we correct mistakes quickly. See our editorial policy.