How do you make a cyanotype?
Short answer
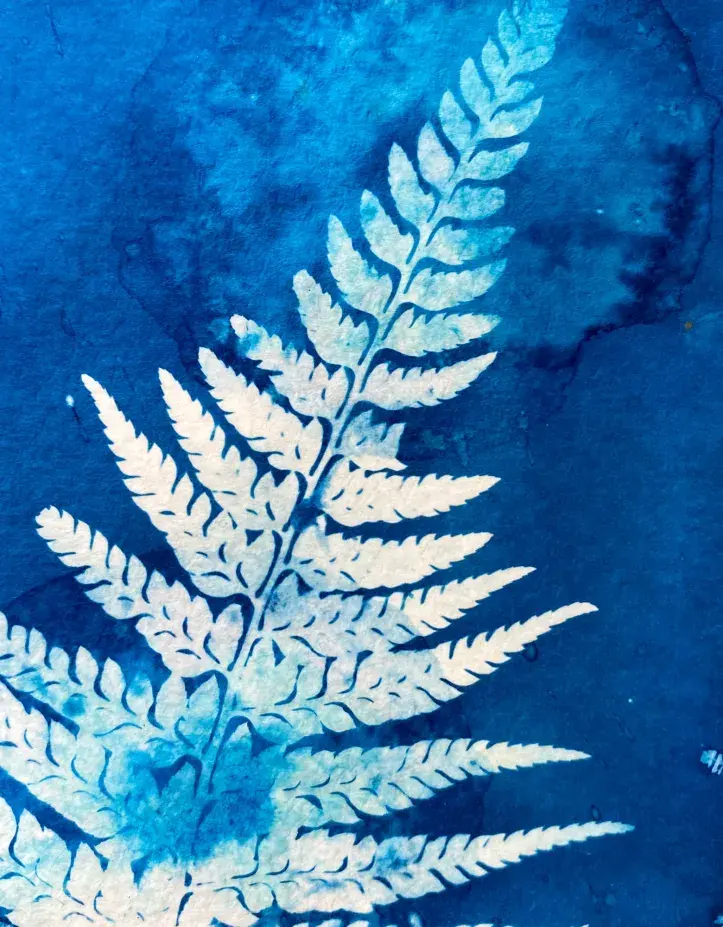
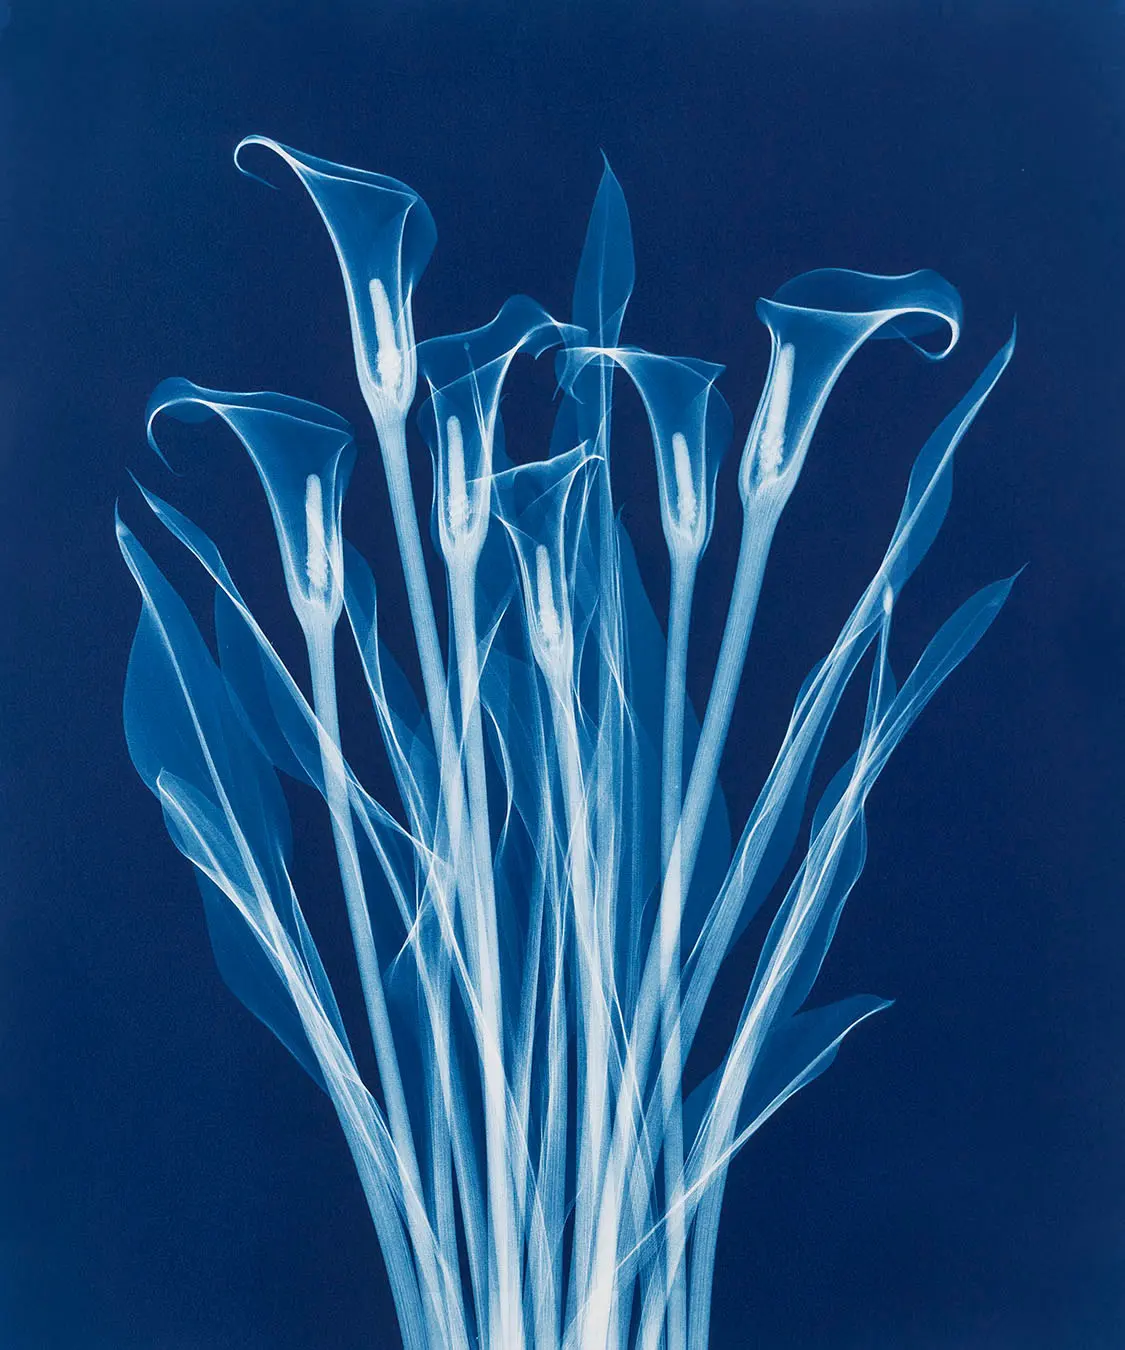
Cyanotype is a photographic printing process that produces a cyan-blue print using sunlight. By coating paper with a mixture of ferric ammonium citrate and potassium ferricyanide, you create a light-sensitive surface. Placing objects or negatives on this surface and exposing them to ultraviolet light results in a permanent Prussian blue image.
On this page
What supplies do you need for cyanotype
To begin, you need a specific set of chemicals: ferric ammonium citrate and potassium ferricyanide. These are typically sold as powder kits that you mix with distilled water to create two separate stock solutions. You will also need high-quality, acid-free watercolor paper or heavy cardstock, as the coating process involves soaking the fibers. Avoid standard copy paper, which is too thin and lacks the durability to withstand the water bath required for final development.
You should also gather a few essential tools to ensure a clean application. A foam brush or a soft hake brush is ideal for applying the sensitizer evenly across the surface. A glass contact printing frame or a simple piece of clear acrylic held down by binder clips will keep your negatives or objects pressed firmly against the paper during exposure. Finally, prepare a dark, dry workspace, as the sensitized paper must be dried away from direct sunlight to prevent premature exposure.
How to prepare the paper
Mixing the chemicals is a straightforward process, but it must be done in low-light conditions to protect the solution. Combine equal parts of your two stock solutions in a small glass or plastic container just before you are ready to coat your paper. Once mixed, the solution is light-sensitive, so work in a room with blinds drawn or under low-wattage incandescent light. Avoid fluorescent bulbs, as they emit enough ultraviolet light to begin fogging your paper.
- Measure equal parts of the two chemical solutions into a clean mixing vessel.
- Place your paper on a flat, protected surface.
- Dip your brush into the mixture and apply it to the paper using smooth, horizontal strokes.
- Switch to vertical strokes to ensure full coverage and minimize brush marks.
- Allow the paper to dry completely in a dark, cool place for at least one hour.
How long does it take to expose
The exposure time is entirely dependent on the intensity of the ultraviolet light available at the time of your session. On a bright, clear summer day, exposure might take as little as five to ten minutes. If you are working on a cloudy day or during the winter months, the exposure time can increase significantly, sometimes requiring up to thirty minutes or more. Because the process relies on UV rays, the strength of the sun is the primary variable you must monitor.
To determine the correct exposure, you can create a test strip by exposing several small sections of a scrap piece of sensitized paper for different durations. Watch for the color change: the paper will transition from a yellow-green to a dull, metallic bronze or gray-blue as it reacts to the light. If the highlights appear muddy or the shadows lack depth, you may need to adjust your timing. Always keep a log of your exposure times and weather conditions to help you refine your results over time.
How to develop and dry the prints
Once the exposure is complete, the development process is remarkably simple and requires only tap water. Immediately place the exposed paper into a tray of cool, running water. You will notice the unexposed chemicals washing away, leaving behind the characteristic Prussian blue image. Continue rinsing the paper for at least five to ten minutes until the water runs completely clear and no yellow residue remains.
After the initial rinse, some artists add a few drops of hydrogen peroxide to the water bath to intensify the blue color, though this is optional. Once the print is thoroughly washed, lay it flat on a clean screen or hang it with clips to air dry. As the paper dries, the blue color will continue to darken and deepen in richness. Avoid using a hair dryer or direct heat to speed up the process, as this can cause the paper to warp or the image to fade prematurely.
Common mistakes when making cyanotypes
One of the most frequent errors beginners encounter is uneven coating, which results in streaks or blotchy areas on the final print. This usually happens if the brush is too dry or if you apply too much pressure during the application. Another common issue is the use of tap water that contains high levels of chlorine or mineral deposits, which can affect the final hue of the blue. If your local water supply is heavily treated, consider using distilled water for the final rinse to ensure the best possible color clarity.
- Failing to keep the paper in total darkness while drying, which causes a foggy or muddy background.
- Using negatives that do not have enough contrast, resulting in a flat, washed-out image.
- Leaving the paper in the water bath for too long, which can cause the highlights to become slightly blue rather than stark white.
- Touching the sensitized paper with bare fingers, as oils from your skin can create permanent marks on the final print.
Key facts
- Cyanotype is a photographic printing process that uses a light-sensitive solution of ferric ammonium citrate and potassium ferricyanide.
- Sir John Herschel invented the process in 1842, originally using it to reproduce technical drawings known as blueprints.
- The paper must be coated in a dark room or under low-light conditions to prevent premature exposure.
- Sunlight or a UV lamp is required to trigger the chemical reaction that turns the paper a deep Prussian blue.
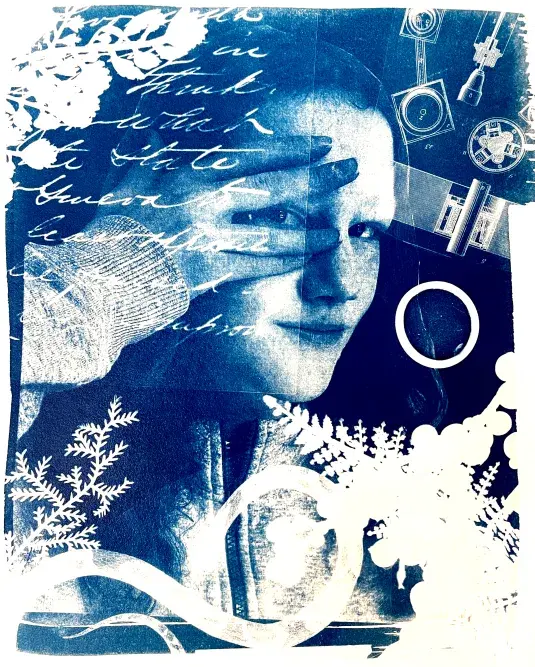
- Placing objects or a digital negative on the paper creates a silhouette or image, as the covered areas remain white.
- Washing the print in plain water stops the reaction and oxidizes the iron salts to fix the image permanently.
The bottom line
Creating a cyanotype is a rewarding blend of chemistry and art that requires minimal equipment. By coating paper with light-sensitive iron salts and exposing it to UV light, you can capture intricate silhouettes or photographic negatives. The process is defined by its simplicity and the iconic Prussian blue finish. With careful washing and proper storage, these handmade prints offer a durable and striking way to explore historical photography.
People also ask
Can I use any type of paper for cyanotypes?
You should use high-quality, heavy-weight watercolor paper that is free of alkaline buffers. Buffered papers can interfere with the chemical reaction and cause the image to fade or wash away.
How long should I expose my print to the sun?
Exposure times vary from 5 to 30 minutes depending on the intensity of the UV light and the time of day. It is best to perform a test strip to determine the optimal timing for your specific conditions.
Why did my print turn yellow instead of blue?
A yellow print usually indicates that the paper was not washed long enough or that the water was not changed frequently. Ensure you rinse the print until the water runs completely clear to remove all unexposed chemicals.
Is the cyanotype process toxic to humans?
The chemicals are relatively low in toxicity, but they should still be handled with care. Avoid ingestion, wear gloves to prevent skin irritation, and work in a well-ventilated area.
Can I tone a cyanotype to change its color?
Yes, you can alter the blue color by soaking the finished print in solutions like tea, coffee, or tannic acid. These natural tannins react with the iron to shift the hue toward purples, browns, or blacks.
How should I store my cyanotype prints?
Cyanotypes are sensitive to alkaline environments and prolonged exposure to strong light. Store them in acid-free, archival-quality sleeves away from direct sunlight to preserve the vibrancy of the blue tones.
This answer was created with the help of AI research tools and reference sources. Spotted an error? Let us know — we correct mistakes quickly. See our editorial policy.