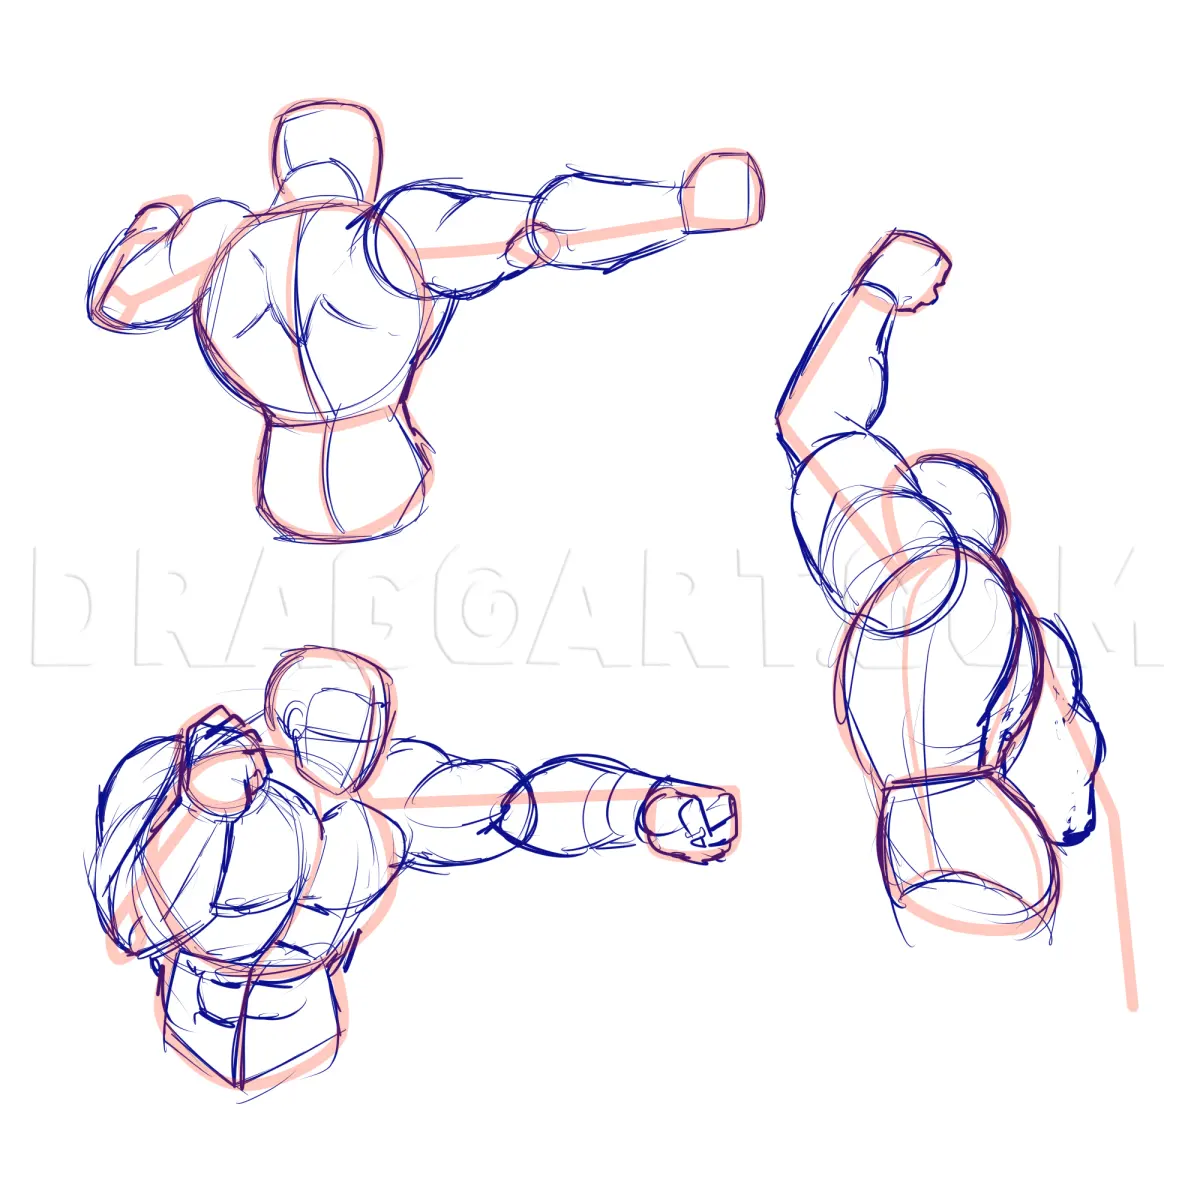
How do you draw a person dancing?
Short answer
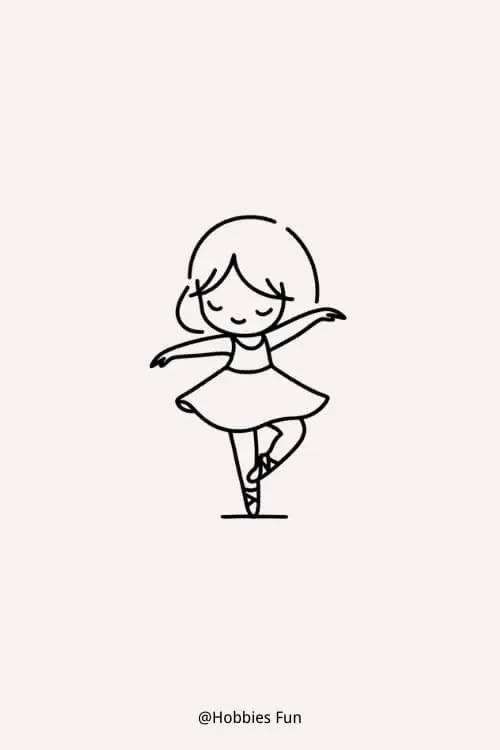
Drawing a person dancing requires capturing kinetic energy through gesture drawing. Focus on the "line of action"—the invisible curve tracing the spine—to establish movement. Use simplified shapes like ovals for the torso and pelvis, then refine the limbs to show weight, balance, and the rhythmic flow of the dancer's body.
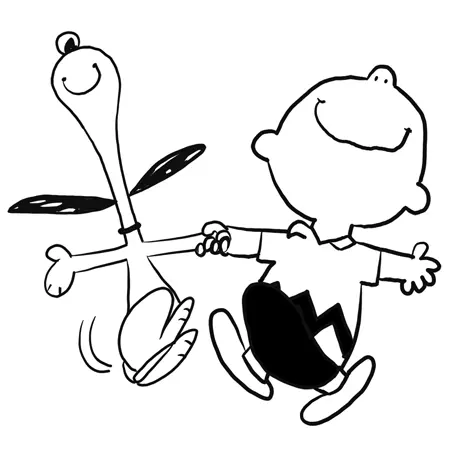
On this page
How to capture the line of action
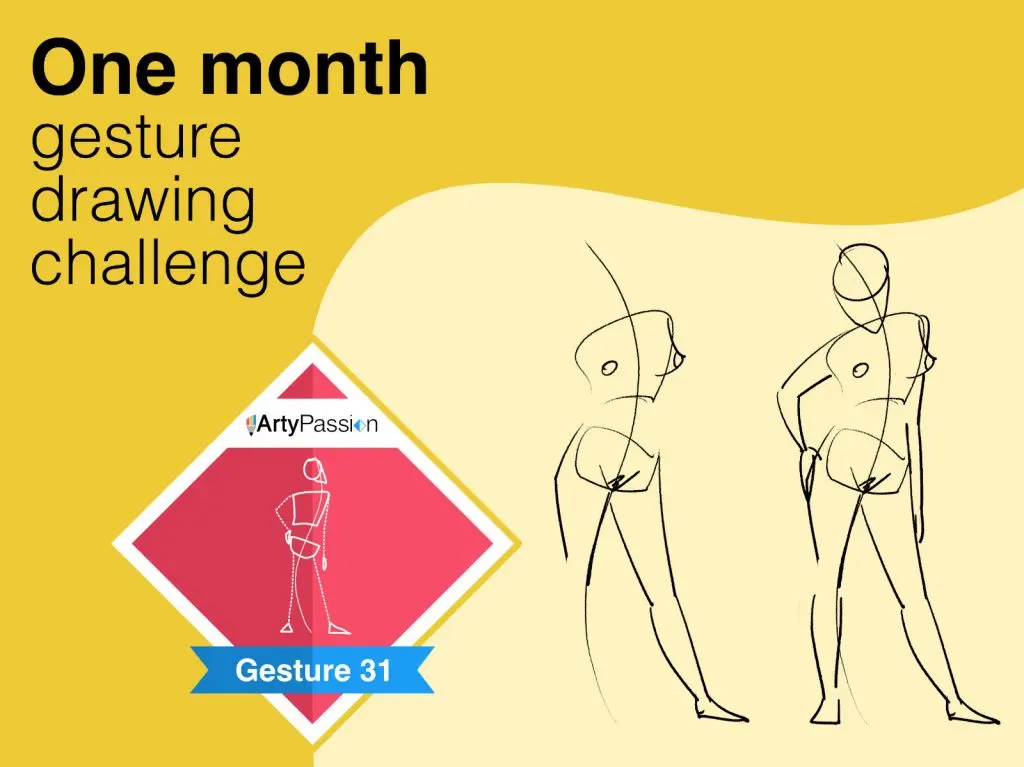
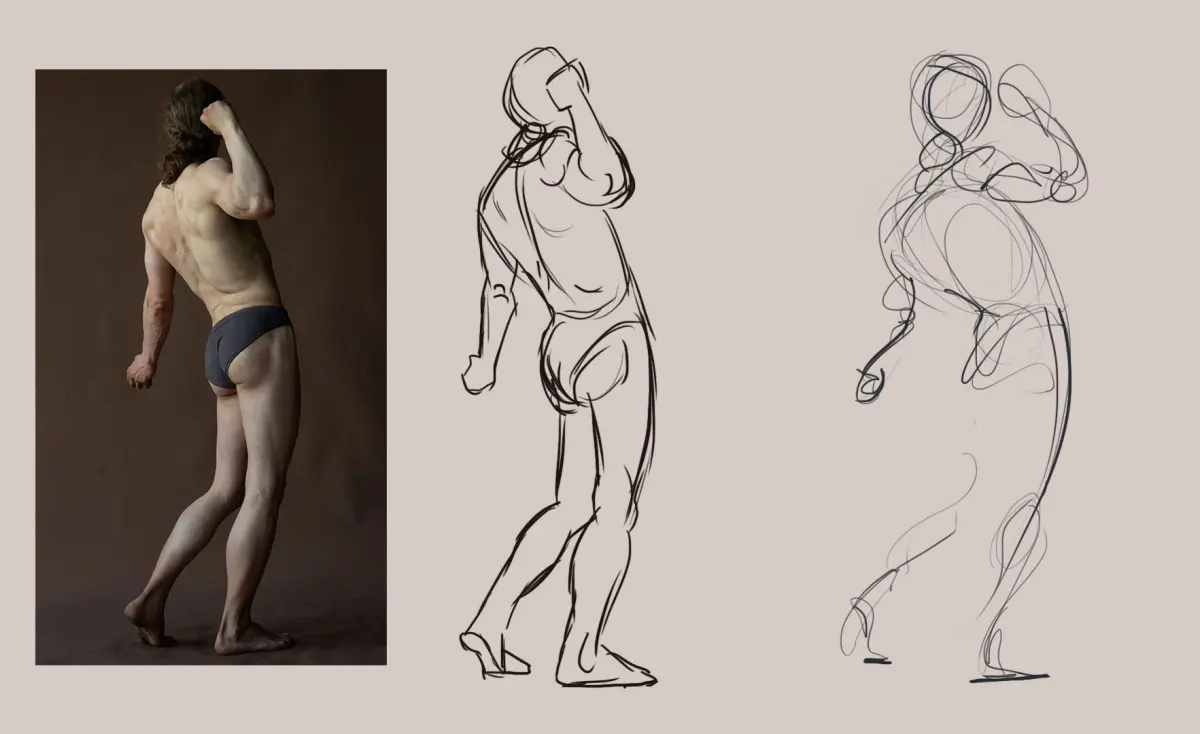
The line of action is the foundation of any dynamic figure drawing. It is a single, sweeping curve that runs from the base of the spine through the neck, dictating the dancer's overall posture. By establishing this curve first, you ensure the figure does not appear stiff or static on the page. Think of it as the backbone of the movement, whether the dancer is leaping, spinning, or performing a grounded move.
To master this technique, observe the dancer's pose and identify the primary direction of force. If they are jumping, the line of action will be elongated and curved; if they are crouching, it will be compressed. Avoid drawing the outline of the body immediately. Instead, focus on these steps to build your structure:
- Sketch a light, fluid line that represents the primary tilt of the torso and head.
- Place a small oval for the ribcage and a larger, tilted one for the pelvis.
- Connect these shapes with a line that suggests the twist or stretch of the torso.
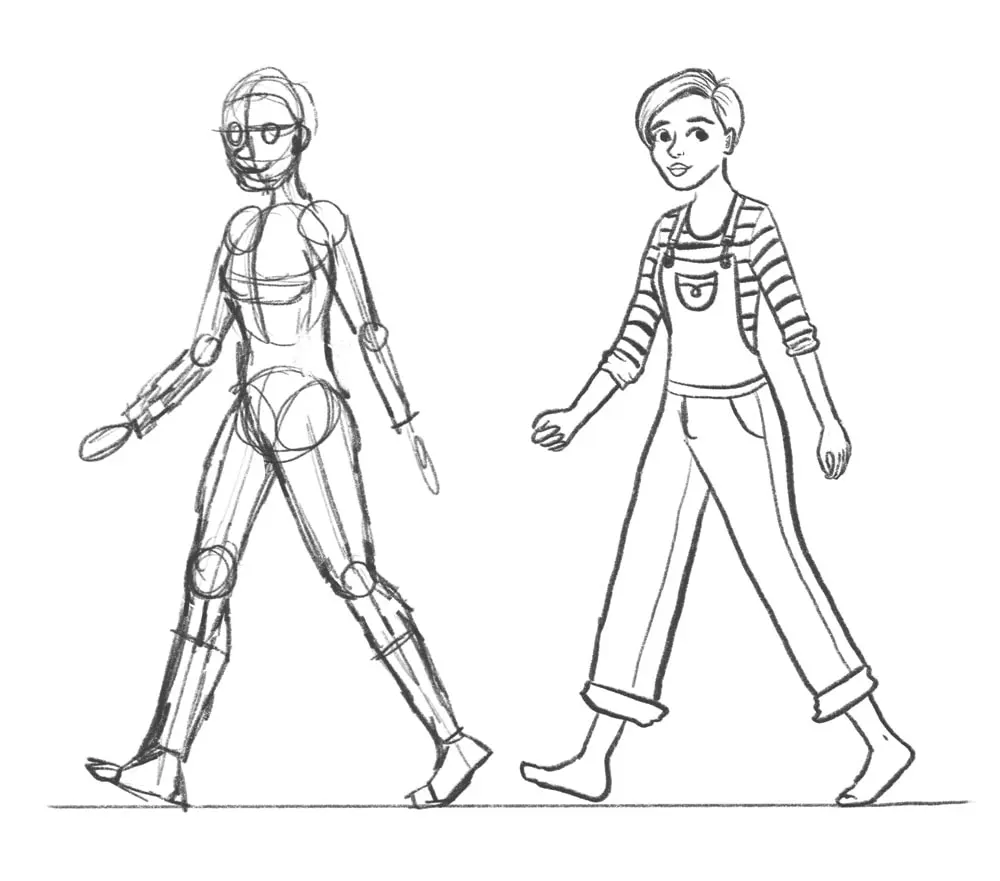
- Add simple lines for the arms and legs to establish the reach and stance.
Best drawing techniques for beginners
Beginners often struggle with the complexity of human anatomy, leading to drawings that look disjointed. The key is to simplify the body into basic geometric forms, such as cylinders for limbs and spheres for joints. This approach allows you to focus on the pose rather than getting lost in muscle groups or skin folds. By treating the body as a series of connected blocks, you can easily adjust the proportions to match the dancer's motion.
When you are ready to refine your sketch, prioritize the weight distribution of the figure. A dancer must look like they are anchored to the ground or suspended in air. Use these tips to improve your sense of balance:
- Draw the center of gravity by dropping a vertical line from the pit of the neck to the floor.
- Ensure the foot carrying the weight is directly beneath this center point.
- Use overlapping lines to show depth, such as an arm passing in front of the torso.
- Keep your initial marks very light so you can easily adjust the anatomy as you refine the shape.
Why proportions shift during movement
The human body is flexible, and its proportions appear to change significantly when in motion. When a dancer reaches upward, the ribcage expands and the waist elongates. Conversely, when they bend over, the torso compresses, making the ribcage and pelvis appear closer together. Understanding these shifts is vital for creating a believable image. If you draw a dancer with rigid, static proportions, the movement will feel unnatural and forced.
Focus on the "foreshortening" effect, which occurs when a limb points toward or away from the viewer. In these cases, the limb will look shorter than it actually is. To represent this, draw the limb as a series of overlapping shapes rather than a long, straight line. This technique creates a sense of three-dimensional space on a two-dimensional surface. Remember that the head, ribcage, and pelvis are the three main masses; their relative angles to one another are what truly communicate the intensity of the dance.
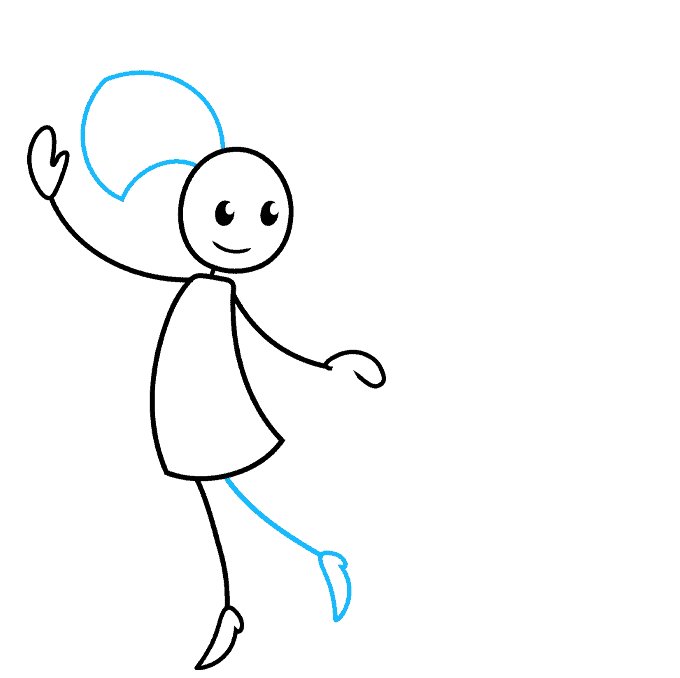
Common mistakes when drawing dancers
One of the most frequent errors is focusing too much on facial features or clothing details before the pose is correct. This often results in a "frozen" look where the figure appears to be posing for a photograph rather than mid-motion. Always spend at least 70 percent of your time on the gesture and structure. If the underlying movement is not convincing, no amount of shading or detail will make the drawing look like a person in motion.
Another common pitfall is drawing limbs that are perfectly straight. Even in a ballet pose, there is almost always a slight bend in the joints to convey tension and grace. Avoid these mistakes to keep your work dynamic:
- Do not outline the entire figure with a single, uniform line weight.
- Avoid making the hands and feet too small, as they provide essential clues about the dancer's interaction with space.
- Do not ignore the negative space between the limbs, as it defines the shape of the movement as much as the body itself.
- Refrain from using stiff, parallel lines for the legs, which can make the dancer look like they are standing on stilts.
How to practice gesture drawing effectively
The most effective way to improve is through timed gesture drawing sessions. Use a timer to limit yourself to 30, 60, or 90 seconds per pose. This forces you to ignore minor details and capture the essence of the movement quickly. By practicing this way, you train your brain to see the "rhythm" of the body rather than just the anatomical parts. Many artists use collections of dance photography or video clips to cycle through poses rapidly.
Consistency is more important than the length of your practice sessions. Even ten minutes of daily gesture sketching will yield better results than a single, long session once a week. As you gain confidence, try drawing from live dancers in a studio or a public space. Observing real-time movement will teach you how to anticipate the next phase of a dance, helping you create drawings that feel alive and full of energy. Keep your lines loose, stay observant, and always prioritize the flow of the movement.
Key facts
- Focus on the "line of action," an imaginary curve that runs through the spine to represent the dancer's movement.
- Use simple geometric shapes like ovals and cylinders to map out the body’s posture before adding anatomical details.
- Keep the limbs asymmetrical to suggest kinetic energy and prevent the figure from looking stiff or static.
- Observe how the center of gravity shifts, as a dancer’s weight is rarely distributed equally on both feet.
- Study the "contrapposto" technique, where the shoulders and hips tilt in opposite directions to create dynamic tension.
- Sketch the clothing or fabric as flowing lines that trail behind the movement to emphasize the speed of the motion.
The bottom line
Drawing a dancer requires capturing the energy of movement rather than just the physical form. By establishing a strong line of action and emphasizing the tilt of the hips and shoulders, you create a sense of weight and grace. Focus on the overall silhouette and the direction of the limbs, allowing the body to lean into its motion to achieve a truly dynamic and lifelike artistic result.
People also ask
How do I make a drawing look like it is in motion rather than frozen?
Use "motion lines" or blur effects around the limbs to suggest speed. Additionally, ensure the body is leaning into the direction of the movement to imply momentum.
What is the best way to draw hands and feet in dancing poses?
Focus on the silhouette rather than individual fingers or toes. Use bold, sweeping strokes to capture the extension of the foot or the grace of a hand gesture.
How do I capture the correct proportions of a dancer?
Use the "head count" method, where the average human body is about seven to eight heads tall. Dancers often have elongated limbs, so slightly exaggerating these lengths can enhance the aesthetic.
Should I use a reference photo or draw from imagination?
Beginners should always use reference photos to understand how joints bend during complex maneuvers. Once you grasp the mechanics of the human frame, you can transition to drawing from memory.
What are the most common mistakes when drawing a dancer?
The most frequent error is drawing the figure too upright, which makes them look like they are standing still. Always look for the tilt in the pelvis and shoulders to create life.
How do I draw fabric that moves with the dancer?
Draw the fabric following the dancer’s path, showing it trailing behind the body’s movement. Use curved lines to indicate the folds and weight of the material as it reacts to air resistance.
This answer was created with the help of AI research tools and reference sources. Spotted an error? Let us know — we correct mistakes quickly. See our editorial policy.