How do you draw a lynx?
Short answer
Drawing a lynx requires focusing on its distinct feline anatomy, specifically the oversized paws, short bobbed tail, and iconic tufted ears. Begin by sketching simple geometric shapes to establish the animal's powerful, compact frame. Gradually layer in fur texture and facial details to capture the lynx’s alert, predatory expression and rugged silhouette.
On this page
How to sketch the basic lynx anatomy
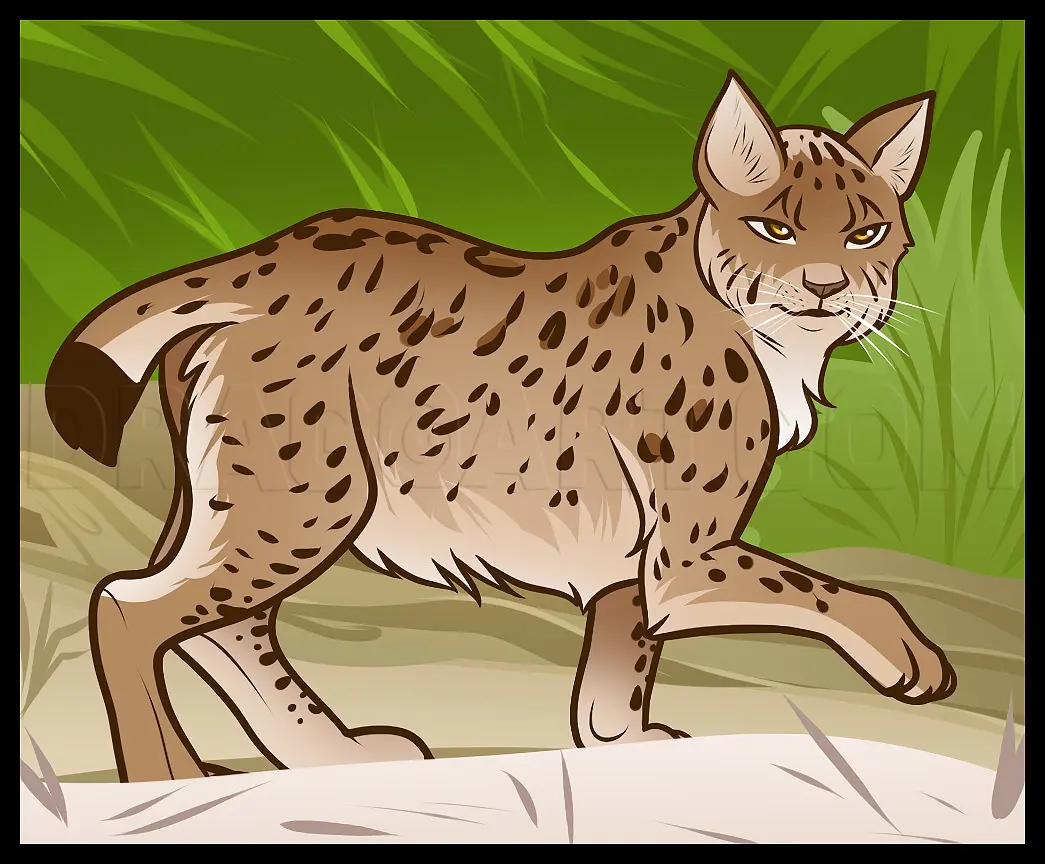
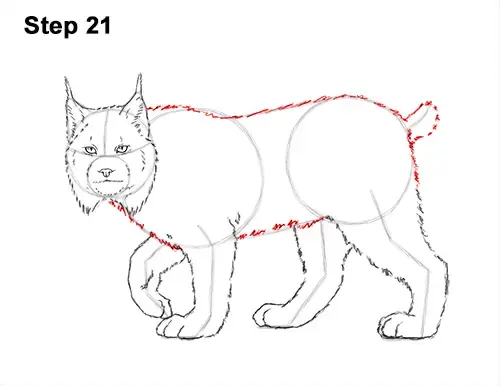
To draw a realistic lynx, you must first master its unique proportions. Unlike a typical house cat, a lynx has disproportionately long legs and a very short, truncated tail. Start by drawing a large circle for the chest and a smaller circle for the haunches, connecting them with a slightly arched spine. This creates the characteristic "hunched" posture lynx often adopt when stalking prey.
Once the torso is established, place the head slightly higher than the shoulder line. Remember that a lynx’s neck is thick and muscular, supporting a broad, expressive face. Keep your initial lines light and loose, as you will refine these shapes later. Focus on the following structural elements to ensure your lynx looks accurate:
- The chest should be deep and barrel-shaped to support the animal's weight.
- The hind legs are significantly longer than the front legs, creating a sloped back.
- The paws are massive, acting like natural snowshoes to navigate deep winter drifts.
How to draw the lynx face and ears
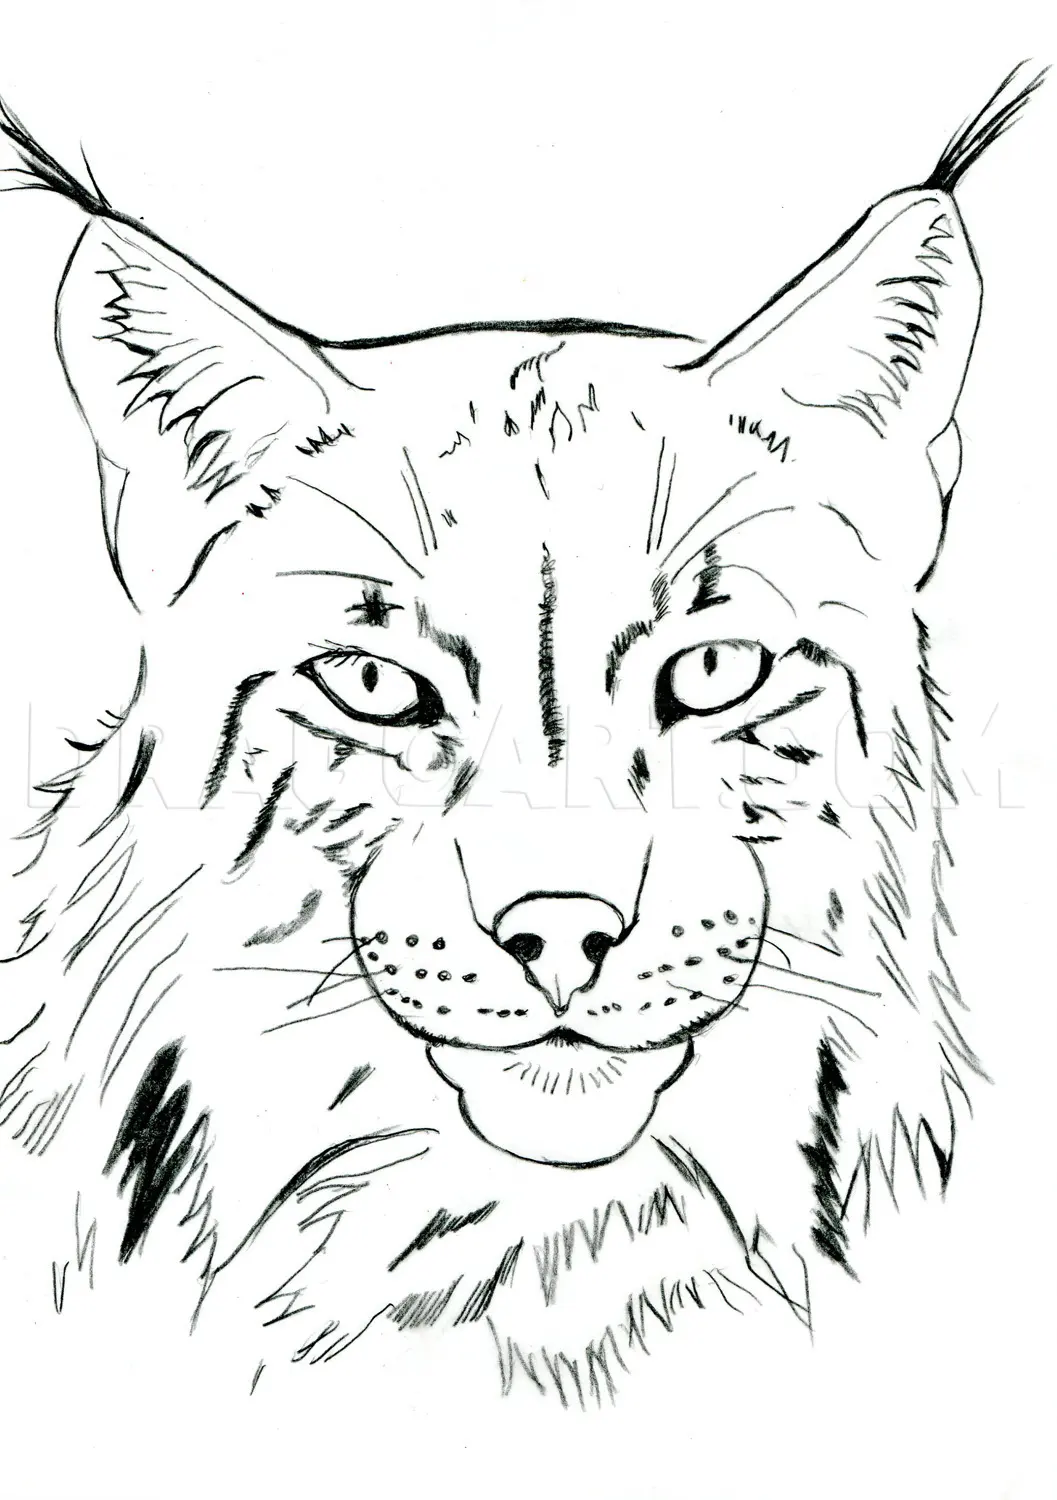
The face is the most recognizable part of a lynx. Begin by drawing a vertical center line through the head shape to ensure symmetry. Place the eyes midway down the skull, keeping them almond-shaped and intense. The muzzle is relatively short compared to other wild felines, so avoid drawing a long, snout-like projection.
The defining feature of the lynx is the ear tufts, which are long, black hairs extending from the tips of the ears. Additionally, include the prominent "ruff" or facial sideburns that frame the jawline. These tufts of fur make the head appear much wider than it actually is. Follow these steps for facial detail:
- Sketch the triangular ear base, ensuring they sit high on the head.
- Add thin, tapering lines extending upward from the tips for the tufts.
- Draw the facial ruff by using jagged, outward-pointing strokes along the cheeks.
- Place the pupils as vertical slits to emphasize the feline, predatory nature.
What are the best techniques for fur texture
Lynx fur is thick, dense, and multi-layered, particularly during the winter months. Avoid drawing individual hairs one by one, as this often makes the drawing look stiff or artificial. Instead, use a "clumping" technique where you group fur into small, overlapping triangular shapes. This mimics the way dense hair naturally bunches together on a wild animal.
Pay close attention to the direction of the fur growth. On the back, the fur typically flows toward the tail, while the facial ruff radiates outward from the chin. Use a sharpened graphite pencil for the fine, lighter hairs and a softer, darker lead for the shadows beneath the fur clumps. By varying the pressure of your strokes, you can create the illusion of depth and softness that characterizes a lynx's coat.
How to add realistic shading and depth
Shading is essential for transforming a flat outline into a three-dimensional creature. A lynx’s coat is often mottled with spots or stripes, which helps break up its outline in the wild. When shading, identify your light source first and keep the opposite side of the body darker to create volume. Use a blending stump or a soft tissue to smooth out transitions between shadow and highlight.
Focus on the cast shadows beneath the belly and under the chin, as these areas are naturally shielded from light. If you are drawing a lynx in a snowy environment, keep the highlights bright and crisp to reflect the high-contrast lighting of a winter landscape. Remember to leave small white gaps in the fur to represent the lighter, silver-tipped hairs that often catch the light, adding a realistic sheen to the finished piece.
Common mistakes when drawing a lynx
Many beginners struggle with the scale of the paws and the length of the tail. A common error is drawing a tail that is too long; the lynx tail typically ends abruptly, often appearing as if it were cut short. If your drawing looks like a generic mountain lion or bobcat, check the ear tufts and the size of the feet. These two features are the primary indicators of the lynx species.
Another frequent mistake is neglecting the "fringe" around the face. Without the prominent cheek ruff, the head will look too small and lack the lynx's signature regal appearance. Finally, avoid making the eyes too round. A lynx has a gaze that is focused and calculated, so ensure the eyelids are partially lowered to give the animal a squinting, alert look. By correcting these proportions and focusing on the specific textures of the fur, you will achieve a much more professional and accurate result.
Key facts
- Lynx are characterized by their iconic ear tufts, which are long, black hairs that extend from the tips of their ears.
- The animal’s paws are exceptionally large and act as natural snowshoes, allowing them to move efficiently across deep snow.
- A lynx’s face is framed by a distinctive "ruff" of long hair that hangs down from the cheeks like a beard.
- When drawing the body, remember that the hind legs are significantly longer than the front legs, giving the animal a sloped back profile.
- The tail of a lynx is unusually short, often appearing as a blunt stump with a solid black tip.
- Focus on the eyes; they are large, forward-facing, and typically possess a piercing, golden or amber iris.
The bottom line
To draw a convincing lynx, prioritize its unique silhouette: the long ear tufts, the short bobbed tail, and the oversized, fur-covered paws. By emphasizing the sloped back caused by longer hind legs and the thick, shaggy neck ruff, you capture the essence of this cold-climate predator. Focus on texture and proportion rather than intricate patterns to ensure your drawing remains accurate and visually striking.
People also ask
What is the most common mistake when drawing a lynx?
The most frequent error is drawing the tail too long. A lynx has a very short, "bobbed" tail, usually only a few inches in length, which distinguishes it from other wild cats.
How should I represent the lynx's fur texture?
Use short, directional strokes that follow the contour of the muscles. Focus on the thick ruff around the neck and the dense fur on the paws to emphasize the animal's winter adaptation.
Are lynx ears always pointed straight up?
While they are often alert, the ears can tilt slightly to the side depending on the animal's mood. However, the black tufts should always extend vertically from the very tip of the ear.
Should I draw the lynx with a patterned coat?
Depending on the species, such as the Canada lynx or the Eurasian lynx, the coat may be solid grey-brown or feature faint spots. Keep spots subtle and irregular to maintain a natural appearance.
What shape should the lynx's head be?
The head is relatively small compared to the body and has a rounded, compact shape. Avoid drawing a sharp, triangular muzzle, as lynx features are generally soft and well-padded.
How do I make the lynx look realistic?
Prioritize the proportions of the legs and the density of the fur. A realistic lynx looks heavy and powerful, with large, rounded feet that ground the figure firmly on the surface.
This answer was created with the help of AI research tools and reference sources. Spotted an error? Let us know — we correct mistakes quickly. See our editorial policy.