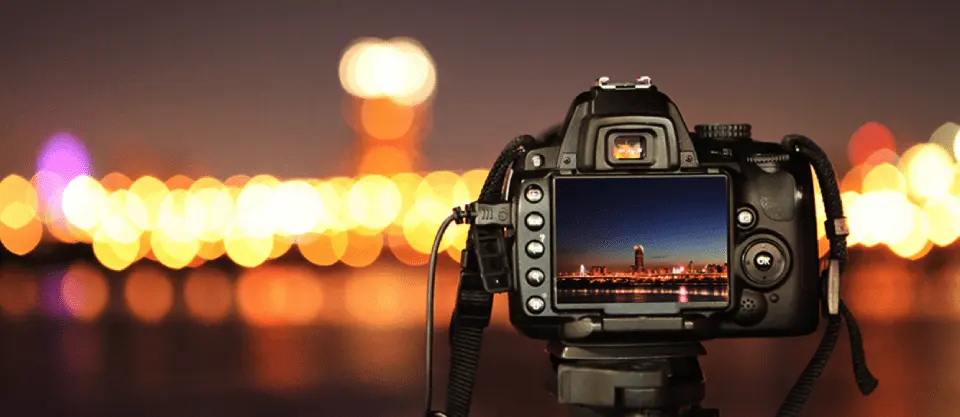
What is natural light photography?
Short answer
Natural light photography is the practice of capturing images using only existing, non-artificial light sources like the sun or moon. It relies on ambient illumination rather than electronic flashes or studio strobes. By mastering the direction, intensity, and color temperature of daylight, photographers can create soft, authentic, and highly atmospheric visual narratives.
On this page
What is natural light photography?
Natural light photography is a technique that utilizes sources of illumination not created by the photographer. This primarily involves sunlight, whether direct, diffused by clouds, or reflected off surfaces like buildings and water. Because the light source is external and constantly shifting, the photographer must adapt to the environment rather than controlling it.
The primary goal is to work with the inherent qualities of the setting to enhance the subject's mood or texture. Unlike studio photography, where lights are positioned for precision, natural light requires keen observation of how shadows fall and how colors shift throughout the day. It is a fundamental skill that teaches photographers to understand exposure, contrast, and the physics of light before introducing complex equipment.
Best times for natural light photography
The quality of light changes significantly depending on the position of the sun in the sky. Photographers categorize these periods to achieve specific aesthetic results, ranging from the soft glow of dawn to the harsh contrast of midday.
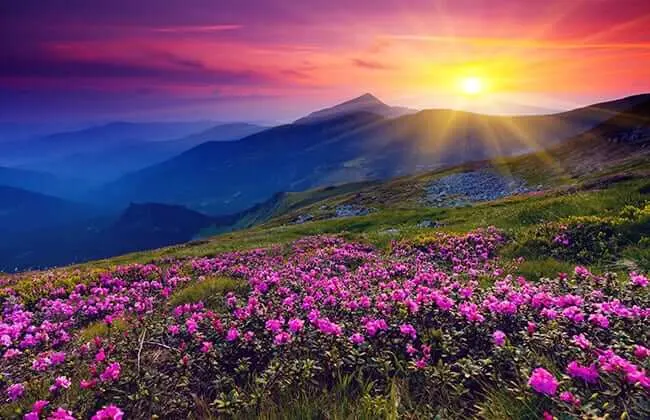
- Golden Hour: Occurs shortly after sunrise and before sunset, providing warm, golden tones and long, soft shadows.
- Blue Hour: The period just before sunrise or after sunset when the sky takes on a deep, cool blue hue.
- Midday: High noon provides intense, overhead light that creates deep, high-contrast shadows, often used for dramatic or architectural work.
- Overcast: Cloud cover acts as a giant softbox, diffusing sunlight to create even, shadowless illumination ideal for portraits.
Understanding these windows allows you to plan shoots effectively. For instance, if you want flattering skin tones, the soft, diffused light of the golden hour or an overcast day is superior to the harsh glare of noon.
How to use natural light effectively
To master natural light, you must learn to manipulate your position relative to the light source. You do not need to move the sun, but you can move your subject or yourself to change how the light interacts with the scene.
- Front lighting: The light source is behind the camera, illuminating the subject fully and minimizing shadows.
- Side lighting: Light strikes the subject from the side, emphasizing texture, depth, and three-dimensional form.
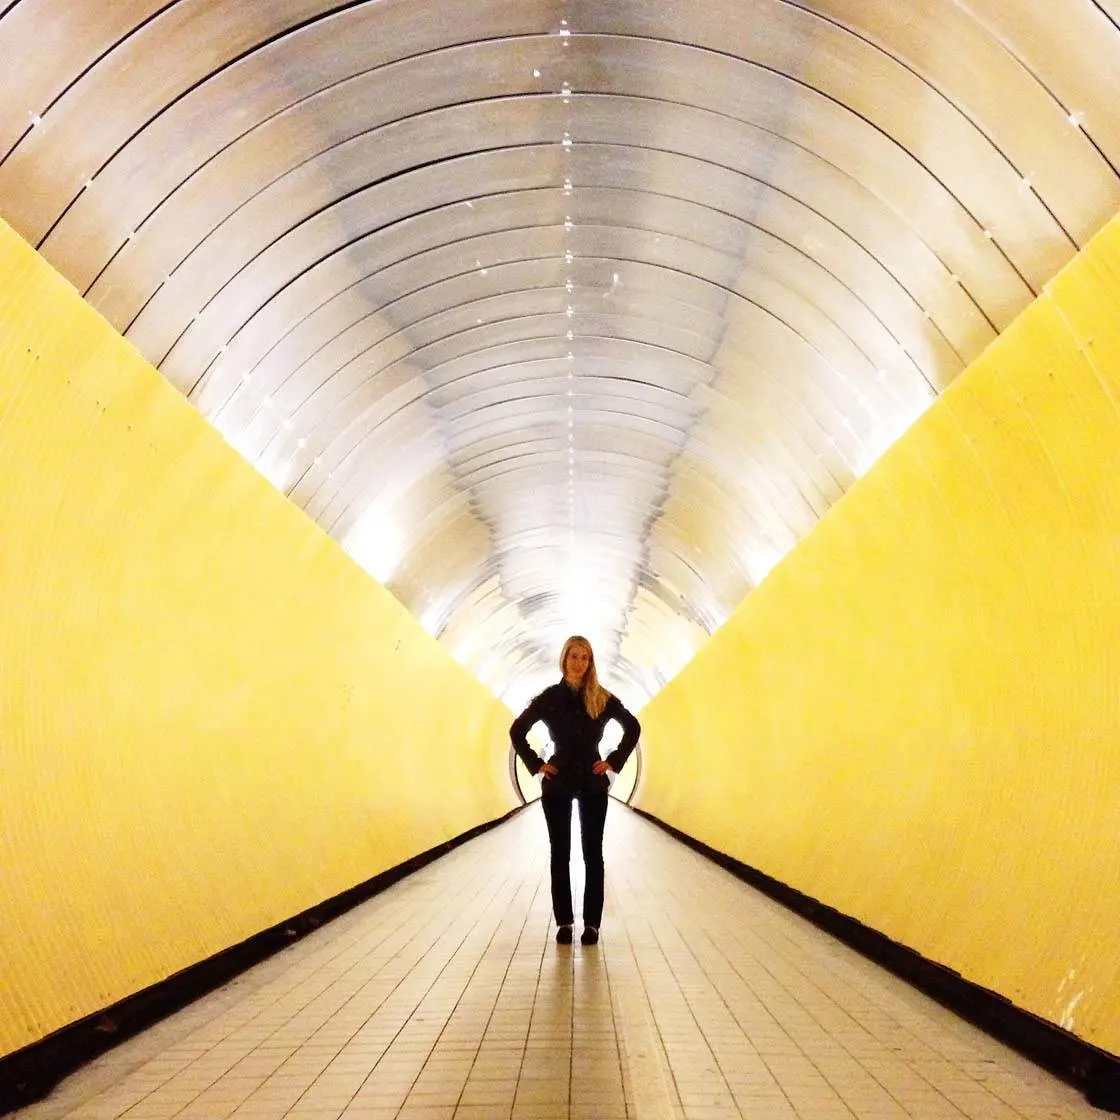
- Backlighting: The light source is behind the subject, which can create a halo effect or silhouette if the subject is underexposed.
- Reflected light: Use white boards, foam core, or light-colored walls to bounce light into shadowed areas of your subject.
By moving your subject closer to a window indoors or rotating them outdoors, you can dramatically alter the mood of the image. Always observe where the shadows land before you press the shutter.
Common mistakes when shooting in natural light
Even experienced photographers occasionally struggle with the unpredictability of natural light. The most frequent error is failing to account for the color temperature shift as the day progresses. Early morning and late evening light are warm and orange, while midday light is cool and blue. If your camera is set to a fixed white balance, your colors may look unnatural.
Another common mistake is ignoring the dynamic range of a scene. When shooting in bright sunlight, the difference between the highlights and the shadows can exceed what a camera sensor can capture. This leads to "blown-out" highlights or "crushed" shadows that lose all detail. To avoid this, try to find open shade where the light is consistent, or use a reflector to fill in the dark areas. Finally, avoid shooting portraits in direct, harsh sunlight, as it creates unflattering raccoon-like shadows under the eyes and nose.
How to prepare for natural light shoots
Preparation is essential when you cannot control your light source. Start by scouting your location at different times of the day to see how the light interacts with the environment. Use mobile applications that track the sun's path to predict exactly where shadows will fall during your scheduled shoot.
- Check the weather forecast to anticipate cloud cover or potential changes in lighting conditions.
- Pack a portable reflector to bounce light into deep shadows if the sun is too harsh.
- Bring a lens hood to prevent lens flare, which can wash out your image when shooting toward the sun.
- Carry a neutral density filter if you need to control exposure in very bright conditions without changing your aperture settings.
By anticipating these variables, you ensure that you are ready to capture the perfect moment regardless of how the light shifts. Flexibility and patience remain the most important tools in any natural light photographer's kit, as the best light often appears for only a few fleeting minutes.
Key facts
- Natural light refers to any light source that is not man-made, primarily sunlight, moonlight, or ambient light from the sky.
- The "Golden Hour," occurring shortly after sunrise and just before sunset, provides soft, warm, and flattering light for photography.
- Midday sun creates harsh, high-contrast shadows that are often avoided unless the photographer is seeking a dramatic, graphic aesthetic.
- Overcast days act as a giant softbox, diffusing light to eliminate harsh shadows and create even, flattering illumination for portraits.
- Window light is a staple for indoor natural light photography, providing directional illumination that can be controlled with sheer curtains or reflectors.
- A reflector, such as a white foam board or a collapsible disc, is essential for bouncing natural light into shadows to fill in dark areas.
The bottom line
Natural light photography relies on the sun’s shifting qualities to define mood, texture, and color. By mastering the timing of the golden hour, utilizing soft overcast light, and employing simple tools like reflectors, photographers can capture professional-grade images without artificial equipment. The key is to observe how light interacts with your environment, allowing the natural world to dictate the aesthetic and emotional impact of every photograph.
People also ask
What is the best time of day to shoot portraits using natural light?
The best times are during the golden hour, which occurs during the first and last hours of sunlight each day. This period provides a soft, golden glow that minimizes harsh highlights and skin imperfections.
How can I avoid harsh shadows when shooting in direct sunlight?
Move your subject into the shade, such as under a tree or the side of a building. If you must shoot in direct sun, use a diffuser to soften the light or position the sun behind the subject for a rim-lighting effect.
What camera settings are most important for natural light photography?
Aperture is crucial for controlling depth of field, while shutter speed must be fast enough to prevent blur. Because natural light fluctuates, prioritize using a low ISO to maintain image quality and avoid digital noise.
Should I use a flash if I am shooting with natural light?
You can use a flash as "fill light" to brighten shadows on a subject's face when the natural light is coming from behind them. The goal is to balance the flash output so it complements the existing light rather than overpowering it.
How does the color temperature of natural light change throughout the day?
Natural light shifts from cool, blue tones during the early morning and twilight to warm, orange hues during sunrise and sunset. Midday light is typically neutral but can appear stark and high-contrast.
What is the "Blue Hour" in photography?
The blue hour happens just before sunrise or just after sunset when the sun is below the horizon. It creates a deep, cool-toned blue atmosphere that is excellent for landscapes and urban night photography.
This answer was created with the help of AI research tools and reference sources. Spotted an error? Let us know — we correct mistakes quickly. See our editorial policy.