How do you draw a kite step by step?
Short answer
Drawing a classic diamond-shaped kite involves constructing a geometric framework of intersecting lines. You begin by sketching a vertical spine and a horizontal crossbar, then connect the four endpoints to form a diamond. Adding details like a tail, bow ties, and a string completes the illustration with clear, professional proportions.
On this page
How to draw the basic kite shape
The foundational structure of a kite is a diamond, which is technically a rhombus or a kite-shaped quadrilateral. To begin, use a ruler to draw a vertical line that serves as the spine of the kite, typically making the top portion slightly shorter than the bottom portion for a balanced look. Next, draw a horizontal crossbar that intersects the vertical line, usually positioned about one-third of the way down from the top. This intersection point is the anchor for the kite's frame.
Once the crossbar is in place, connect the four endpoints—the top, bottom, and two sides—with straight lines to create the diamond outline. Ensure your lines are crisp and symmetrical to give the drawing a clean aesthetic. If you are struggling to keep the sides even, lightly sketch a rectangle first and mark the center points of each side, then connect those marks to form the diamond shape inside.
How to add realistic kite details
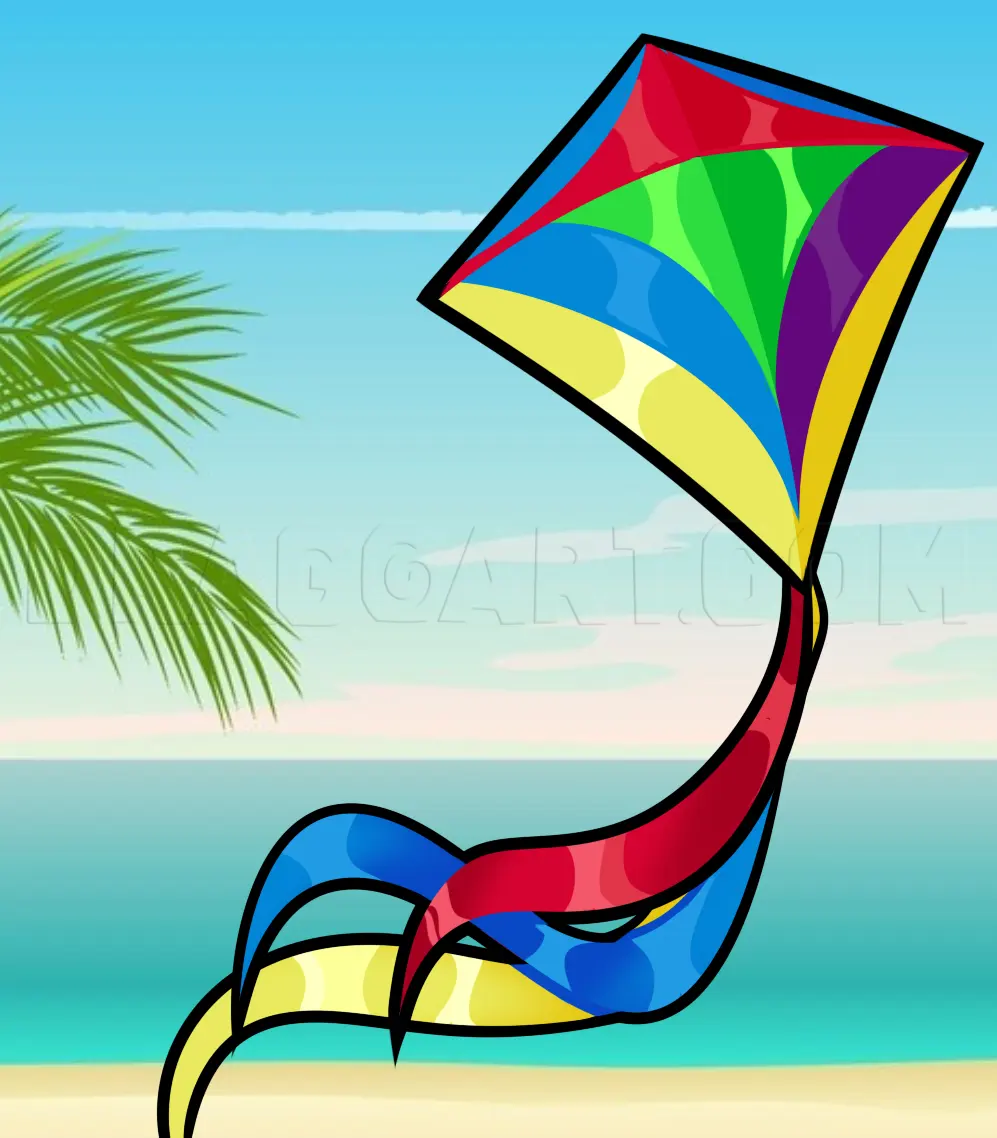
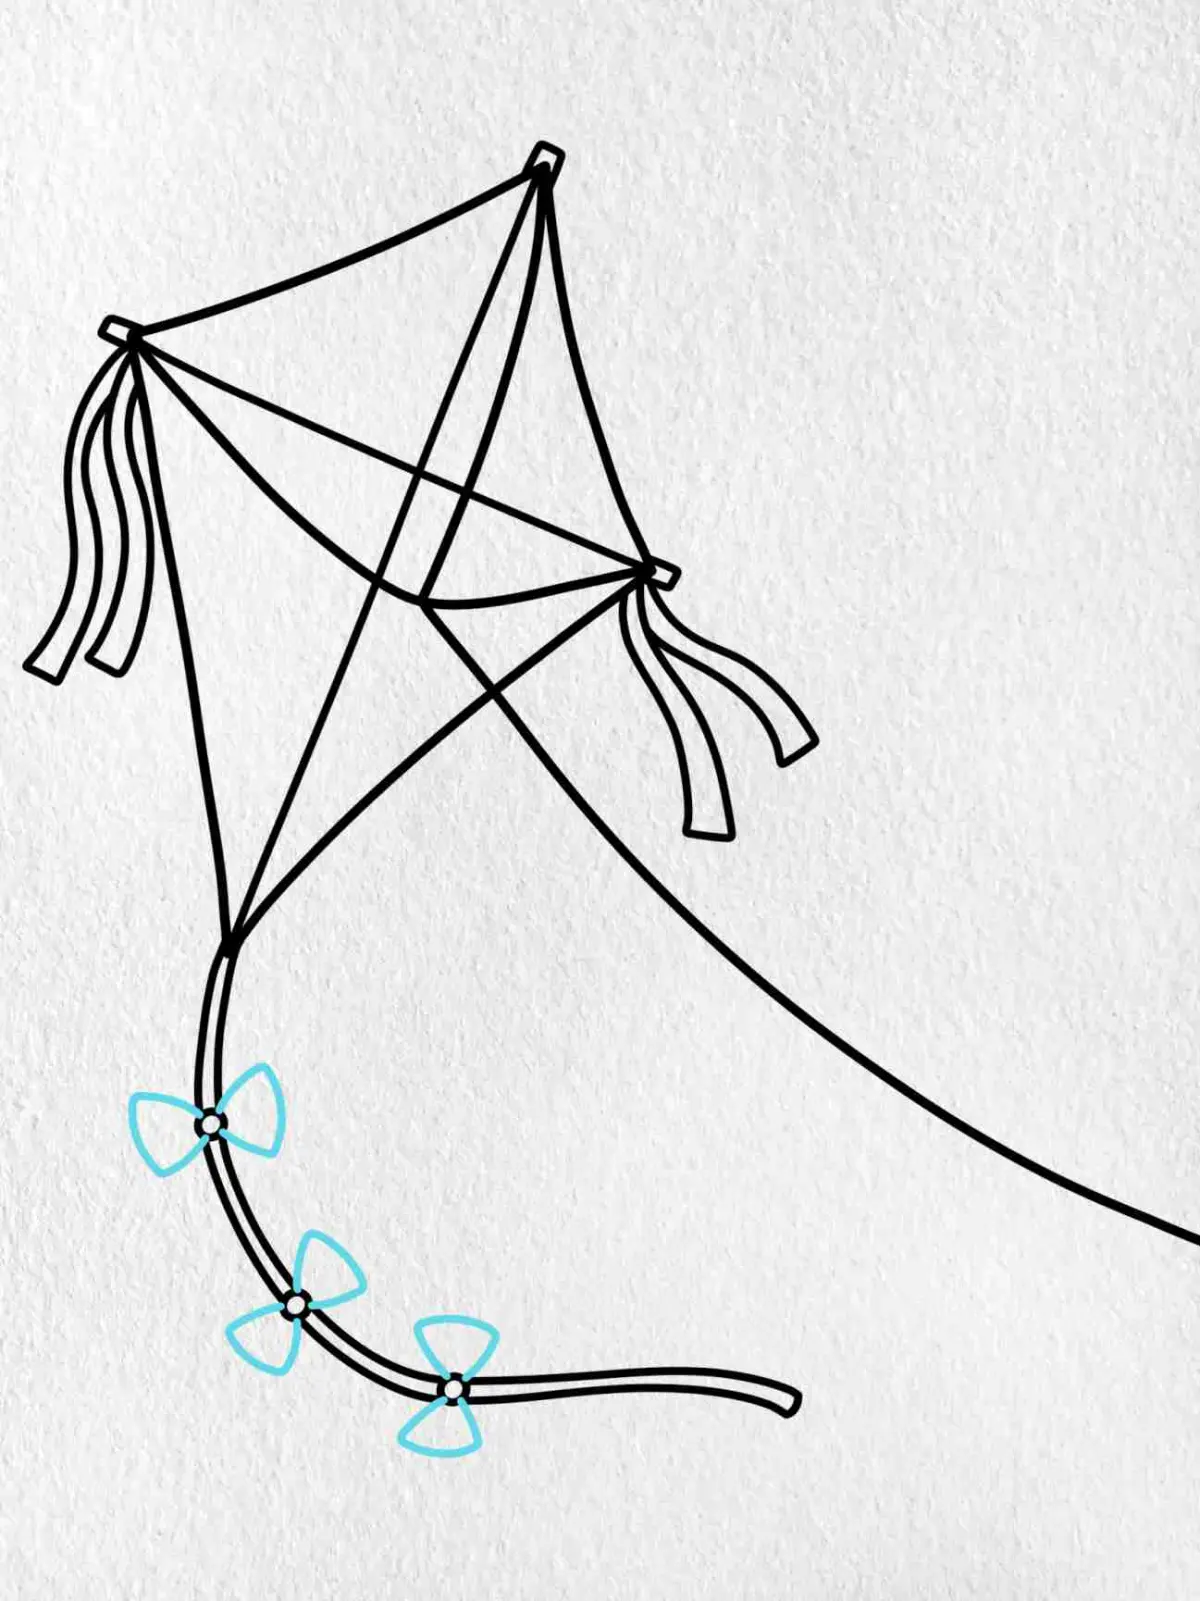
After establishing the diamond frame, you should add the physical features that make a kite recognizable. Start by drawing a small loop or circle at the intersection point where the two spars meet; this represents the bridle point where the flying line attaches. You can also draw a thin, wavy line extending from the bottom point of the kite to represent the tail. Adding small, evenly spaced triangles or circles along this tail creates the decorative bows often seen on traditional kites.
To add depth, draw double lines for the frame to show the thickness of the wooden spars. You can also add subtle diagonal lines across the surface of the diamond to suggest the fabric or plastic material stretched over the frame. These small refinements turn a simple geometric shape into a detailed illustration. Consider the following additions to enhance your drawing:
- A spool of string held by a small hand or resting on the ground.
- Clouds or birds in the background to provide context and scale.
- Shading on one side of the kite to indicate a light source.
Best drawing tools for beginners
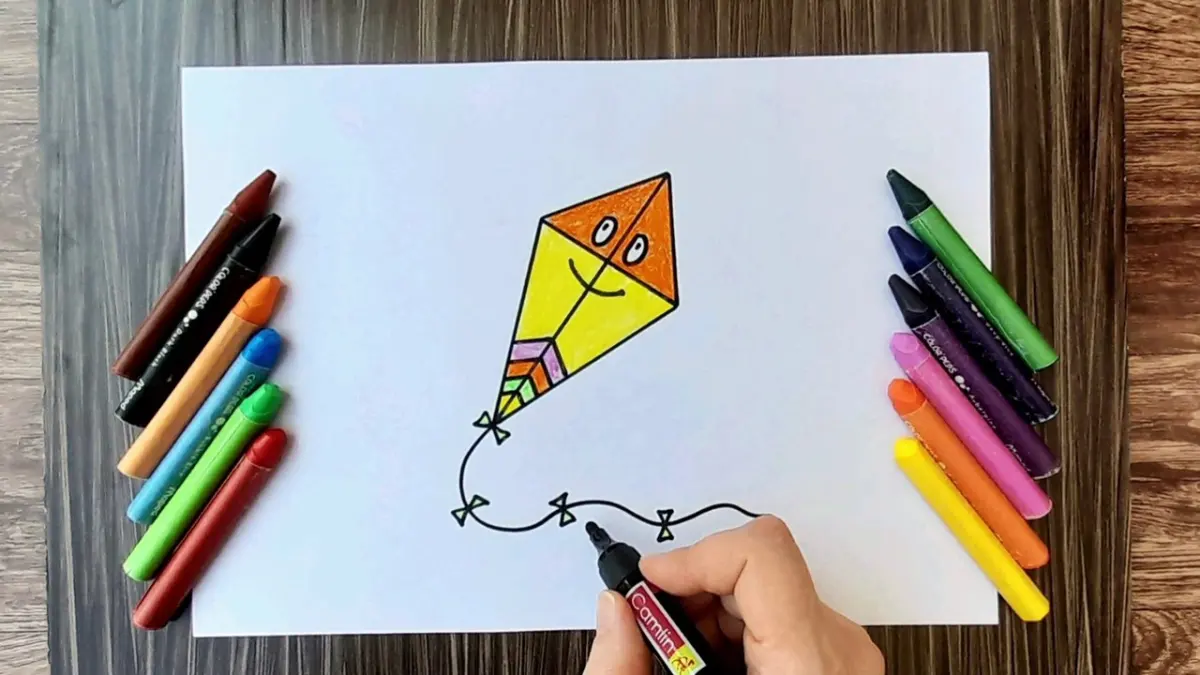
For those new to sketching, using the right equipment can significantly improve the quality of your final image. A standard HB graphite pencil is ideal for the initial layout because it is easy to erase if you make a mistake. Once you are satisfied with the structure, use a fine-liner pen or a felt-tip marker to go over your lines. This creates a bold, professional look that stands out clearly on the page.
For coloring, colored pencils provide excellent control for shading the kite’s panels. If you prefer a more vibrant, graphic look, markers are a great choice, though they require a steady hand to avoid bleeding outside the lines. Always keep a high-quality eraser nearby to clean up any construction lines that are no longer needed. By using a ruler for the frame and freehand for the tail, you balance technical precision with artistic flair.
Common mistakes when drawing a kite
One of the most frequent errors is creating an asymmetrical frame, which makes the kite look lopsided or unstable. To avoid this, always measure the distance from the center intersection to each of the four tips to ensure they are balanced. Another common mistake is drawing the tail too stiffly; a kite tail should look like it is moving in the wind, so use soft, flowing curves rather than rigid, straight lines.
Another issue involves the placement of the crossbar. If the crossbar is placed exactly in the middle of the vertical spine, the kite may look like a square turned on its side rather than a classic diamond kite. Remember that the horizontal spar should be closer to the top of the vertical spine to achieve the traditional silhouette. Avoid these pitfalls by following these steps:
- Use a ruler for all straight edges to maintain geometric accuracy.
- Sketch lightly until you are confident in the proportions of the diamond.
- Ensure the tail originates from the very bottom tip of the kite.
How to shade and finish your drawing
Shading is the final step that brings your kite to life and prevents it from looking flat. Choose a consistent direction for your light source, such as the top right, and apply darker shading to the opposite side of the kite’s frame. You can also add a slight shadow on the ground beneath the kite if you have drawn it flying in the sky. This creates the illusion that the kite is suspended in the air.
Finally, consider the texture of the kite. If you want it to look like a classic paper kite, you might add subtle wrinkles or creases using very light pencil strokes. If it is a modern nylon kite, keep the surfaces smooth and use bright, solid colors. Once you have finished your shading, erase any remaining construction marks or smudges to give the drawing a clean, polished appearance. With these steps, you will have a complete and accurate representation of a kite.
Key facts
- A classic diamond kite consists of two crossed sticks, one shorter than the other, forming a frame.
- The horizontal crossbar should be positioned about one-third of the way down the vertical spine.
- Use lightweight materials like balsa wood or dowels for the frame to ensure the kite can achieve lift.
- Secure the intersection of the sticks with strong string or adhesive tape to prevent the frame from shifting.
- The bridle, the string that connects the kite to the flying line, should be attached to both the top and bottom of the spine.
- Adding a tail made of fabric or plastic ribbon provides necessary drag to keep the kite stable in the air.
The bottom line
To draw or build a classic diamond kite, focus on creating a balanced frame using a vertical spine and a shorter horizontal crossbar. Secure the joints tightly, cover the frame with lightweight material, and attach a long tail for stability. By following these precise structural steps and selecting appropriate materials, you ensure your kite remains aerodynamic, balanced, and ready for a successful flight in a steady breeze.
People also ask
What is the best material for a kite sail?
Lightweight plastic bags, tissue paper, or ripstop nylon are ideal because they are thin and do not add unnecessary weight. Avoid heavy fabrics like denim or canvas, which are too dense for flight.
Why does my kite keep spinning in circles?
Spinning usually indicates that the kite is unbalanced or the bridle is attached incorrectly. Ensure the crossbar is perfectly centered and that the tail is long enough to provide stability.
How long should a kite tail be?
A good rule of thumb is to make the tail at least five to eight times the length of the kite's vertical spine. If the kite remains unstable, simply add more length to the tail to increase drag.
Can I use regular sewing thread for the flying line?
Sewing thread is generally too weak and may snap under the tension of a breeze. Use braided nylon kite string or high-strength fishing line to ensure the kite remains attached to the handle.
Where is the best place to fly a kite?
Open areas like parks, beaches, or large fields away from power lines and trees are safest. Avoid flying near roads or airports to prevent accidents and interference with traffic.
How do I know if the wind is strong enough?
A light breeze that moves leaves on trees is usually sufficient for a homemade kite. If the wind is too strong, the frame may buckle or snap, so avoid flying during gusty or stormy weather.
This answer was created with the help of AI research tools and reference sources. Spotted an error? Let us know — we correct mistakes quickly. See our editorial policy.