How do you draw a frog?
Short answer
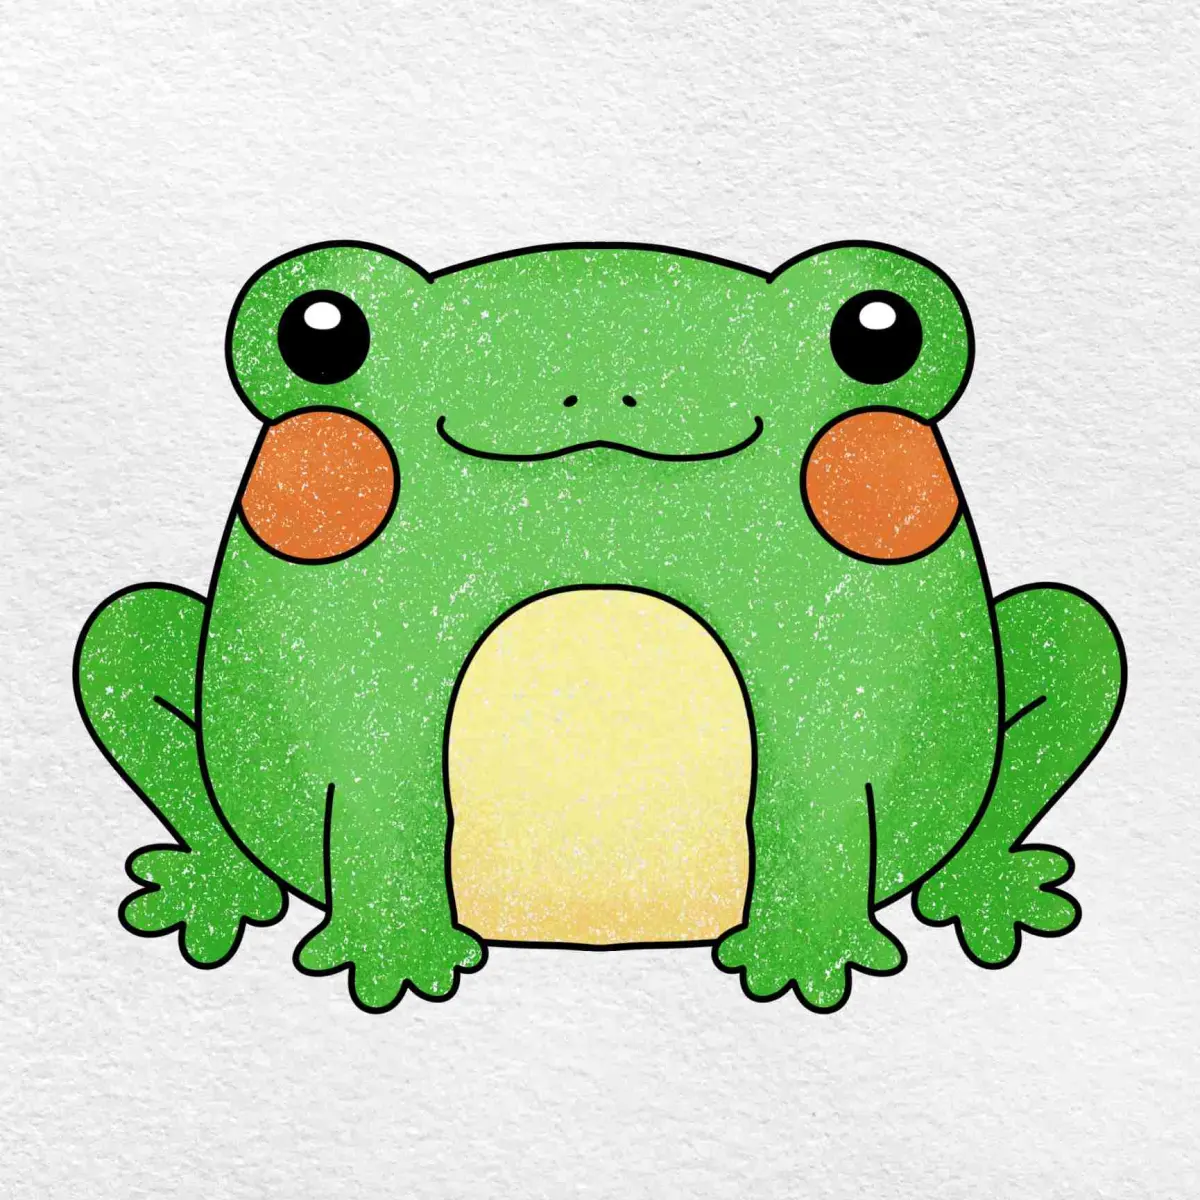
Drawing a frog involves constructing its iconic silhouette using simple geometric shapes. Begin by sketching an oval for the body and a smaller circle for the head. Add powerful, folded hind legs and smaller front limbs, then refine the contours to create the amphibian’s characteristic hunched posture and wide, expressive eyes.
On this page
How to draw a frog step by step
To begin your drawing, focus on the frog's unique skeletal structure. Start by lightly sketching a large horizontal oval for the main body and a slightly flattened circle overlapping the front for the head. These shapes provide the foundation for the frog's hunched, compact anatomy. Ensure the head is positioned slightly lower than the highest point of the back to capture the natural resting pose.
Once your basic shapes are established, follow these steps to add the limbs and features:
- Draw two large, elongated "Z" shapes on either side of the body to represent the powerful, folded hind legs.
- Add shorter, simpler lines for the front arms, ending in small, splayed toes.
- Place two large circles on top of the head for the eyes, ensuring they bulge slightly beyond the skull’s outline.
- Draw a wide, curved line for the mouth, extending from one side of the head to the other.
- Connect these components with smooth, flowing lines to create a cohesive silhouette.
Best drawing tools for beginners
For those new to sketching, starting with the right materials can significantly improve your results. A standard HB graphite pencil is ideal for the initial construction lines because it is easy to erase without damaging the paper. If you prefer more control, use a 2H pencil for the faint guidelines, as it leaves a lighter mark that is less likely to smudge during the later stages of your drawing.
When you are ready to finalize your work, consider using archival-quality pens or darker graphite like 4B for the final outlines. A kneaded eraser is also an essential tool for beginners, as it allows you to lift graphite off the page gently rather than scrubbing it away. Avoid using heavy pressure early on, as this creates indentations in the paper that are difficult to hide once you begin adding shading or color to your frog illustration.
![Frog Drawing Guide: 5 Simple Steps [Video + Illustrations]](/img/bd/how-do-you-draw-a-frog-2.webp)
Why frog anatomy looks the way it does
Frogs are amphibians, and their bodies are specifically adapted for both swimming and jumping. Their lack of a neck and their shortened spine are evolutionary traits that allow them to absorb the shock of landing after a powerful leap. When drawing a frog, notice how the hind legs are much longer than the rest of the body; this is because the femur and tibia are elongated to provide maximum leverage for propulsion.
The eyes are another defining feature, positioned high on the head to allow the frog to see above the water's surface while its body remains submerged. Their skin is typically moist and permeable, which often translates into a smooth, rounded appearance in drawings. By understanding these biological functions, you can better interpret the shapes you see in nature. When you observe a real frog, notice how its weight is distributed toward the rear, which dictates the characteristic "hunched" posture seen in most artistic depictions.

Common mistakes when drawing frogs
A frequent error is making the legs too thin or failing to connect them properly to the torso. Because a frog's legs are its most powerful feature, they should look muscular and substantial, not spindly or stick-like. Another common oversight is neglecting the webbing between the toes. Even in a simple sketch, adding small, triangular shapes between the digits adds a layer of realism that distinguishes a frog from other small animals.
Another mistake involves the placement of the eyes. Beginners often draw them too far apart or too small, which can make the frog look more like a lizard or a cartoon character. Remember that a frog’s eyes are large and prominent, taking up a significant portion of the upper head. If the eyes look flat, try adding a small highlight or a circular pupil to create depth. Finally, ensure the mouth follows the curve of the head rather than drawing it as a straight, rigid line, which can make the frog appear unnatural or stiff.
How to add texture and shading to frogs
Once your outline is complete, you can bring your drawing to life by adding texture and depth. Frogs often have bumpy or spotted skin, which can be represented by clusters of small dots or irregular, shaded patches across the back. Use the side of your pencil to create soft, rounded shading along the sides of the body, which helps to emphasize the frog’s volume and spherical shape.
To achieve a professional look, focus on these shading techniques:
- Use cross-hatching on the underside of the legs to create deep shadows and define the muscle mass.
- Leave a small white space inside the eyes to represent the reflection of light, which adds a lifelike sparkle.
- Apply darker values near the bottom of the body to ground the frog on the surface it is sitting on.
- Use a blending stump or a soft tissue to smooth out transitions between light and shadow, giving the skin a moist, realistic appearance.
By focusing on these subtle details, you transform a basic geometric sketch into a convincing, three-dimensional representation of a living creature.
Key facts
- Frogs are characterized by their lack of a neck, which makes the head and body appear as one continuous, rounded shape.
- The eyes of a frog are positioned high on the head, often protruding outward, which is a key anatomical feature to capture.
- A frog’s back legs are significantly longer and more muscular than its front legs, designed for jumping.
- Use simple geometric shapes like circles and ovals to establish the frog's basic posture before adding details.
- Webbed feet are essential for an accurate depiction, typically featuring four toes on the front and five on the back.
- Keep the spine slightly arched or curved to suggest the frog is ready to spring into action.
The bottom line
Drawing a frog is an exercise in simplifying complex anatomy into basic geometric forms. By focusing on the characteristic rounded body, the high-set eyes, and the powerful, folded hind legs, you can create a recognizable figure. Remember to keep the neck non-existent and the skin texture subtle. With these foundational steps, you can capture the essence of a frog's unique posture and natural, alert energy.
People also ask
How do I make a frog look like it is sitting?
Draw a large, horizontal oval for the body and a smaller circle for the head. Fold the back legs tightly against the sides of the body so the knees point upward near the head.
What is the most common mistake when drawing a frog?
Artists often draw the neck too long or define it too clearly. Frogs have very short necks, so the head should transition smoothly directly into the torso.
Should I draw the frog's mouth open or closed?
A closed mouth is easier to draw as a simple curved line that follows the shape of the head. An open mouth requires careful attention to the jaw hinge, which sits far back near the eye.
How do I draw realistic frog skin?
Use light stippling or small, irregular dots to suggest texture rather than drawing every bump. Keep the skin looking moist by adding a small, bright white highlight on the top of the back.
Why do my frog drawings look like toads?
Toads have shorter, thicker legs and drier, bumpier skin. If your drawing looks too heavy or squat, lengthen the legs and smooth out the skin texture to achieve a frog-like appearance.
What pencils should I use for sketching?
Start with a light 2H pencil to outline the basic shapes without leaving heavy marks. Switch to a softer 2B or 4B pencil to add depth, shadows, and final details.
This answer was created with the help of AI research tools and reference sources. Spotted an error? Let us know — we correct mistakes quickly. See our editorial policy.