How do you draw a computer?
Short answer
Drawing a computer involves constructing a rectangular screen atop a slightly thinner, trapezoidal base or keyboard. Start with basic geometric shapes to establish perspective, then add details like the bezel, ports, and buttons. By layering these simple forms, you can accurately represent both modern desktop monitors and classic laptop designs.
On this page
How to draw a computer for beginners
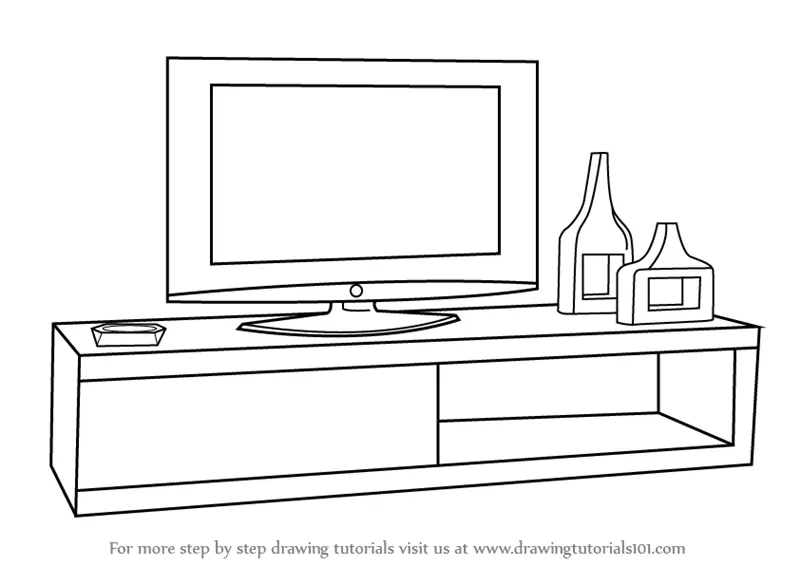
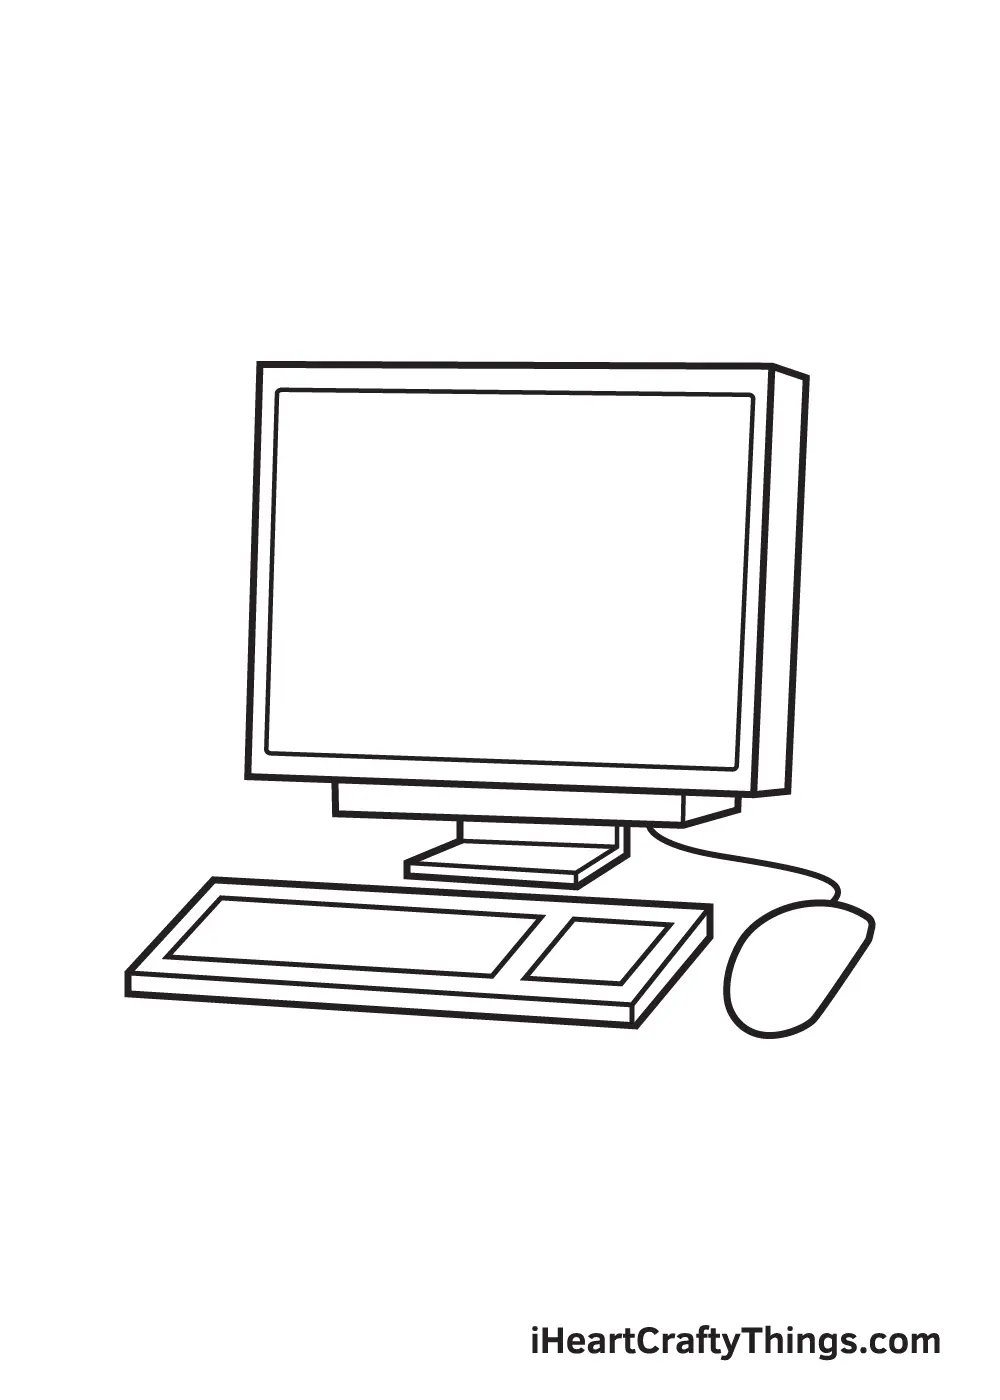
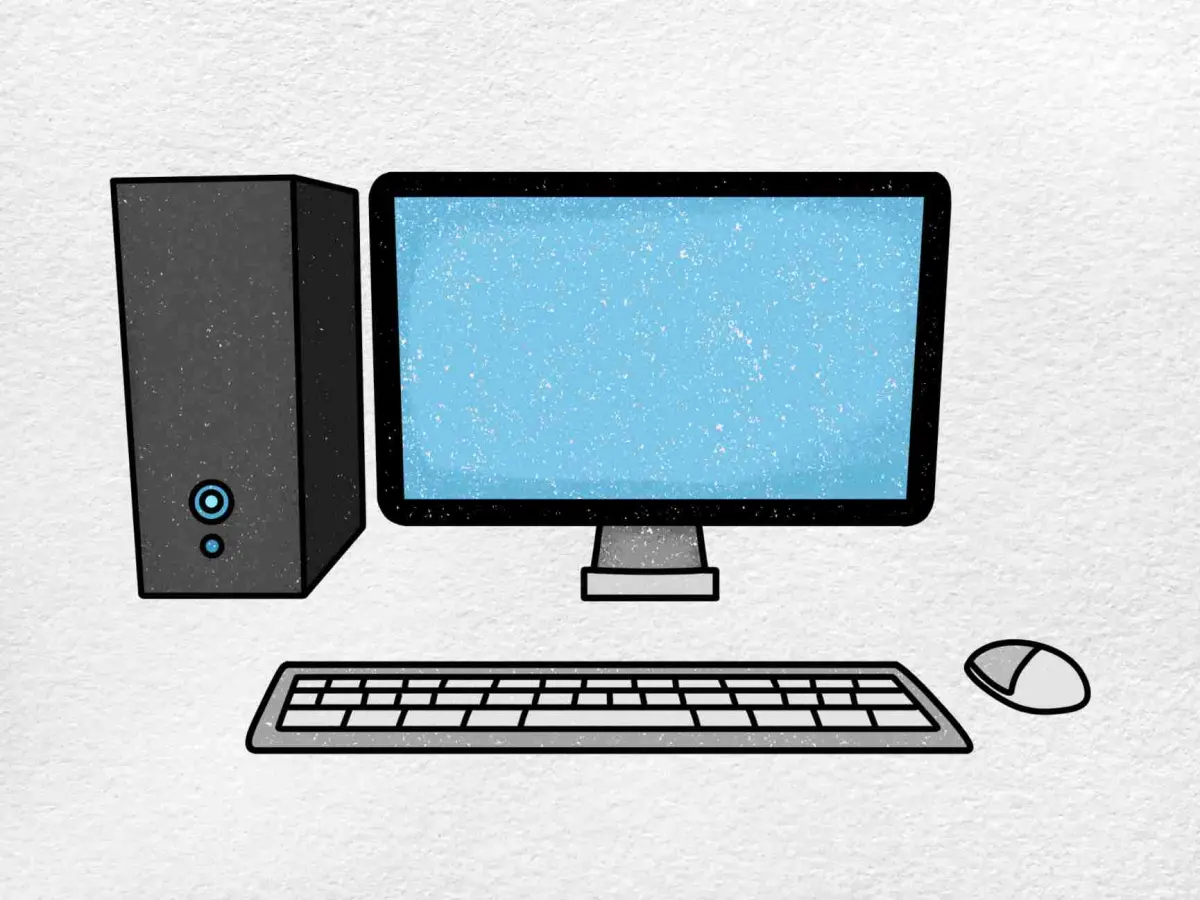
To begin drawing a computer, start with a simple rectangle for the screen. Use a ruler to ensure your lines are straight, as computers are defined by their precise, manufactured edges. Once you have the main screen, draw a slightly smaller rectangle inside it to represent the display area. This creates the bezel, which is the frame surrounding the active screen.
For a desktop setup, draw a small rectangle or cylinder beneath the screen to serve as a stand. If you are drawing a laptop, draw a thin, flat rectangle attached to the bottom of the screen at an angle to represent the keyboard deck. Keep your initial lines light so you can easily erase them later.
- Sketch a large rectangle for the monitor.
- Add a smaller, centered rectangle for the screen.
- Draw a base or stand at the bottom.
- Refine the edges to create a 3D effect.
How to add perspective to your drawing
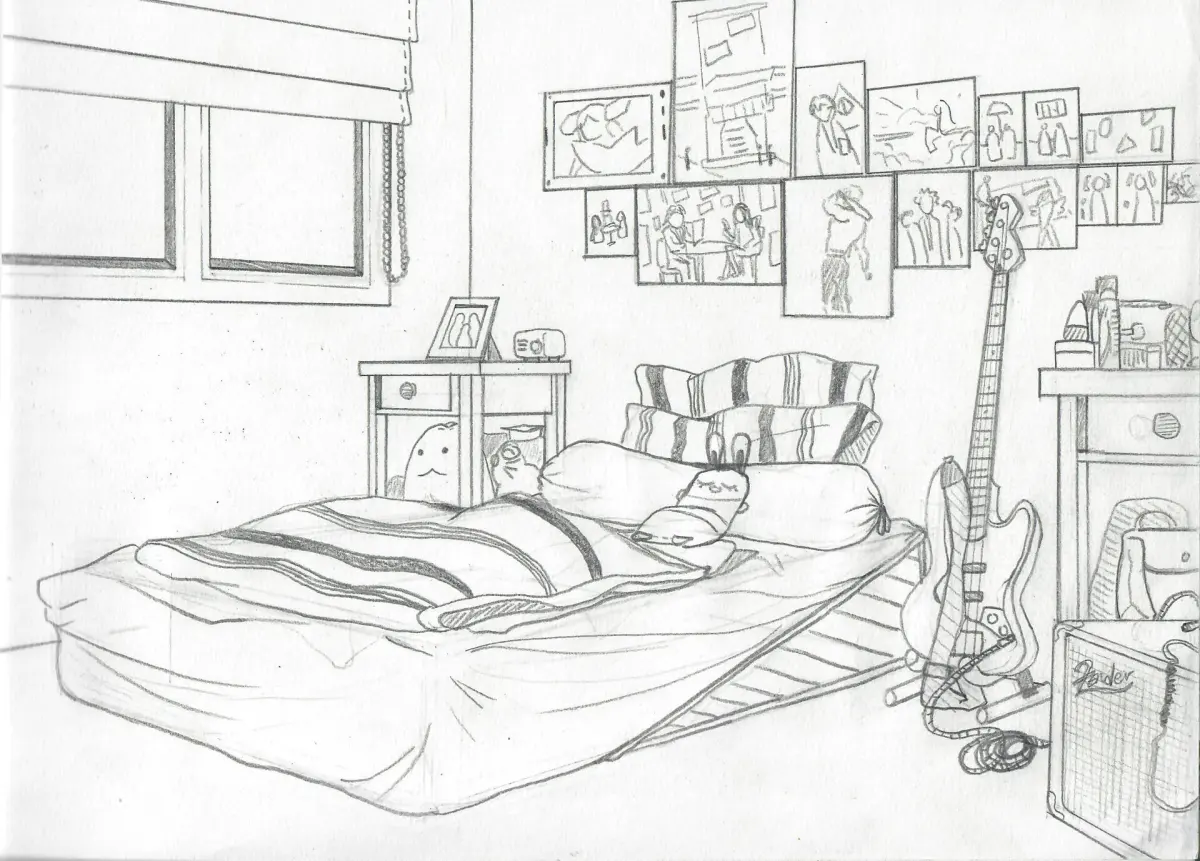
Perspective is essential for making a computer look realistic rather than flat. Use two-point perspective if you want to show the side of the monitor or laptop. Draw a horizon line and place two vanishing points on it. All the lines representing the depth of the computer should converge toward these points. This technique prevents the object from looking distorted or lopsided.
When drawing the keyboard of a laptop, remember that the keys should appear thinner as they move toward the back of the device. Use a series of parallel lines to create the grid for the keys. By applying these architectural drawing principles, you ensure that the computer occupies a believable space on your paper.
- Use a vanishing point to guide depth lines.
- Ensure parallel lines remain consistent in length.
- Adjust the angle of the lid to show perspective.
Best tools for drawing electronics
Using the right tools makes technical drawing significantly easier. Start with a hard lead pencil, such as an H or 2H, to sketch your initial guidelines. These pencils leave faint marks that are simple to remove once you are ready to ink your final drawing. For the final lines, use a fine-liner pen or a drafting pen to create sharp, clean edges that mimic the sleek look of modern technology.
A metal ruler is an indispensable tool for this task. Because computers consist almost entirely of straight lines and right angles, a steady guide is necessary for professional results. If you are adding shading, a set of grey-tone markers or soft graphite pencils can help you represent the metallic or plastic textures of the computer casing. Avoid smudging by working from the top left of the page to the bottom right.
Why computer proportions matter
Proportions are the most critical factor in achieving a recognizable drawing. Most monitors follow a 16:9 aspect ratio, meaning they are significantly wider than they are tall. If you draw a square screen, it will immediately look incorrect to the viewer. Research common screen sizes or look at your own computer to observe how the width relates to the height.
The keyboard area should also be proportional to the screen. On a laptop, the keyboard deck is typically about one-third the thickness of the screen assembly. If the keyboard looks too thick or too thin, the entire drawing will lose its sense of realism. Always compare the size of the buttons to the overall width of the device to ensure they are not too large or crowded.
Common mistakes when drawing computers
One of the most frequent errors is failing to account for the thickness of the frame. Beginners often draw a single line for the screen, but real computers have a physical depth. Always draw a side panel or a thin edge to show that the monitor is a three-dimensional object. Another mistake is drawing the keyboard keys as perfect squares; in reality, keys are slightly rectangular and have small gaps between them.
Avoid drawing overly complicated details too early in the process. Focus on the silhouette and the primary shapes before adding ports, logos, or power buttons. If you try to draw individual keyboard letters before the perspective is correct, you will likely have to erase them later. Take your time to build the structure step by step, ensuring every line serves a purpose in defining the final form of the machine.
Key facts
- Start by drawing a large rectangle for the monitor screen and a smaller, thinner rectangle below it for the keyboard.
- Use a ruler to ensure your straight lines are crisp, as computers are defined by their geometric, industrial design.
- Add a small square or circle in the bottom right corner of the screen to represent the power button.
- Draw the keyboard with a grid of small squares, leaving slight gaps between them to mimic individual keys.
- Include a thin, horizontal rectangle at the very base of the monitor to serve as the stand.
- Avoid drawing curved or organic lines, as modern computer hardware is almost exclusively composed of sharp, right-angled edges.
The bottom line
Drawing a computer is an exercise in mastering geometric shapes and clean, parallel lines. By focusing on the rigid rectangular forms of the monitor and keyboard, you create a recognizable structure. Remember to use a ruler for precision and keep your details minimal to maintain a sleek, modern aesthetic. With these basic steps, you can accurately represent any standard desktop or laptop computer with ease.
People also ask
Should I draw a desktop or a laptop computer?
A desktop is easier for beginners because it separates the screen from the keyboard into two distinct shapes. Laptops require drawing a hinge, which adds complexity to the perspective.
How do I make the screen look like it is turned on?
Draw a smaller rectangle inside the main screen area and color it a bright blue or white. You can add a simple icon, like a small window or a folder, to suggest a desktop interface.
What is the most common mistake when drawing a computer?
The most common error is failing to use a straight edge, which makes the device look melted or distorted. Always use a ruler to maintain the rigid, manufactured look of electronic hardware.
How do I show the thickness of the monitor?
Draw a thin line along the side of the rectangle and connect it to the back panel. This creates a three-dimensional depth that makes the screen look like a physical object.
Should I add cables to my drawing?
Adding a single, curved line coming from the back of the monitor adds realism. Keep it simple so the wire does not distract from the main rectangular structure of the machine.
What perspective is best for a computer drawing?
A three-quarter view is the most professional choice. It allows you to show the front of the screen and the top of the keyboard simultaneously, providing a clear sense of space.
This answer was created with the help of AI research tools and reference sources. Spotted an error? Let us know — we correct mistakes quickly. See our editorial policy.