How do you draw a city street step by step?
Short answer
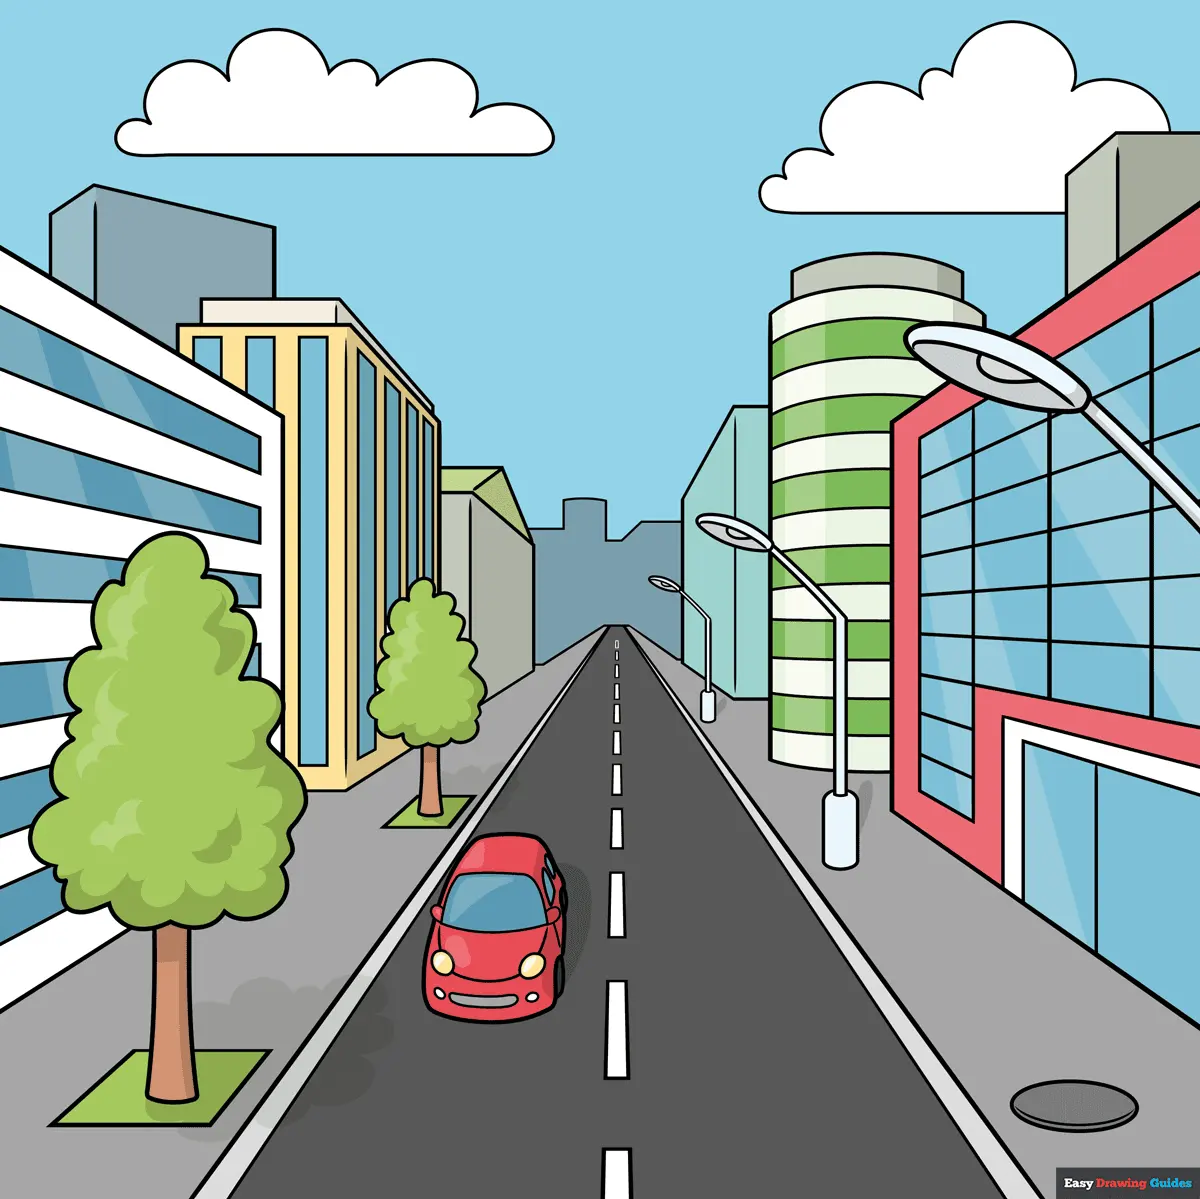
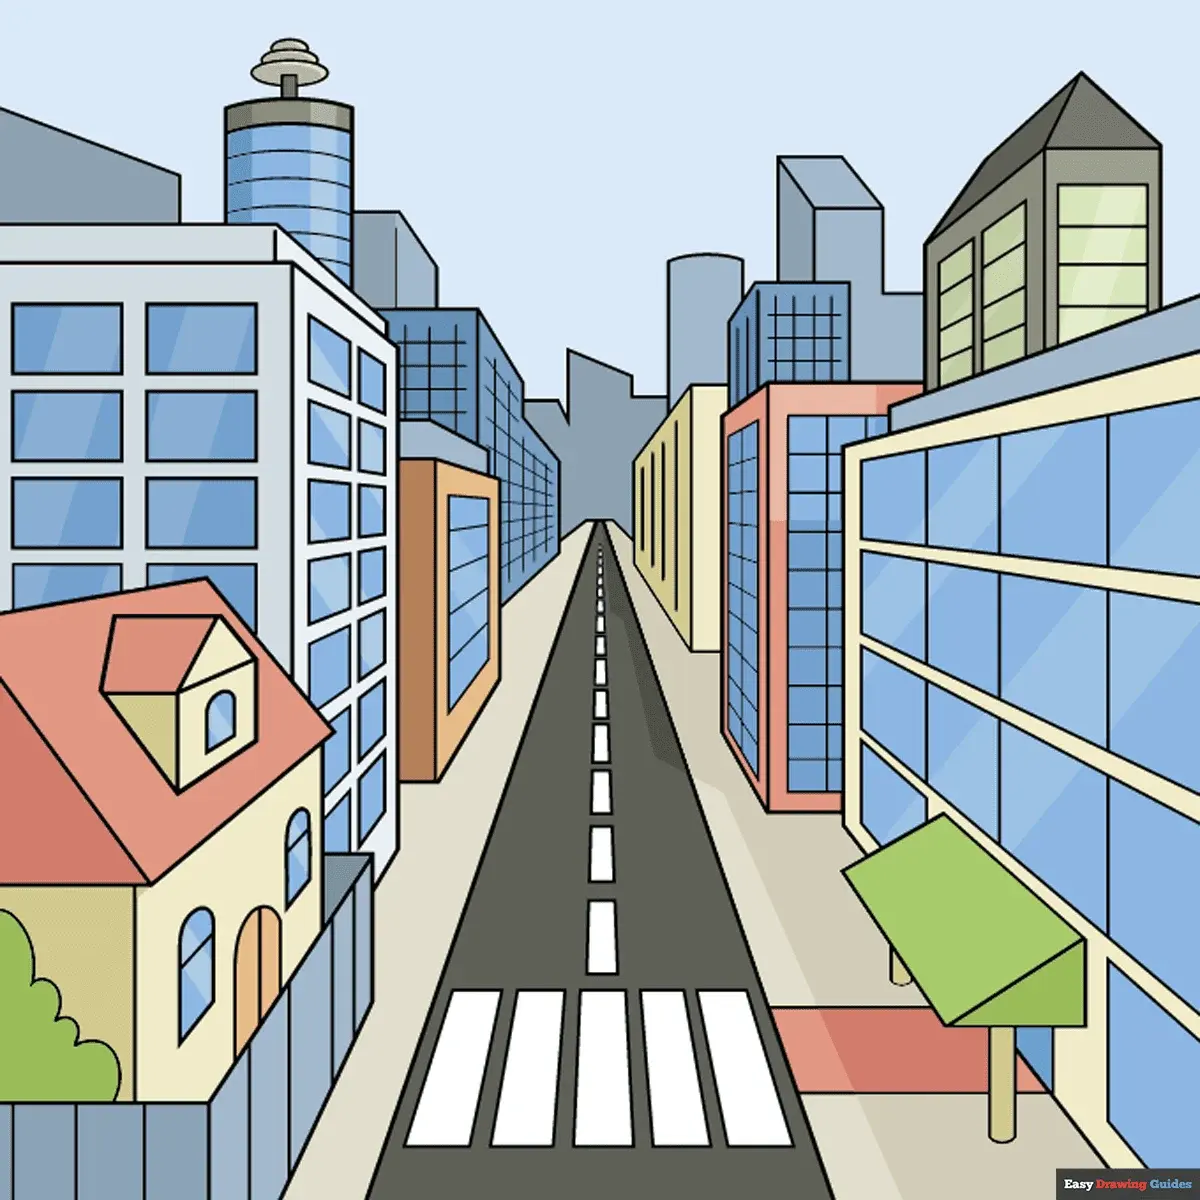
Drawing a city street relies on one-point perspective to create depth and realism. By establishing a horizon line and a single vanishing point, you can guide parallel lines toward the center of the page. This technique organizes buildings, sidewalks, and roads into a cohesive scene that mimics human vision and architectural accuracy.
On this page
How to set up perspective for city streets
The foundation of any realistic street drawing is the horizon line, which represents the viewer's eye level. Place this horizontal line across your paper, typically at about one-third of the way from the bottom or middle. Next, mark a single vanishing point somewhere on this line; all receding lines of your buildings and roads will eventually converge at this specific spot. This geometric framework ensures that your street appears to stretch into the distance rather than looking flat or distorted.
To begin your sketch, lightly draw a series of lines radiating outward from the vanishing point like the spokes of a wheel. These lines serve as the edges of your sidewalks, the tops of buildings, and the curbs of the road. Keeping these initial guidelines faint is essential, as you will need to erase or refine them later. Using a ruler for these straight lines is highly recommended for beginners to maintain structural integrity.
How to draw buildings in perspective
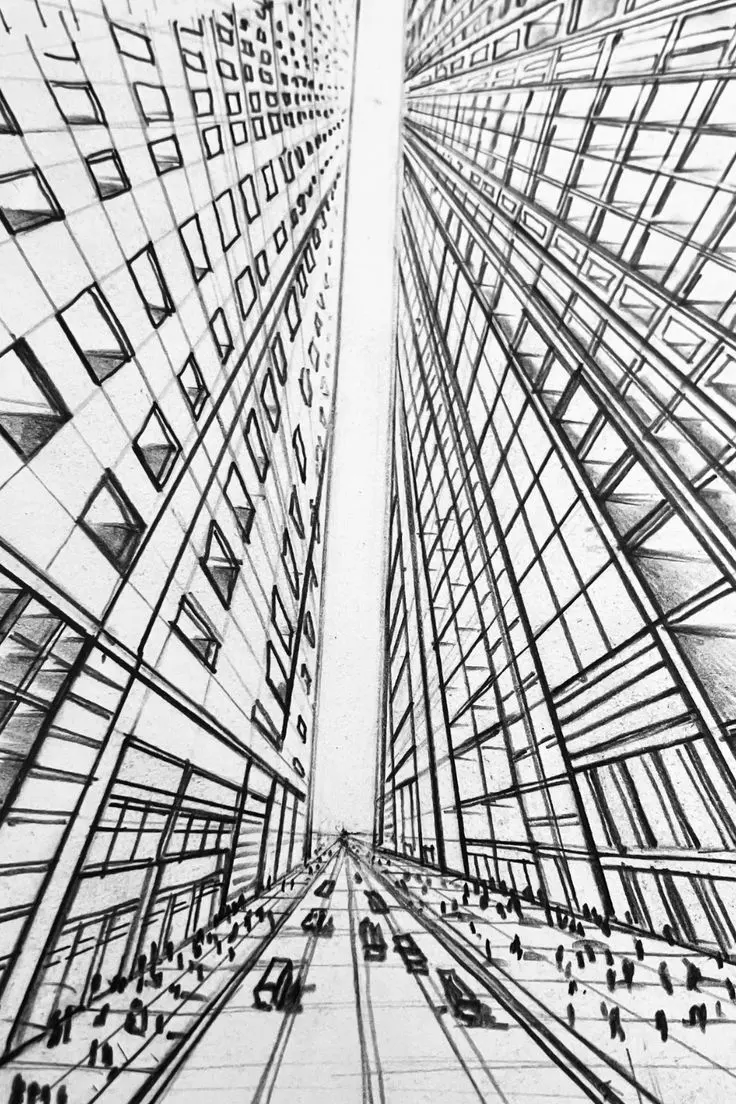
Once your guidelines are established, you can begin constructing the buildings that line your street. Start by drawing vertical lines between your perspective guidelines to define the front corners of the structures. Every vertical line must remain perfectly perpendicular to the bottom edge of your paper, regardless of how far the building is from the center. This verticality is what gives the architecture its solid, upright appearance.
Follow these steps to add detail to your building facades:
- Draw horizontal lines for the tops and bottoms of windows, connecting them to the vanishing point.
- Add vertical lines to define the width of each window and door.
- Use the vanishing point to ensure that the depth of window sills and door frames recedes correctly.
- Add architectural details like cornices or balconies by repeating the process of connecting edges to the central point.
How to add street details and textures
A city street requires more than just building blocks to feel authentic. Add elements like streetlamps, trash cans, and signs to populate the scene and provide a sense of scale. Objects closer to the viewer should be drawn larger and with more detail, while those near the vanishing point should be smaller and more simplified. This variation in size is a critical component of atmospheric perspective.
Consider these elements to enhance the realism of your urban environment:
- Draw crosswalk lines as trapezoids that get thinner as they approach the vanishing point.
- Include textured surfaces like brick patterns or cobblestones, ensuring the lines follow the perspective grid.
- Add vehicles parked along the curb, keeping their rooflines and tire bases aligned with the perspective lines.
- Incorporate human figures, remembering that their eye level should align with the horizon line you established earlier.
Common mistakes when drawing city streets
The most frequent error in perspective drawing is the "tilted building" syndrome, which occurs when vertical lines are drawn at an angle. If your vertical lines lean toward the vanishing point, the building will appear to be falling over. Always ensure your vertical lines are parallel to the sides of your paper to maintain the illusion of gravity. Another common mistake is ignoring the scale of objects as they recede, leading to a scene that looks crowded or disjointed.
Another frequent pitfall is over-detailing the background. Beginners often try to draw every brick or window pane on a building that is far away, which creates visual clutter and flattens the image. Instead, use soft lines and less contrast for distant objects to simulate the effect of atmospheric haze. Remember that the vanishing point is a tool, not a cage; your street can have curves or hills, provided you adjust your perspective guidelines accordingly.
Best tools for drawing city streets
For the best results, start with a hard lead pencil, such as an H or 2H, for your initial construction lines. These pencils produce light, clean marks that are easy to erase without damaging the paper. Once the structure is finalized, switch to a softer pencil, like a 2B or 4B, to add depth, shadows, and bold outlines. A high-quality eraser, such as a kneaded eraser, is also necessary to lift away guidelines without leaving smudges.
Using a metal-edged ruler is essential for maintaining precision throughout the drawing process. If you plan to add ink, use fine-liner pens with varying tip sizes to create line weight variation, which helps distinguish foreground objects from background elements. Thick lines in the foreground and thin, delicate lines in the distance will significantly increase the perceived depth of your street. Practice these techniques consistently, and you will soon be able to render complex urban landscapes with confidence and stylistic flair.
Key facts
- Use one-point perspective to create a sense of depth by drawing all parallel lines toward a single vanishing point on the horizon line.
- Keep your horizon line at eye level, typically about one-third of the way up from the bottom of your page.
- Draw vertical lines perfectly straight to ensure buildings appear stable and grounded rather than leaning.
- Vary the height and width of buildings to break up the monotony and create a more realistic, organic urban silhouette.
- Add architectural details like windows, doors, and awnings after the basic geometric shapes are established to maintain structural accuracy.
- Use lighter pencil strokes for your initial construction lines so they can be easily erased or covered by final ink or shading.
The bottom line
Drawing a city street relies primarily on the mastery of linear perspective. By establishing a clear horizon line and a single vanishing point, you create a structural foundation that allows for realistic depth. Focus on geometric accuracy during the initial sketching phase before layering in architectural details and shadows. With consistent practice and attention to scale, you can transform simple shapes into a convincing, professional urban landscape.
People also ask
How do I make a street look like it is receding into the distance?
You must ensure that all lines representing the edges of sidewalks, curbs, and building tops converge at the same vanishing point on the horizon. As objects get closer to this point, they should become smaller and more tightly packed together.
Should I draw the cars before or after the buildings?
It is generally better to draw the buildings first to establish the scale of the street. Once the environment is set, you can place cars into the scene, ensuring their size is consistent with the perspective established by the architecture.
How do I add shadows to make the street look three-dimensional?
Choose a consistent light source, such as the sun, and apply shadows on the opposite side of every object. Consistent shading helps the viewer understand the depth and volume of the structures within the urban landscape.
What is the most common mistake beginners make when drawing streets?
The most frequent error is failing to use a vanishing point, which leads to buildings appearing distorted or tilted. Always use a ruler to connect your lines to the horizon to maintain perfect geometric alignment.
How do I draw complex architectural features like fire escapes?
Simplify these elements into basic rectangles and lines first. Once the framework is in place, you can add the smaller details like railings and ladders without losing the overall perspective of the building.
Is it necessary to use a ruler for every line in a city drawing?
While a ruler is essential for the primary perspective lines, you can use a freehand style for organic elements like trees, people, or weathered textures. Mixing precise architectural lines with looser details often results in a more dynamic and professional-looking illustration.
This answer was created with the help of AI research tools and reference sources. Spotted an error? Let us know — we correct mistakes quickly. See our editorial policy.