How do you draw a cherry blossom?
Short answer
Drawing a cherry blossom involves capturing its distinct five-petaled structure and notched edges. Start by sketching a light pentagon as a guide, then shape each petal with a soft, heart-like indentation at the tip. Add a cluster of delicate stamens in the center and use soft pink shading for depth.
On this page
How to structure a cherry blossom drawing
The cherry blossom, or sakura, is defined by its simple, symmetrical geometry. Most varieties, such as the Somei Yoshino, possess exactly five petals that radiate from a central point. To begin, draw a faint circle to establish the overall size of the bloom. Divide this circle into five equal sections using light pencil lines to act as a framework for the petal placement.
Once the framework is set, you can refine the shape of each individual petal. Unlike a perfect circle, cherry blossom petals are slightly elongated and feature a characteristic notch at the outer edge. Use these steps to achieve the correct form:
- Draw a light pentagon or circle to determine the flower's boundaries.
- Sketch five rounded shapes attached to the center, ensuring they overlap slightly.
- Add a small "V" shape or dip at the top of each petal to mimic the natural indentation found in the species.
- Erase your initial guidelines once the petal outlines are finalized.
Best tools for drawing cherry blossoms
For beginners, graphite pencils are the most forgiving medium because they allow for easy adjustments and layering. Use an H-grade pencil for your initial light sketches, as it leaves minimal residue on the paper. Once the structure is established, switch to a softer B-grade pencil to darken the outlines and add texture to the petals. If you intend to add color, watercolor pencils or soft pastels are excellent choices for capturing the ethereal, translucent quality of the blossoms.
When selecting paper, choose a medium-weight, acid-free sketch paper with a slight tooth or texture. This surface holds graphite well and prevents smudging when you begin adding details. If you are working with wet media like watercolors, ensure your paper is at least 140-pound weight to prevent warping. Using a kneaded eraser is also essential, as it can be molded into precise shapes to lift graphite from small areas without damaging the surrounding paper fibers.
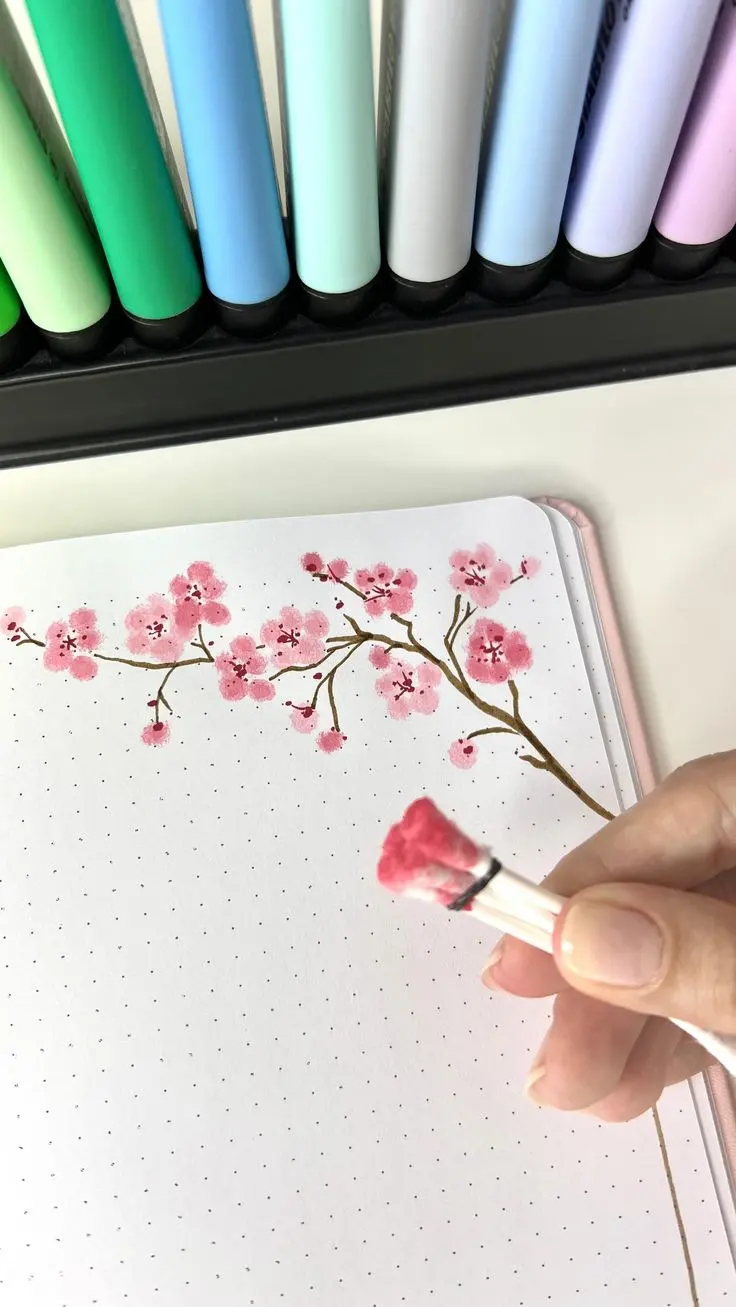
How to add realistic details and depth
The beauty of a cherry blossom lies in the subtle variations within its center. After sketching the petals, focus on the reproductive parts of the flower, specifically the stamens. These are the thin, thread-like filaments that emerge from the center, each topped with a small, darker-colored anther. Drawing these with short, delicate strokes adds a sense of realism and scale to your work.
To give your drawing a three-dimensional appearance, consider the light source before you begin shading. Apply darker tones to the areas where petals overlap or meet the central stem. Use a light touch to create a gradient, moving from a deeper pink or violet at the base of the petal toward a paler, almost white hue at the tips. This technique mimics the natural color transition found in real sakura, where the pigment is most concentrated near the center of the bloom.
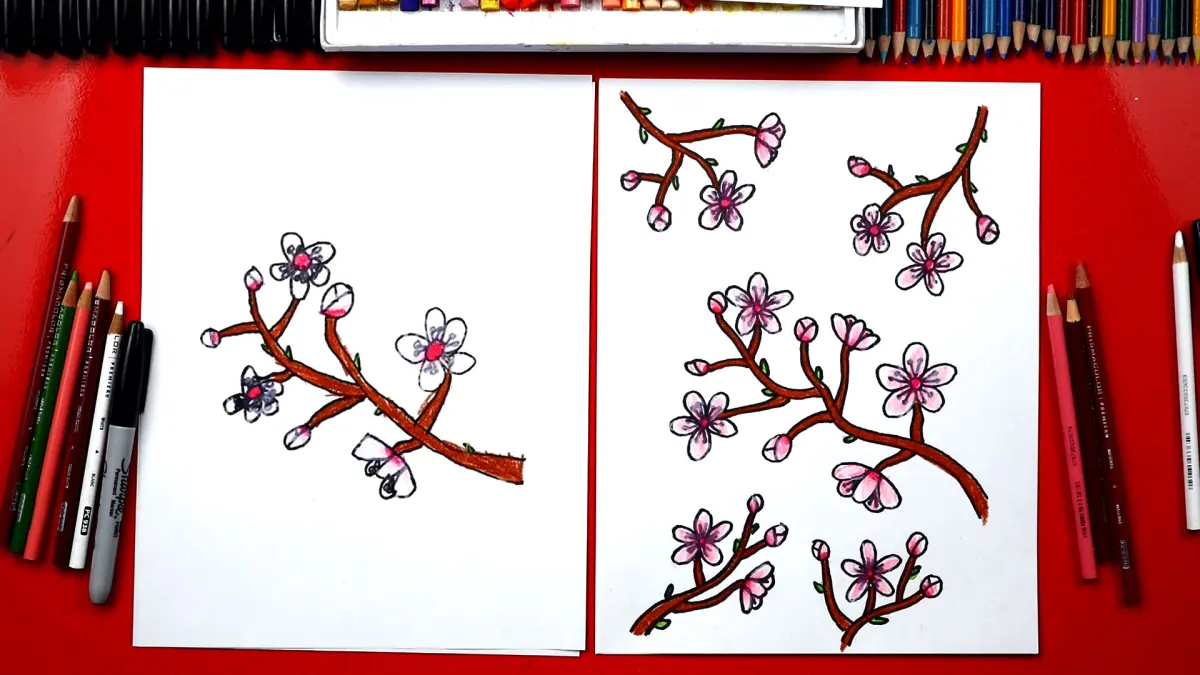
Common mistakes when drawing cherry blossoms
One frequent error is making the petals too symmetrical or uniform. In nature, cherry blossoms are organic and rarely identical; slight variations in petal size and orientation make the drawing look more lifelike. Avoid drawing perfectly flat, two-dimensional shapes. Instead, tilt some petals slightly to show them from different angles, which adds depth and movement to the overall composition.
Another common pitfall is over-detailing the veins of the petals. While you might see faint lines on a real flower, drawing them too heavily can make the blossom look stiff and artificial. Keep your lines light and intermittent. If you are drawing a cluster of blossoms, avoid making every flower the same size. Varying the size and the stage of bloom—from tight, unopened buds to fully open flowers—creates a more dynamic and visually interesting arrangement that mimics a real branch in spring.
Why cherry blossom drawings look flat
A drawing often loses its vitality when the contrast between light and shadow is insufficient. If your blossom appears flat, it is likely because the shading is too uniform across the entire surface. To correct this, identify the darkest shadows, such as the space between petals, and apply a deeper tone. Conversely, leave the very tips of the petals almost white to represent the highlights where the light hits the curved surface of the flower.
Perspective also plays a significant role in achieving a realistic look. If you draw all the petals facing directly toward the viewer, the flower will lack depth. Try drawing some petals as if they are folding backward or partially hidden by another petal. This overlapping creates a sense of volume. By combining these techniques—varying petal orientation, managing light and shadow, and avoiding overly rigid lines—you can create a professional-looking cherry blossom that captures the delicate, fleeting essence of the spring season.
Key facts
- Cherry blossoms, or sakura, are characterized by their five-petaled structure and a distinct notch at the tip of each petal.
- Start your sketch by drawing a small, five-pointed star to serve as a guide for the petal placement.
- Use soft, rounded curves to connect the points of your star, ensuring the petals overlap slightly for a natural look.
- Add a cluster of fine, hair-like lines in the center to represent the stamens, which are essential for botanical accuracy.
- Vary the size and orientation of the flowers on your branch to create a sense of depth and movement.
- Use light pink or white for the petals and a deep magenta for the center to mimic the natural coloration of the Yoshino cherry.
The bottom line
Drawing a cherry blossom requires balancing structural precision with a delicate touch. By using a five-pointed star as a foundational guide and focusing on the characteristic notched petals, you can achieve a realistic representation. Remember to vary the orientation of your flowers and incorporate subtle color gradients to capture the ephemeral beauty of the sakura. Practice observing real-life specimens to refine your artistic technique over time.
People also ask
Why do cherry blossoms have a notch at the end of their petals?
This characteristic indentation, known as a cleft, is a defining feature of the Prunus genus. It helps distinguish sakura from other five-petaled flowers like apple or plum blossoms.
Should I draw the branch before or after the flowers?
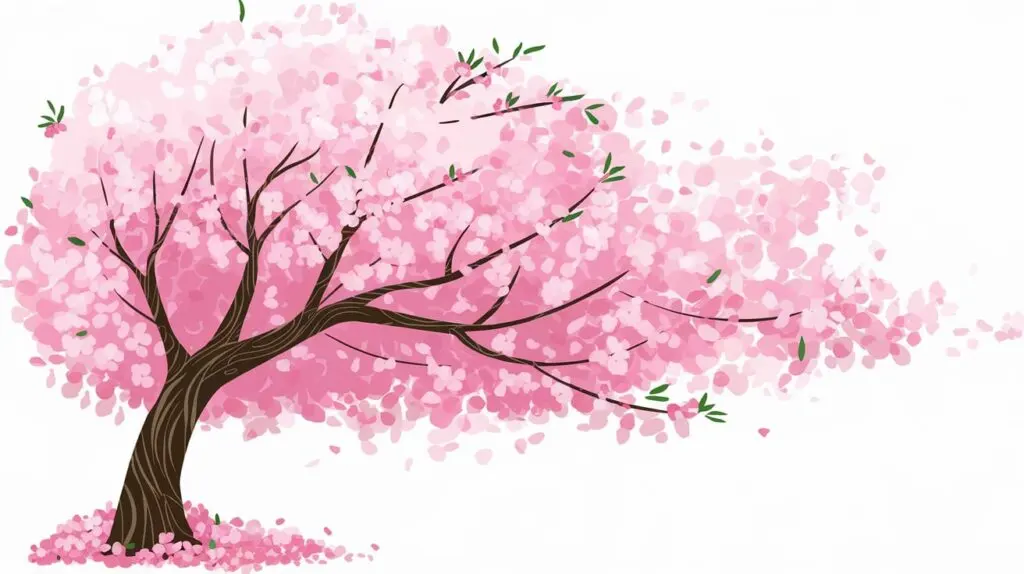
It is best to sketch the branch first with light, flowing lines to establish the composition. Placing the flowers along the branch afterward ensures they appear as if they are growing naturally from the wood.
What is the best medium for coloring cherry blossoms?
Watercolor is ideal because it allows for the translucent, delicate layering required to capture the soft appearance of the petals. Colored pencils can also work well if you use a blending stump to soften the edges.
How do I make a cherry blossom look like it is falling?
Draw the flower from a side angle rather than a front-facing view to suggest motion. Adding a few loose, detached petals floating nearby creates a sense of wind and fragility.
How many petals should a standard cherry blossom have?
While many wild varieties have five petals, some ornamental cultivars like the Yaezakura can have over 50 petals. For a beginner, sticking to the classic five-petal structure is recommended for clarity.
How can I add texture to the bark of the cherry tree?
Use short, horizontal dashes and varied line weights to represent the lenticels, which are the small, horizontal pores found on cherry tree bark. Avoid drawing perfectly straight lines, as natural bark is irregular and weathered.
This answer was created with the help of AI research tools and reference sources. Spotted an error? Let us know — we correct mistakes quickly. See our editorial policy.