How do you draw a bird on a branch?
Short answer
Drawing a bird on a branch involves breaking the subject into simple geometric shapes like ovals and circles. Start by sketching the core body mass and the branch angle, then refine the silhouette with feathers and details. Focus on the bird’s posture and weight distribution to ensure it looks natural and balanced.
On this page
How to sketch the basic shapes
Begin your drawing by establishing the bird’s primary posture using simple, light lines. Most songbirds can be represented by two main shapes: a larger oval for the body and a smaller circle for the head. Place these shapes so they overlap slightly, then draw a diagonal line underneath to represent the branch. This foundational structure ensures you get the proportions correct before adding finer details.
Focus on the angle of the bird’s body relative to the branch. A bird perched firmly will usually have its center of gravity directly over its feet. Use these steps to set your composition:
- Sketch a horizontal or slightly slanted line for the branch.
- Draw a large, tilted oval resting near the branch for the torso.
- Place a smaller circle above and to the side for the head.
- Connect the head to the body with two short, curved lines for the neck.
Keep your pencil strokes light during this phase. You will need to erase these construction lines later, so avoid pressing hard into the paper. Maintaining a loose grip on your pencil allows for more fluid, natural curves rather than rigid, mechanical lines.
How to add wings and tail feathers
Once the body shape is established, it is time to define the wings and tail. The wing is typically a long, teardrop shape that rests against the side of the body, often tucked neatly against the back. The tail extends from the base of the torso and should follow the general flow of the bird’s spine. Keep the tail shape elongated to provide a sense of balance and movement.
When drawing the wings, consider the bird's state of rest. A perched bird usually keeps its wings folded tightly against its body, meaning the wing shape should not protrude significantly. Use these guidelines for accuracy:
- Draw the wing as a single elongated shape that tapers toward the tail.
- Add a few subtle, parallel lines within the wing area to suggest individual flight feathers.
- Ensure the tail feathers are slightly wider at the end than at the base where they meet the body.
Avoid making the wings look like separate limbs sticking out from the body. They should appear integrated into the overall silhouette. By keeping the wings flush against the torso, you create a more realistic representation of a bird at rest.
How to draw the feet and branch grip
The feet are the most critical element for making the bird look like it is actually sitting on the branch rather than floating above it. A bird’s toes are designed to wrap around the wood, creating a secure grip. Draw the toes as small, curved lines that hook over the top of the branch and tuck underneath. This overlap is essential for conveying the weight of the bird.
When rendering the legs and feet, pay attention to the following details:
- Draw two short, thin lines coming from the body to represent the legs.
- Place small, rounded shapes at the end of the legs to serve as the feet.
- Draw individual toes curving around the branch, ensuring they disappear behind the wood on the far side.
- Add a slight shadow where the feet meet the branch to ground the subject.
Common errors include drawing the legs too long or making the toes look like straight sticks. Remember that the legs are often partially hidden by feathers, so you only need to show the lower portion clearly.
How to refine the head and beak
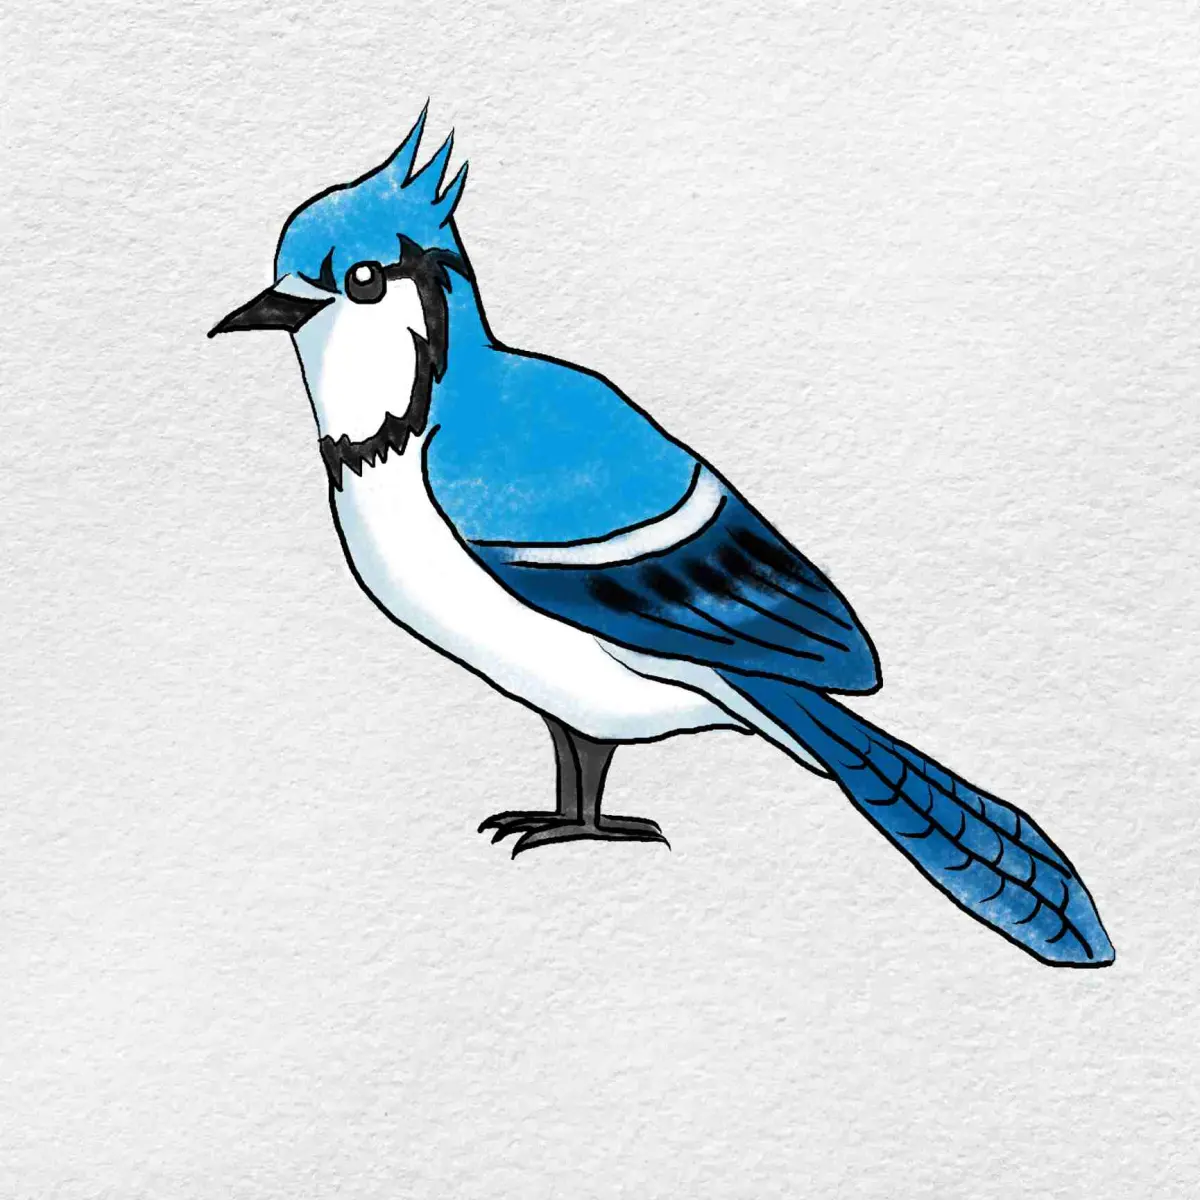
The head is where you create the bird's personality and focus. Start by placing the eye, which is usually positioned slightly above the center of the head circle. The beak should be drawn as a small triangle or cone extending from the front of the head. Keep the beak size proportional to the head; a songbird’s beak is typically much smaller than the head itself.
Pay attention to the transition between the beak and the face. Use a soft line to indicate the curve of the forehead leading into the upper mandible. Follow these steps for a polished look:
- Place the eye as a small, dark circle with a tiny white dot left blank to represent a highlight.
- Draw the beak with a slight downward curve for the top half.
- Add a small line at the base of the beak to indicate the mouth opening.
- Use short, quick strokes around the neck to suggest the texture of soft downy feathers.
Adding a highlight to the eye is the most effective way to make the bird look alive. This small detail provides a sense of alertness that defines the entire drawing.
Common mistakes when drawing birds
One frequent error is failing to consider the bird’s weight. Beginners often draw birds that look like they are hovering or sliding off the branch. To fix this, ensure the body’s lowest point touches the branch, or at least shows the legs firmly supporting the weight. Another common mistake is adding too much detail too early. Over-rendering individual feathers before the overall anatomy is correct often leads to a messy, cluttered final image.
Maintain a balance between detail and simplicity by following these rules:
- Avoid drawing every single feather; focus on the main groups like the wing coverts and tail.
- Do not make the branch perfectly straight; add knots or slight irregularities to make it look organic.
- Check your proportions by holding your drawing up to a mirror to see if the bird looks lopsided.
By focusing on the silhouette and the interaction between the feet and the branch, you will create a much more convincing and professional-looking illustration. Practice these techniques consistently to improve your observational skills and artistic confidence.
Key facts
- Start by sketching two overlapping circles to represent the bird's head and body, keeping the body circle roughly twice the size of the head.
- Draw a diagonal line extending from the body to serve as the branch, ensuring it is thick enough to support the bird's weight.
- Position the bird's feet as two small, inverted "V" shapes gripping the branch to create a sense of stability.
- Use a simple triangle shape for the beak, placing it on the side of the head circle to define the bird's direction.
- Add the wing as an elongated oval on the side of the body, overlapping the back to show depth.
- Keep the tail feathers distinct from the body by drawing a long, tapered rectangle extending outward from the base of the torso.
The bottom line
Drawing a bird on a branch relies on establishing clear geometric foundations before adding anatomical details. By focusing on the relationship between the bird’s center of gravity and its grip on the perch, you create a believable scene. Keep your lines light during the initial sketching phase, allowing for adjustments to the posture and proportions, which ultimately results in a more dynamic and professional-looking final illustration.
People also ask
Should I draw the bird or the branch first?
It is generally best to sketch the bird first to establish the focal point of your composition. Once the bird's position is set, you can draw the branch underneath to anchor the figure accurately.
How do I make the bird look like it is actually sitting on the branch?
Ensure the feet are drawn directly touching or slightly wrapping around the branch. If there is a gap between the feet and the wood, the bird will appear to be floating rather than perched.
What is the best way to draw realistic bird feathers?
Avoid drawing every individual feather, as this creates a cluttered look. Instead, suggest texture by using short, overlapping "U" or "V" strokes along the edges of the wings and tail.
How can I determine the correct proportions for a bird?
Most songbirds have a head-to-body ratio of about one-third. Using basic geometric shapes like circles and ovals helps maintain these proportions before you add final details.
Why does my bird drawing look stiff?
Stiffness often results from drawing the body as a single, rigid shape. Introduce a slight curve to the spine or tilt the head to give the bird a more natural, lifelike posture.
What are the most common mistakes beginners make?
Beginners often draw the eye too large or place the legs too far back on the body. Placing the eye in the center of the head and ensuring the legs align with the center of gravity will improve realism.
This answer was created with the help of AI research tools and reference sources. Spotted an error? Let us know — we correct mistakes quickly. See our editorial policy.