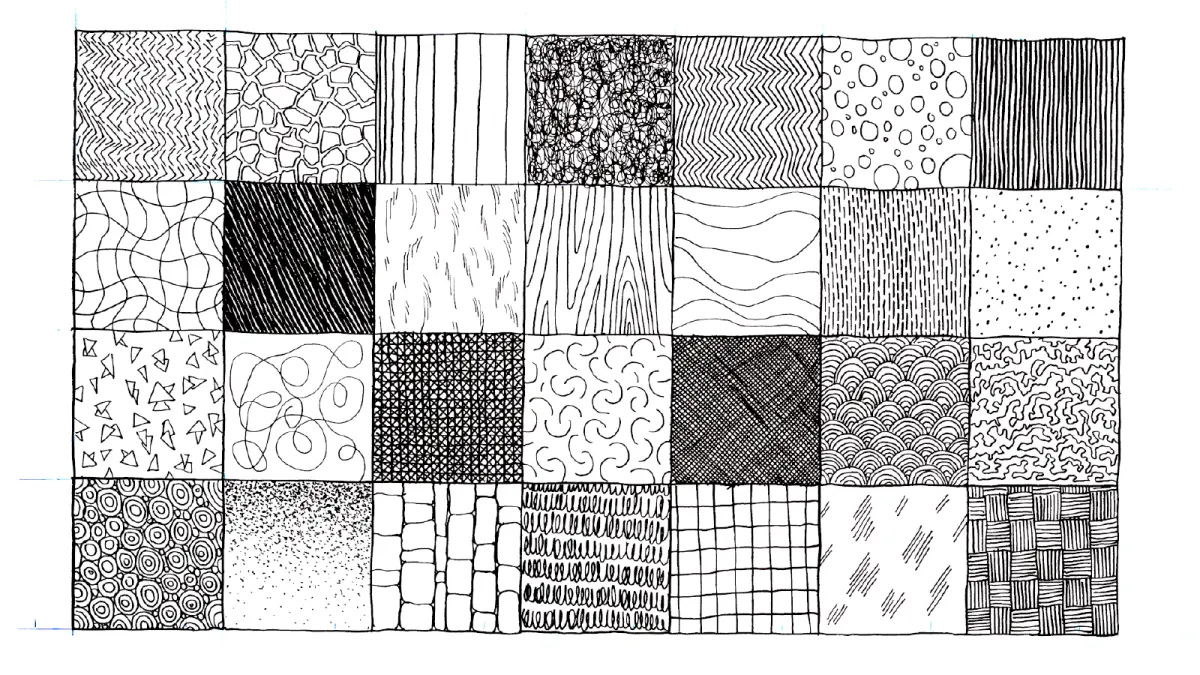
What is stippling?
Short answer
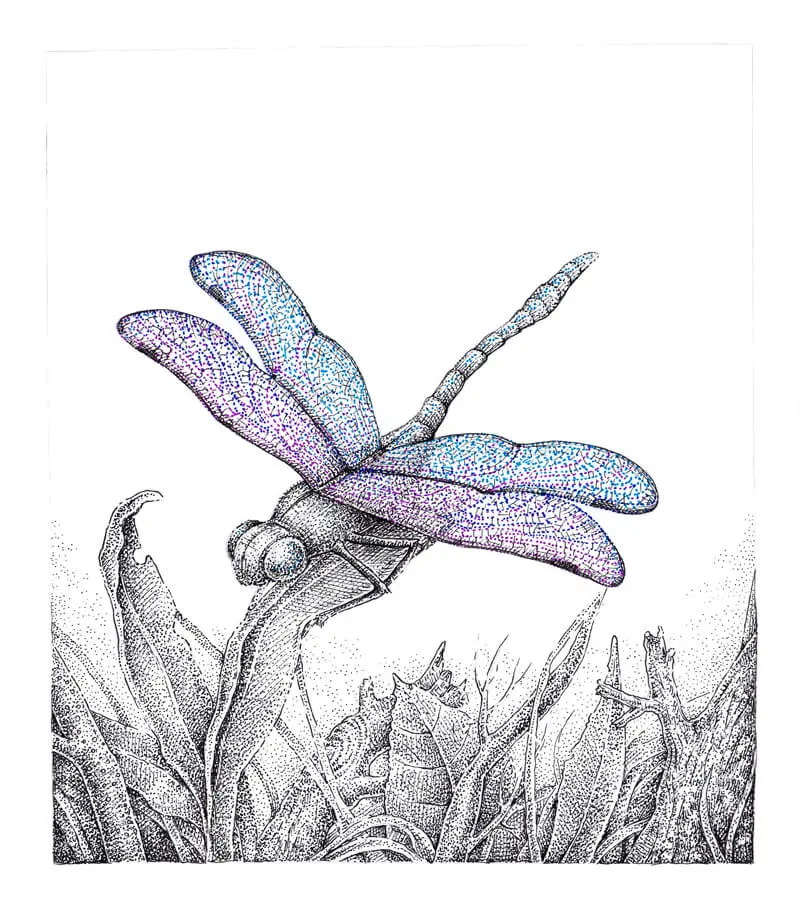
Stippling is an artistic technique that creates shading, texture, and depth by applying numerous small, distinct dots to a surface. By varying the density and proximity of these marks, artists manipulate light and shadow to form images. It is commonly used in pen-and-ink drawing, painting, and even tattooing to achieve intricate detail.
On this page
How does stippling work in art?
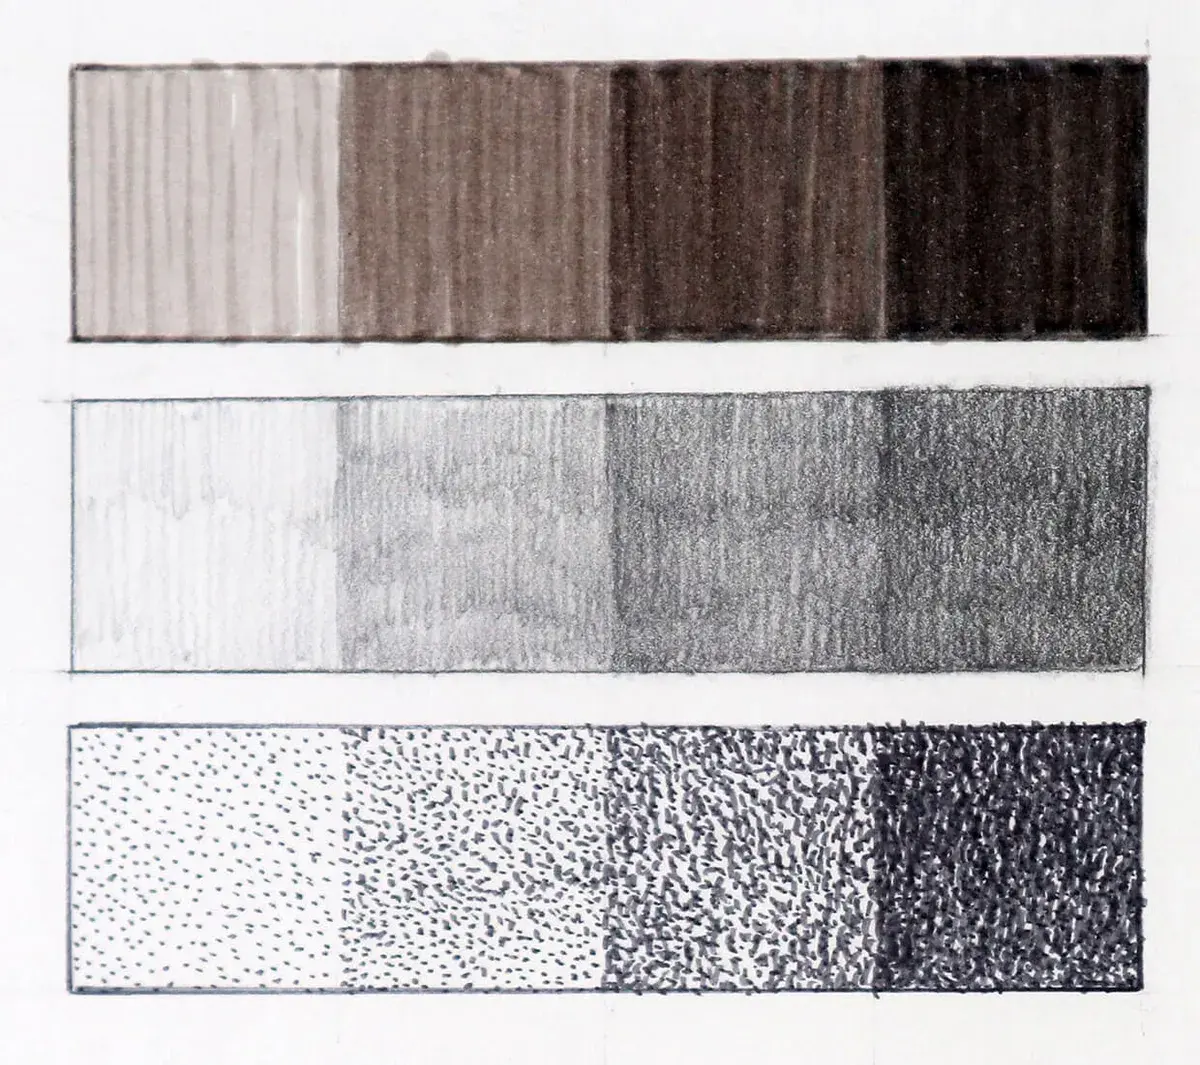
Stippling relies on the principle of optical mixing, where the human eye blends individual dots into continuous tones. When dots are placed close together, the area appears darker, creating shadows or deep values. Conversely, leaving more white space between dots results in lighter areas or highlights. This method allows for precise control over gradients without the need for traditional smudging or blending techniques found in charcoal or pencil drawing.
Historically, stippling was popularized during the Renaissance as a method for engraving, allowing artists to create subtle transitions on metal plates. Today, it remains a fundamental skill for illustrators who prioritize clean lines and high-contrast visuals. Because the technique is additive, it requires patience and a systematic approach to build up layers of ink. It is a slow, meditative process that rewards consistency and careful observation of light sources.
Best tools for stippling beginners
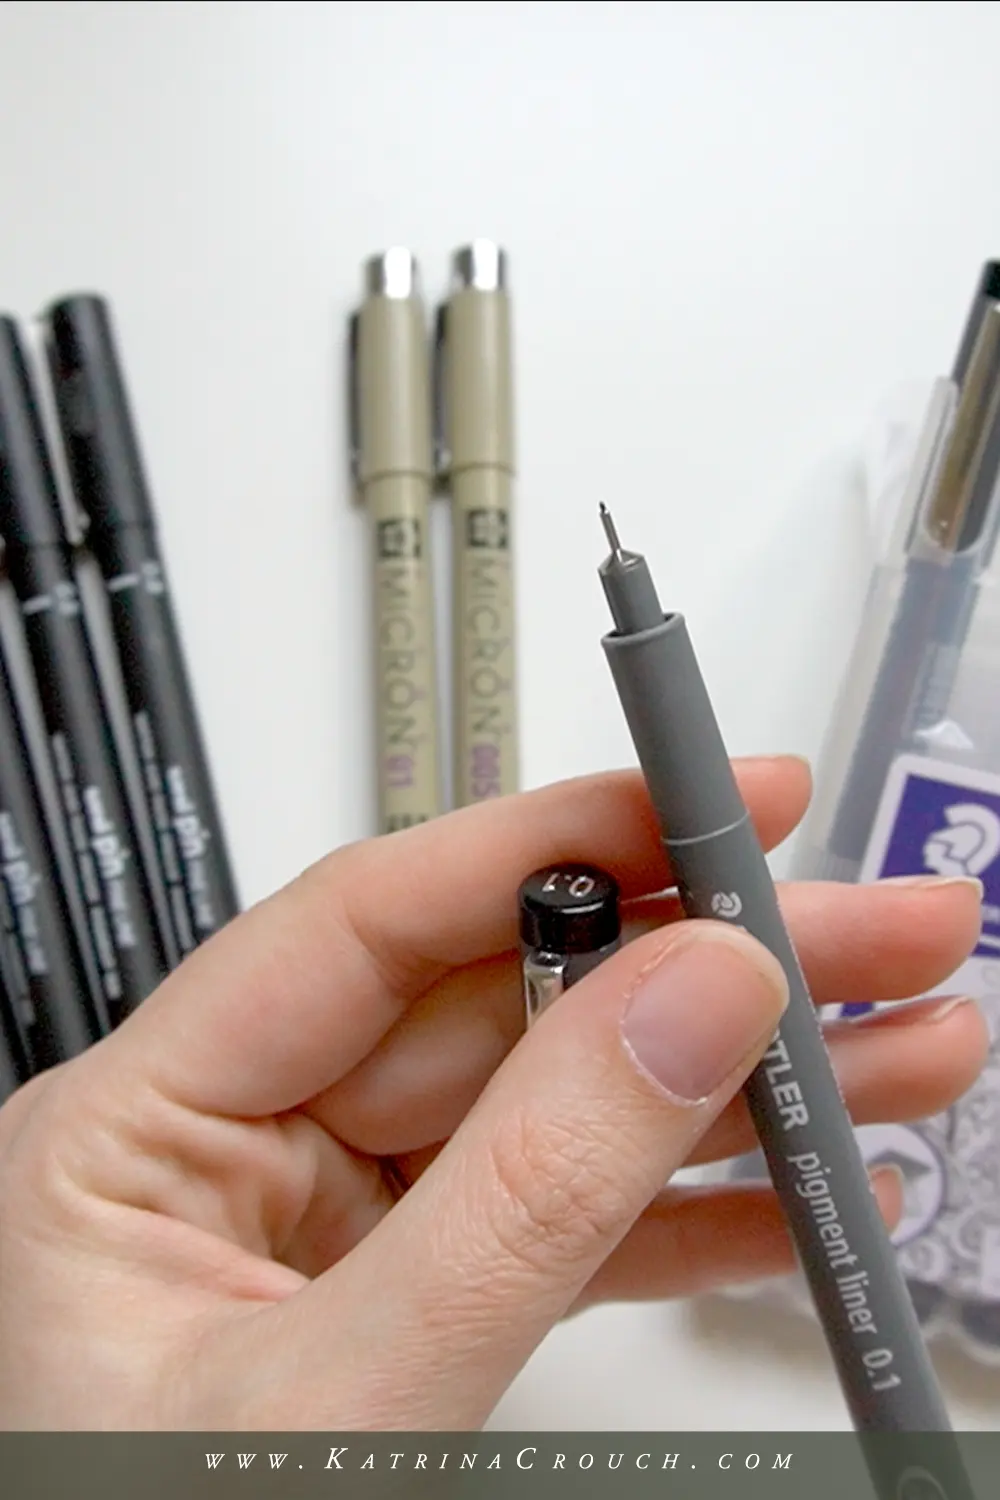
Choosing the right equipment is essential for achieving consistent dot sizes and preventing hand fatigue. Beginners should start with fine-tipped technical pens, which provide a uniform flow of ink regardless of the angle of the hand. Unlike fountain pens, technical pens do not leak or blob, ensuring that every mark is intentional and controlled.
- Select a high-quality, acid-free drawing paper with a smooth surface to prevent ink from bleeding or feathering.
- Choose pens with varying tip sizes, such as 0.1mm for fine details and 0.5mm for larger, darker areas.
- Use a comfortable grip to maintain steady pressure, as inconsistent force can lead to uneven dot sizes.
- Keep a scrap piece of paper nearby to test the ink flow and dot size before applying marks to your primary artwork.
Investing in a dedicated set of pigment-based liners will yield the best results, as these inks are lightfast and archival. Avoid ballpoint pens, as their oil-based ink can smudge and does not provide the crisp, matte finish required for professional stippling.
How to create depth with stippling
Creating the illusion of three-dimensional form requires a strategic approach to dot density. To render a sphere, for instance, an artist must concentrate the highest density of dots at the darkest point of the shadow. As the surface curves toward the light, the dots should become increasingly sparse, eventually disappearing entirely at the brightest highlight. This transition must be gradual to avoid harsh lines that break the illusion of volume.
- Outline the basic shape lightly with a graphite pencil to establish boundaries.
- Start by placing dots in the darkest areas first, working toward the mid-tones.
- Use a cross-hatching or random pattern to avoid creating unintended geometric shapes or lines.
- Frequently step back from the work to assess the overall value distribution and contrast.
Mastering this technique involves understanding how light interacts with objects. By observing real-world subjects or photographs, you can identify where the core shadow, reflected light, and cast shadow fall, allowing you to map out your dots accordingly.
Common mistakes when stippling
One of the most frequent errors beginners make is "patterning," where the dots are placed in a grid or a repeating geometric sequence. This creates a distracting texture that detracts from the realism of the drawing. To avoid this, aim for a more organic, randomized distribution of dots. If you find yourself falling into a rhythm, pause and intentionally shift your hand position to break the pattern.
Another common pitfall is rushing the process, which often leads to uneven dot sizes or accidental smearing. Stippling is inherently time-consuming, and trying to speed it up usually results in a loss of control. Additionally, beginners often fail to account for the drying time of the ink. Placing your hand over an area that has not fully set can ruin hours of work. Always work from the top-left to the bottom-right if you are right-handed, or the opposite if you are left-handed, to keep your drawing surface clean.
How long does stippling take to master?
The time required to master stippling varies depending on the complexity of the subject and the level of detail desired. A simple, small-scale study might take a few hours, while a highly detailed portrait could require dozens of hours of focused effort. Mastery is not measured by speed, but by the ability to render smooth, imperceptible transitions between values. As you gain experience, your hand-eye coordination will improve, allowing you to place dots more rapidly without sacrificing accuracy.
Consistency is the key to progress. Practicing for thirty minutes a day is more effective than attempting long, irregular sessions that lead to burnout. Over time, you will develop a "vocabulary" of dot patterns that allow you to render different textures, such as skin, fabric, or stone. By analyzing the work of master stipplers, you can learn how to manipulate negative space to create more dynamic compositions. With dedication, you will find that stippling becomes an intuitive way to translate your vision onto the page.
Key facts
- Stippling is an artistic technique that uses small, distinct dots to create images, patterns, or shading.
- Artists control the density of dots to manipulate light and shadow, with closer dots creating darker areas and sparse dots creating highlights.
- The technique was popularized during the Renaissance by engravers like Giulio Campagnola, who used it to achieve subtle tonal transitions.
- Pointillism, a movement developed by Georges Seurat in the 1880s, is a specialized form of stippling that uses colored dots to blend hues optically.
- Technical pens with fine tips, such as 0.1mm or 0.05mm sizes, are the industry standard for achieving high-detail stippling.
- A common mistake is "flicking" the pen, which creates unwanted dashes; always keep the pen perpendicular to the paper for uniform, circular dots.
The bottom line
Stippling is a disciplined artistic method that translates light and shadow into a series of precise, individual dots. By adjusting the proximity and frequency of these marks, artists create sophisticated tonal ranges without using traditional lines. While the process demands significant patience and steady hand control, it offers unparalleled precision for creating detailed, high-contrast imagery that stands out for its unique, granular aesthetic quality.
People also ask
How long does it take to complete a stippling drawing?
Stippling is highly time-intensive because every shadow must be built up dot by dot. A small, simple illustration may take several hours, while complex, large-scale portraits can require hundreds of hours of work.
What is the difference between stippling and pointillism?
While both use dots, stippling is primarily concerned with value, light, and shadow using a single color, usually black ink. Pointillism is a specific painting style that relies on placing small dots of pure color side-by-side to allow the viewer's eye to mix them into new colors.
Read the full answer →Can I use any type of paper for stippling?
Smooth, high-quality cardstock or Bristol board is best because it prevents the pen tip from catching or fraying. Avoid textured paper, as the bumps will make it difficult to maintain consistent dot size and shape.
Should I outline my subject before I start stippling?
It is helpful to draw a very light pencil sketch to establish proportions and major shadow shapes. You should erase the pencil marks gently once the ink is completely dry to ensure the final piece looks clean.
How do I create a smooth gradient using dots?
To create a gradient, start by placing dots far apart in the highlight areas and gradually increase the density until they are touching or overlapping in the darkest shadows. Avoid sudden transitions by slowly increasing the concentration of dots across the midtones.
Does stippling work well with colored pencils?
Yes, stippling can be used with colored pencils to create unique textures and color depth. However, it requires a sharp point and light pressure to ensure the dots remain distinct rather than smudging together.
This answer was created with the help of AI research tools and reference sources. Spotted an error? Let us know — we correct mistakes quickly. See our editorial policy.