What are the best embroidery kits for beginners?
Short answer
The best embroidery kits for beginners are those featuring pre-printed fabric, comprehensive stitch guides, and high-quality materials like DMC embroidery floss. Brands such as DMC, Kiriki Press, and Penguin & Fish offer excellent starter sets that simplify the learning process by providing all necessary tools, including needles, hoops, and patterns.
On this page
Best embroidery kits for beginners
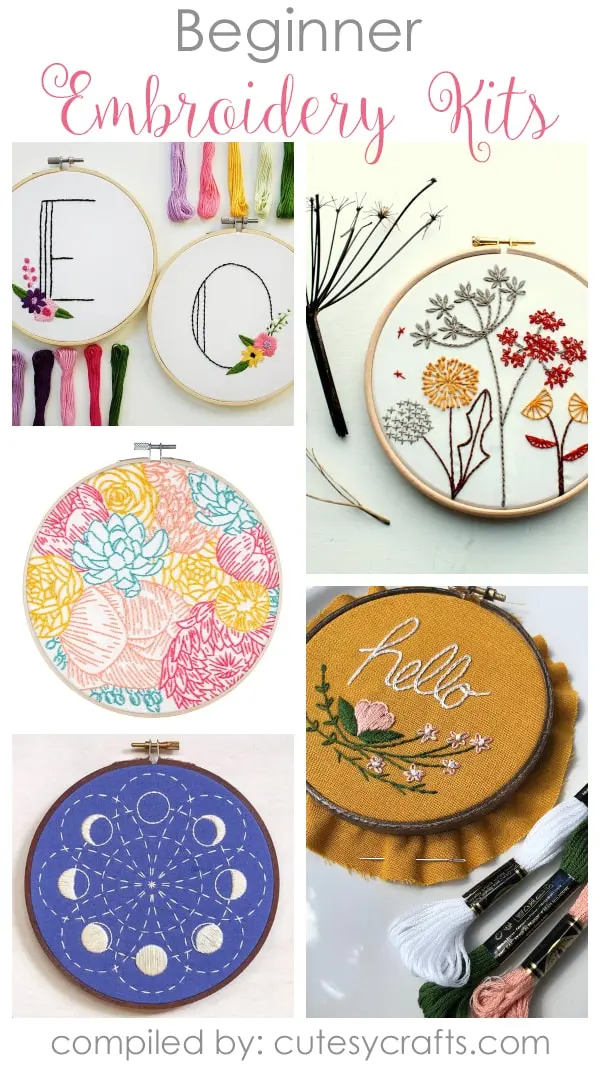
For those new to needlework, the most effective kits are "all-in-one" sets that include a wooden or plastic hoop, a needle, pre-cut thread, and fabric with the pattern already printed on it. Pre-printed fabric is essential because it eliminates the need to transfer designs manually, which is often the most frustrating step for novices. Look for kits that focus on a single, simple design, such as a floral wreath or a basic geometric shape, rather than complex portraits or landscapes.
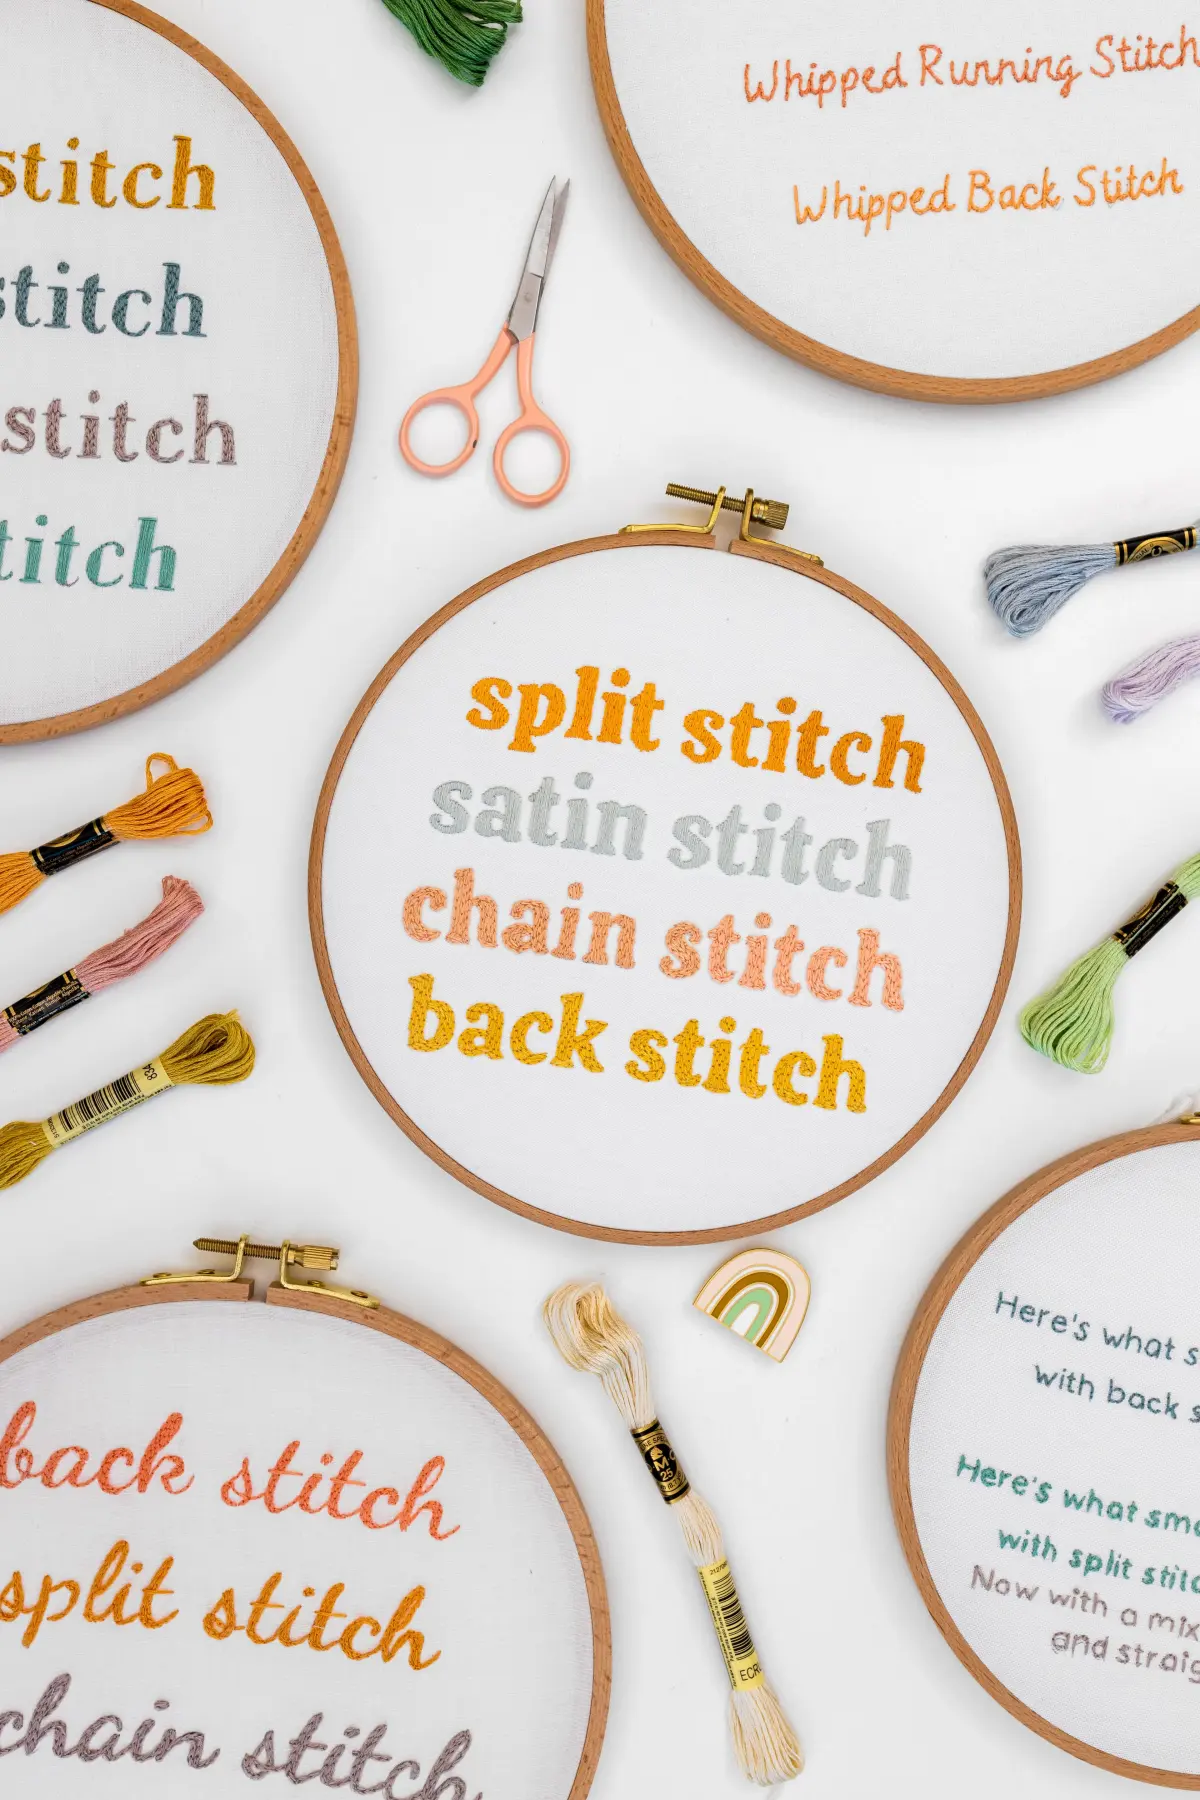
Reputable brands prioritize clear, step-by-step instructions that explain basic techniques like the backstitch, satin stitch, and French knot. High-quality kits typically use cotton or linen fabric, which provides a stable surface for stitching. Avoid kits that use thin, synthetic fabrics, as these tend to pucker under the tension of the hoop. Investing in a kit from an established craft company ensures that the materials are durable and the patterns are beginner-friendly.
How to choose the right embroidery kit
When selecting your first kit, consider the complexity of the pattern and the number of colors involved. Kits with fewer than five colors are generally easier to manage and help you focus on mastering stitch consistency rather than managing multiple threads. Check the product description to ensure the kit includes a needle; while most do, some cheaper options may require you to purchase one separately.
Consider these factors when evaluating potential kits:
- Skill level: Look for labels such as "Beginner," "Level 1," or "Easy."
- Pattern type: Choose simple line drawings over complex, shaded designs.
- Included tools: Ensure the kit contains a hoop, as buying one separately can be confusing for a first-time buyer.
- Thread quality: Opt for kits that specify the use of cotton embroidery floss, which is less likely to tangle.
Steps to start your first embroidery project
Starting your first project requires patience and a clean workspace. Proper preparation ensures that your fabric stays taut and your stitches remain even throughout the process. Follow these steps to ensure a smooth start to your embroidery journey:
- Secure your fabric: Place the fabric over the smaller inner hoop, then press the outer hoop down over it, tightening the screw until the fabric is drum-tight.
- Prepare your thread: Cut a length of floss about 18 inches long and separate the strands according to the instructions, as most embroidery requires using only two or three strands at a time.
- Thread the needle: Use a needle threader if necessary, and tie a small, secure knot at the end of your thread.
- Begin stitching: Follow the printed lines on the fabric, starting with the simplest stitches to get a feel for the tension.
Common mistakes when learning embroidery
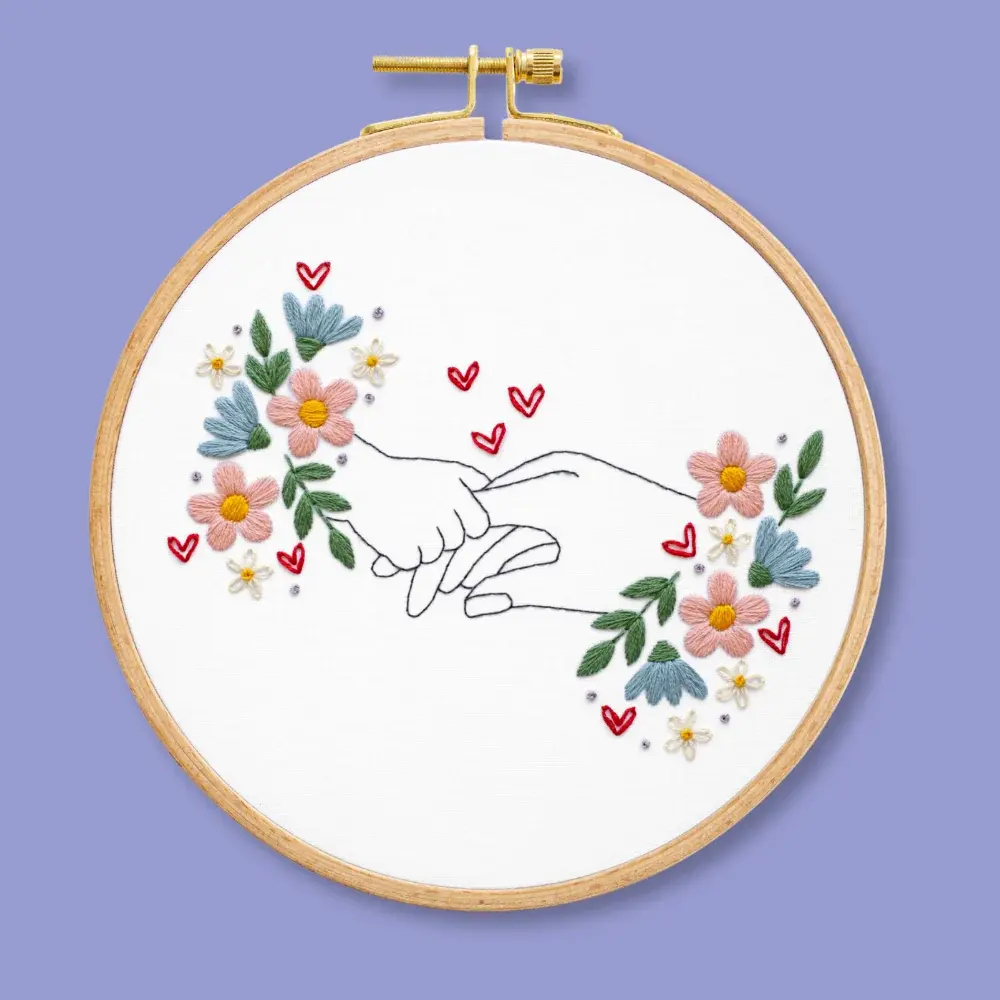
One of the most frequent errors beginners make is pulling the thread too tightly, which causes the fabric to distort or "pucker." It is important to maintain a gentle, consistent tension so that the fabric remains flat and the stitches sit neatly on the surface. Another common mistake is failing to secure the thread properly on the back of the work, which can lead to the design unraveling over time.
To avoid these issues, keep the following tips in mind:
- Always check the back of your hoop periodically to ensure you are not creating long, tangled "jumps" of thread between design elements.
- Do not make your starting knot too large, as it can create a bump under the fabric that affects the final look.
- Trim your thread ends closely to the fabric to prevent them from showing through thin material.
- If you make a mistake, do not be afraid to use a seam ripper to remove the stitches and try again.
How long does it take to learn embroidery
Embroidery is a slow, meditative craft that rewards patience. A small, beginner-friendly kit can typically be completed in four to eight hours of active stitching time, depending on the complexity of the design and your personal pace. Many beginners find it helpful to work in short, 30-minute sessions to avoid hand fatigue and maintain focus. The goal for your first project should be learning the mechanics of the needle and thread rather than achieving professional-level speed.
As you progress, your speed will naturally increase as your muscle memory improves. Do not compare your early work to the polished projects of experienced embroiderers you may see online. Every stitch is a learning opportunity that strengthens your hand-eye coordination. By focusing on the meditative process rather than the final result, you will find that embroidery becomes a relaxing hobby that you can enjoy for many years to come.
Key facts
- Most beginner kits include a pre-printed fabric pattern, an embroidery hoop, needles, and a full set of embroidery floss.
- Look for kits labeled "stamped embroidery" because the design is already printed on the fabric, eliminating the need for complex tracing.
- A 6-inch wooden hoop is the industry standard for beginners, as it provides a manageable surface area for learning basic stitches.
- Embroidery floss is typically composed of six strands; beginners should separate these strands and use only two or three for finer detail.
- Quality kits often feature cotton or linen fabric, which holds tension better than synthetic blends and is easier to pierce with a needle.
- Avoid kits that use low-quality plastic hoops, as they often fail to keep the fabric taut, leading to uneven stitches and puckering.
The bottom line
Embroidery is a rewarding, accessible craft that requires minimal investment to start. By selecting a high-quality kit with pre-printed fabric and keeping your stitch tension loose, you can master the fundamentals quickly. Focus on learning basic stitches like the backstitch and satin stitch first. With patience and practice, you will soon be able to create intricate, personalized textile art that showcases your unique creative vision.
People also ask
Do I need to buy extra tools to start?
Most comprehensive kits provide everything you need, but a pair of sharp, small embroidery scissors is a vital addition. Standard household scissors are often too bulky for trimming thread ends close to the fabric.
How long does it take to finish a beginner project?
A simple beginner project typically takes between 3 and 10 hours depending on the complexity of the design. It is best to work in short sessions to prevent hand fatigue and maintain consistent stitch tension.
What is the most common mistake for beginners?
The most frequent error is pulling the thread too tightly, which causes the fabric to pucker and distort the design. Always aim for a gentle, even tension where the thread lies flat against the surface.
Can I wash my finished embroidery?
Yes, you can gently hand-wash finished pieces using cool water and mild soap. Avoid wringing the fabric, as this can damage the stitches; instead, lay it flat on a towel to air dry.
How do I choose between a hoop and a frame?
Beginners should stick with a hoop because it is portable, inexpensive, and easy to adjust. Frames are generally reserved for larger, more advanced projects that require consistent tension across a wider fabric area.
Is embroidery expensive to maintain as a hobby?
Embroidery is one of the most affordable crafts, as individual skeins of thread cost less than one dollar. Once you own a hoop and needles, your only recurring expense is fabric and thread for new designs.
This answer was created with the help of AI research tools and reference sources. Spotted an error? Let us know — we correct mistakes quickly. See our editorial policy.