How do you start seeds indoors?
Short answer
Starting seeds indoors involves planting them in sterile containers with high-quality potting mix several weeks before the final spring frost. Provide consistent warmth, adequate light, and moderate moisture to encourage germination. Once seedlings develop their first true leaves, they require gradual acclimation to outdoor conditions through a process called hardening off.
On this page
When to start seeds indoors
Determining the correct timing is essential for healthy plant development. Most seed packets provide a specific window for starting, typically measured in weeks before the average date of the last spring frost in your region. You can find this date by consulting local agricultural extension offices or online climate databases. Starting too early often results in "leggy" or weak seedlings that struggle to adapt when transplanted, while starting too late may prevent the plants from maturing before the growing season ends.
To calculate your schedule, work backward from your area's frost date. For example, if you want to plant tomatoes outdoors on May 15, and the seeds require six weeks of indoor growth, you should sow them around April 3. Keep a garden journal to track these dates year after year, as local weather patterns can shift. Adjust your timeline based on the specific needs of the plant variety, as slow-growing crops like peppers require more time than fast-growing greens.
Best equipment for seed starting
You do not need expensive professional gear to succeed, but using the right materials significantly increases your success rate. Start with clean, modular plastic trays or biodegradable pots that feature drainage holes to prevent root rot. Always use a sterile, fine-textured seed-starting mix rather than heavy garden soil, which may contain pathogens or pests. This specialized medium is formulated to hold moisture while remaining light enough for delicate roots to penetrate easily.
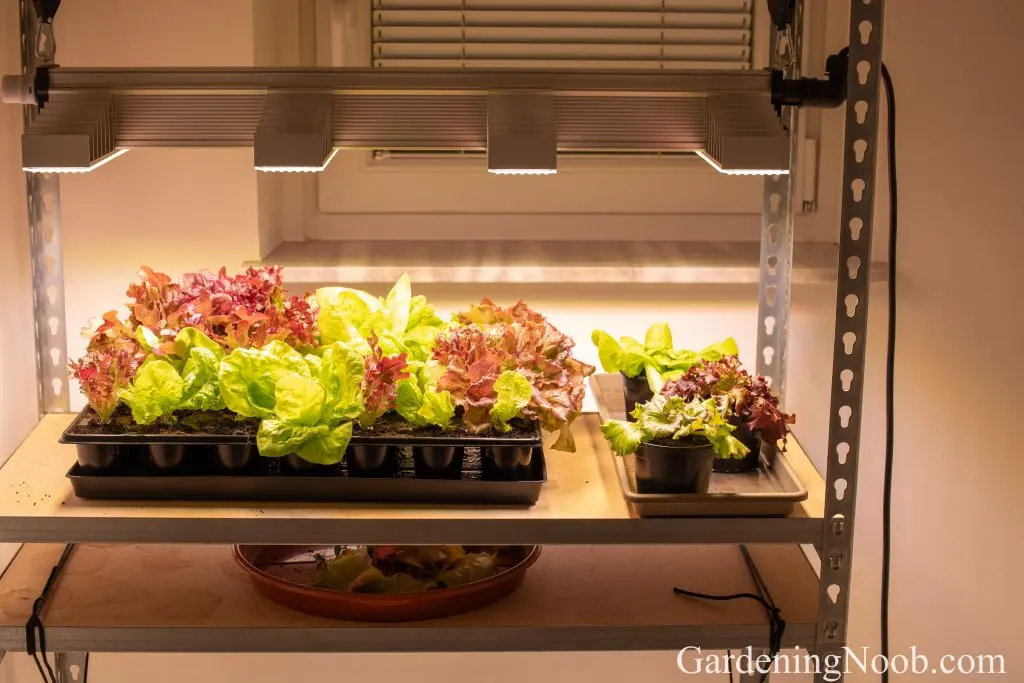
Lighting is the most critical factor for indoor success. While windowsills seem convenient, they rarely provide enough intensity, causing seedlings to stretch toward the glass. Invest in full-spectrum LED shop lights or dedicated horticultural grow lights. Position these lights just two to three inches above the tops of the seedlings, raising the fixtures as the plants grow taller. This proximity ensures compact, sturdy growth rather than thin, spindly stems.
How to plant seeds step by step
- Moisten your seed-starting mix in a bucket until it feels like a wrung-out sponge before filling your containers.
- Fill the containers to the brim, tapping them gently on a flat surface to settle the mix without compacting it.
- Place seeds at the depth specified on the packet, usually two to three times their diameter, and cover them lightly with mix.
- Mist the surface with water and cover the tray with a clear plastic dome or cling film to create a humid greenhouse effect.
- Place the tray in a warm location, such as on top of a refrigerator or a specialized seedling heat mat, to trigger germination.
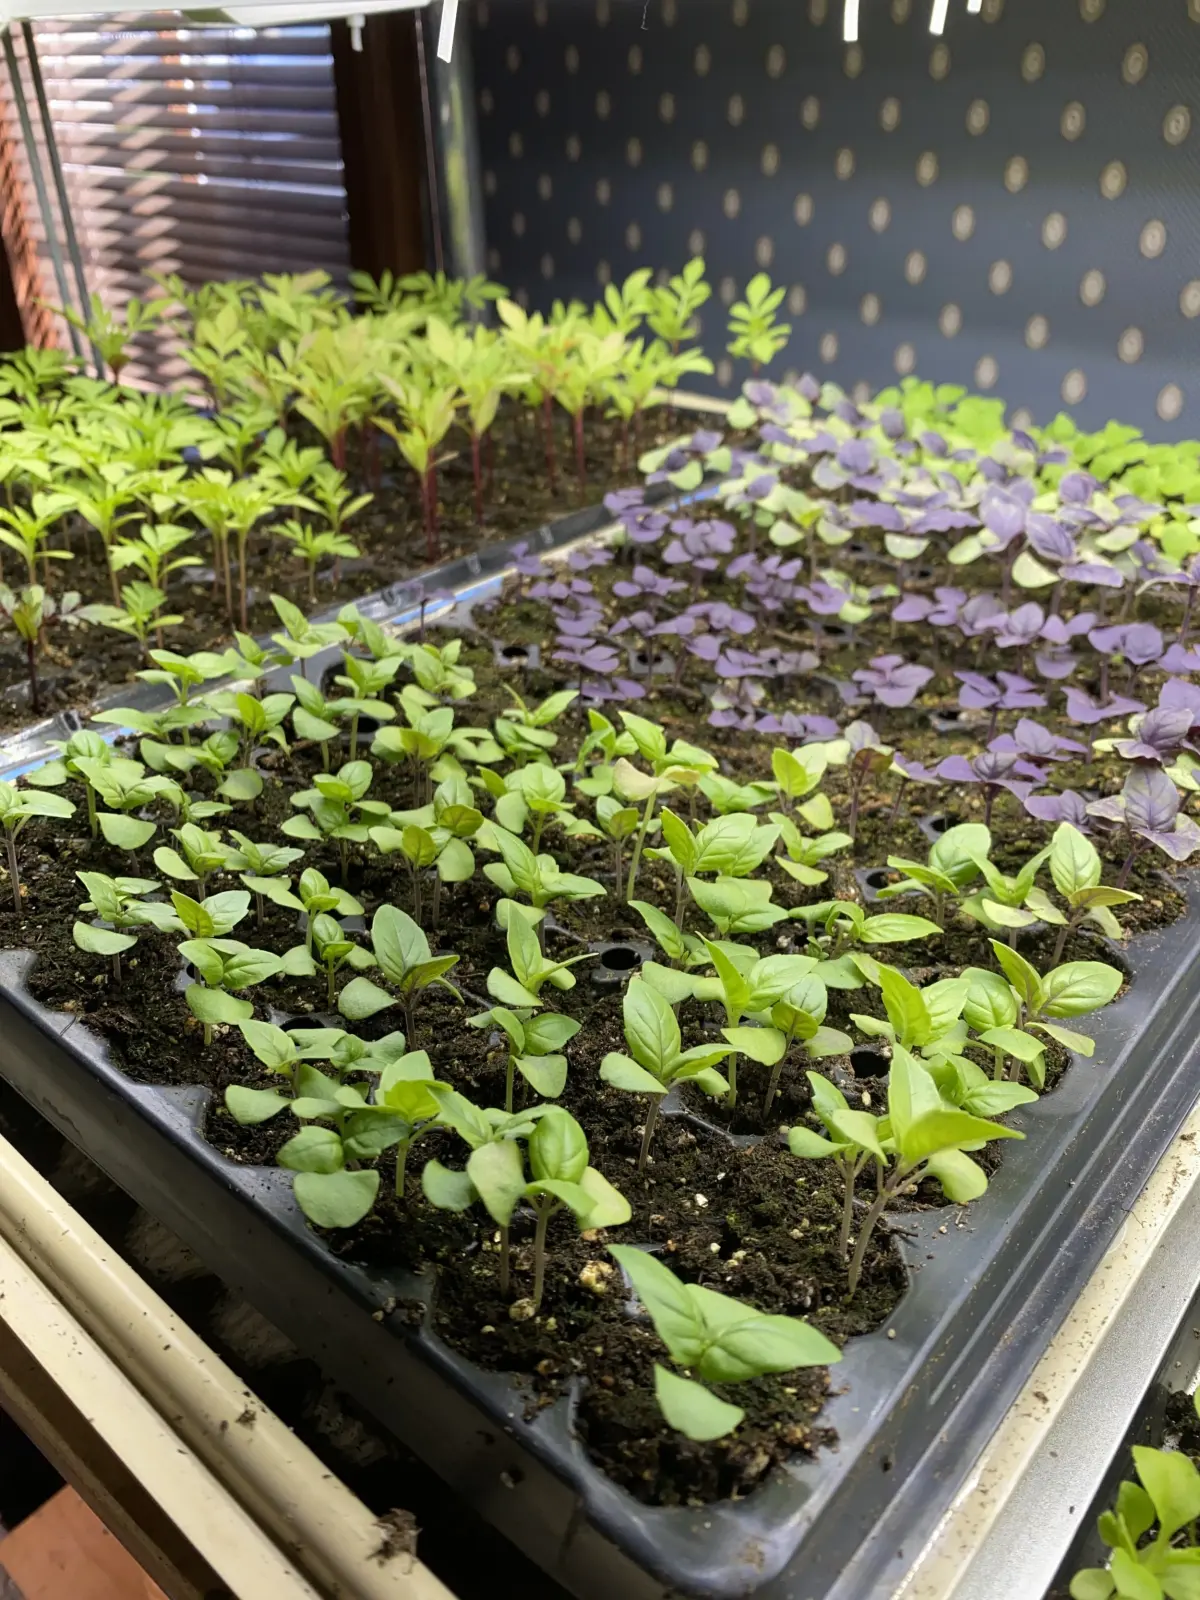
Once you see green sprouts, remove the plastic cover immediately to improve airflow. Move the trays to your light source and keep the temperature between 65 and 75 degrees Fahrenheit for most vegetable varieties. Monitor the moisture levels daily, watering from the bottom by placing the tray in a shallow pan of water to encourage deep root growth.
Why seedlings fail to thrive
The most common cause of seedling death is "damping off," a fungal disease that causes stems to collapse at the soil line. This usually occurs in environments with poor air circulation, overly wet soil, or low light. To prevent this, ensure your containers have adequate drainage and use a small oscillating fan to provide gentle air movement around the plants. Avoid overwatering; the surface of the soil should be allowed to dry slightly between waterings to discourage mold growth.
Another frequent issue is nutrient deficiency. While seed-starting mixes contain minimal nutrients, seedlings will eventually need a boost once they develop their first set of true leaves. Use a liquid fertilizer diluted to one-quarter of the recommended strength once every two weeks. If your seedlings appear yellow or stunted despite having enough light, they are likely hungry or suffering from root congestion. Transplanting them into slightly larger containers with fresh potting soil can often resolve these growth plateaus and revitalize the plant.
Common mistakes when hardening off
Hardening off is the process of gradually introducing indoor-grown plants to the harsh realities of the outdoors, including wind, direct sunlight, and temperature fluctuations. Many gardeners make the mistake of moving plants directly from a warm, sheltered room to the garden, which often results in severe shock or death. The transition must be slow and deliberate, spanning seven to ten days to allow the plant's cuticle to thicken and its internal chemistry to adjust to higher light levels.
Follow this schedule to safely transition your plants:
- Days 1-3: Place plants in a shaded, protected spot outdoors for two hours, then bring them back inside.
- Days 4-6: Gradually increase the time outdoors and introduce them to filtered, indirect sunlight for four to five hours.
- Days 7-9: Leave the plants out for the full day, including periods of direct morning sun, bringing them in only at night.
- Day 10: If the nighttime temperatures are consistently above 50 degrees Fahrenheit, the plants are ready for permanent transplanting into the garden.
Key facts
- Start seeds 6 to 8 weeks before your region's last average frost date to ensure seedlings are ready for transplanting.
- Use a sterile, soil-less seed-starting mix rather than garden soil to prevent fungal diseases like "damping off."
- Seeds require consistent moisture, but avoid waterlogging them, which can rot the embryo before it sprouts.
- Most seeds germinate best in temperatures between 65°F and 75°F (18°C–24°C), often benefiting from a heat mat.
- Once sprouted, seedlings need 14 to 16 hours of bright light daily, ideally positioned 2 to 3 inches below a grow light.
- Always label your containers with the plant variety and the date sown to track growth progress accurately.
The bottom line
Starting seeds indoors is a rewarding way to extend your growing season and access a wider variety of plant cultivars. By providing a sterile medium, consistent warmth, and intense artificial light, you can cultivate healthy, vigorous transplants. Remember to harden off your seedlings before moving them outdoors to ensure they successfully adapt to the elements, ultimately leading to a more productive and vibrant garden harvest.
People also ask
Do all seeds need to be covered with soil?
No, some seeds require light to germinate and should be pressed onto the surface of the medium rather than buried. Always check the seed packet instructions to see if a variety needs darkness or light to sprout.
Why do my seedlings look tall, thin, and pale?
This condition, known as "leggy" growth, happens when seedlings do not receive enough light. Move your light source closer to the tops of the plants or increase the duration of daily light exposure.
When should I move seedlings to larger pots?
You should transplant seedlings into larger containers once they develop their first set of "true leaves." True leaves appear after the initial seed leaves and signify that the plant is ready for more root space.
What is the purpose of "hardening off" plants?
Hardening off is the process of gradually acclimating indoor-grown plants to outdoor conditions over 7 to 10 days. This prevents transplant shock by exposing them slowly to direct sunlight, wind, and fluctuating temperatures.
Can I reuse old plastic seed trays?
Yes, but you must sanitize them thoroughly before use to eliminate potential pathogens. Soak them in a solution of one part bleach to nine parts water for ten minutes, then rinse and dry completely.
How do I know if I am overwatering my seeds?
If the surface of the soil remains constantly soggy or develops a green film of algae, you are likely using too much water. Ensure your containers have adequate drainage holes and allow the surface to dry slightly between waterings.
This answer was created with the help of AI research tools and reference sources. Spotted an error? Let us know — we correct mistakes quickly. See our editorial policy.