How do you shade a nose?
Short answer
Shading a nose requires identifying the core structure as a sphere and two flanking cylinders. By establishing a light source, you can define the bridge, tip, and nostrils using soft gradients. Focus on the shadows beneath the nasal bulb and the sides of the bridge to create realistic three-dimensional depth.
On this page
How to understand nose anatomy for shading
The nose is not a flat object; it is a complex geometric structure composed of bone and cartilage. To shade it effectively, visualize it as a central rectangular bridge connected to a spherical tip, with two smaller ovoid shapes representing the nostrils. This structural breakdown allows you to apply light and shadow consistently across the various planes of the face.
When you begin, observe how light hits these specific volumes. The bridge of the nose usually catches the most light, while the underside of the tip and the nostril wings fall into shadow. By breaking the nose into these simple shapes, you avoid the common error of drawing it as a single, flat protrusion. Always keep your pencil strokes consistent with the curvature of these volumes to maintain a sense of physical weight.
How to map light and shadow on a nose
Establishing a clear light source is the most critical step in creating a realistic nose. If the light comes from the upper right, the left side of the bridge and the bottom of the nasal bulb will be in deep shadow. Using a light touch, sketch the "shadow map" before you begin blending, ensuring you define the core shadow, the reflected light, and the cast shadow.
- Identify the primary light source to determine the brightest highlight on the bridge.
- Lightly sketch the boundary lines where the light turns into shadow, known as the terminator line.
- Apply a base layer of graphite to the shadowed side of the nose, keeping the pressure light.
- Gradually deepen the shadows under the nostrils and the tip to create a sense of recession.
- Use an eraser to lift out the highlight on the bridge and the tip, ensuring the edges remain soft.
Best shading techniques for beginners
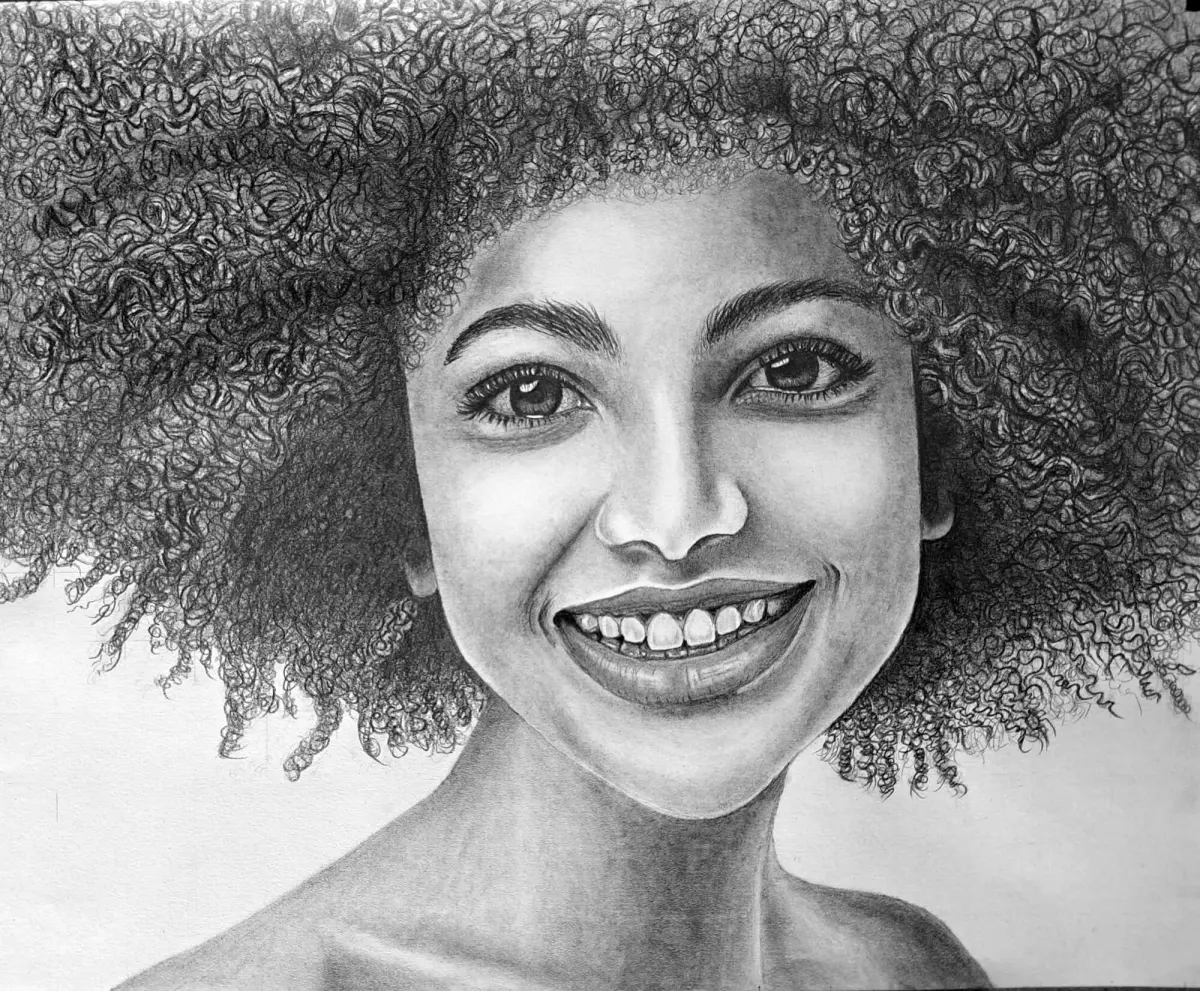
For those new to portraiture, the "soft-edge" technique is the most effective way to achieve a natural look. Avoid using harsh, dark outlines around the nostrils or the bridge, as these make the nose appear like a cartoon. Instead, use the side of your pencil to create subtle transitions between the highlights and the mid-tones.
- Use a 2H pencil for light, initial construction lines that are easy to erase.
- Transition to an HB or 2B pencil for the mid-tones and the primary shadow areas.
- Employ a blending stump or a piece of chamois to soften transitions on the rounded tip.
- Always shade in the direction of the form, following the curve of the bridge and nostrils.
- Keep your pencil sharp to maintain control over the delicate details of the nasal wings.
Why noses look flat in drawings
A common reason a nose appears flat is the lack of reflected light. Reflected light occurs when light bounces off the cheeks or the upper lip and hits the shadowed side of the nose. Without this subtle detail, the nose looks like a dark, disconnected shape rather than a feature integrated into the skull.
Another issue is the failure to account for the cast shadow. The nose casts a distinct shadow onto the upper lip and the cheek area, which helps anchor the feature to the face. If you omit this shadow or make it too light, the nose will appear to float on the surface of the skin. Pay close attention to how the shadow changes shape as it moves across the rounded contours of the mouth and cheek.
Common mistakes when shading a nose
Many artists make the mistake of drawing the nostrils as two dark, solid circles. In reality, the nostrils are deep, narrow cavities that should be shaded with a gradient rather than a solid black fill. If you make the nostrils too dark, they will distract from the rest of the facial features and make the nose appear overly aggressive or unnatural.
- Over-outlining the bridge, which creates a rigid, artificial appearance.
- Ignoring the subtle transition of values, leading to a "cut-out" look.
- Making the highlights too bright, which flattens the volume of the nose.
- Failing to connect the nose to the brow ridge, which breaks the anatomical flow.
- Using a smudging finger instead of a blending tool, which introduces oils and creates muddy marks.
By focusing on these specific areas and practicing consistent value control, you will significantly improve the three-dimensional quality of your portraits. Always step back from your work frequently to check the overall proportions and ensure the shading remains balanced with the rest of the facial structure.
Key facts
- Treat the nose as a simple geometric form, specifically a triangular prism or a wedge, to simplify complex shading.
- Identify the light source first; the side of the nose facing away from the light will always be the darkest.
- Use a "soft edge" for the bridge of the nose to maintain a natural, rounded appearance rather than a sharp, artificial line.
- Place the darkest shadows under the tip of the nose and inside the nostrils to create depth and volume.
- Avoid outlining the entire nose, as harsh lines flatten the form and make it look like a cartoon.
- Use a blending stump or a piece of tissue to soften transitions between light and shadow for a realistic skin texture.
The bottom line
Shading a nose effectively requires understanding its underlying geometric structure as a three-dimensional form. By establishing a clear light source, you can define the bridge with highlights and the sides with soft, graduated shadows. Focus on the darkest values under the tip and within the nostrils to anchor the nose to the face, while avoiding heavy outlines that destroy the illusion of depth and realism.
People also ask
How do I determine where the shadows on the nose should go?
Imagine a light source hitting the face from a 45-degree angle. The side of the nose opposite the light will have a shadow, and a cast shadow will appear beneath the nasal tip.
Should I use a hard pencil for shading the nose?
Start with a harder pencil, like an HB, to map out the structure lightly. Use softer pencils, such as 2B or 4B, to build up the darker shadows for contrast.
Why does my nose drawing look flat?
Flatness usually occurs when you draw lines around the entire nose or fail to create a gradient. Focus on the transition from the highlight on the bridge to the shadow on the side.
How do I draw the nostrils without making them look like black holes?
Don't draw them as solid black circles. Leave a tiny sliver of reflected light at the bottom of the nostril to suggest depth and curvature.
What is the most common mistake when shading a nose?
Beginners often over-define the bridge of the nose. Keep the bridge area mostly light, using only subtle shading to suggest the bone structure rather than drawing a distinct line.
Do I need to shade the sides of the nostrils?
Yes, shading the outer curves of the nostrils helps connect the nose to the cheeks. This creates a sense of three-dimensional space and prevents the nose from looking like a separate sticker.
This answer was created with the help of AI research tools and reference sources. Spotted an error? Let us know — we correct mistakes quickly. See our editorial policy.
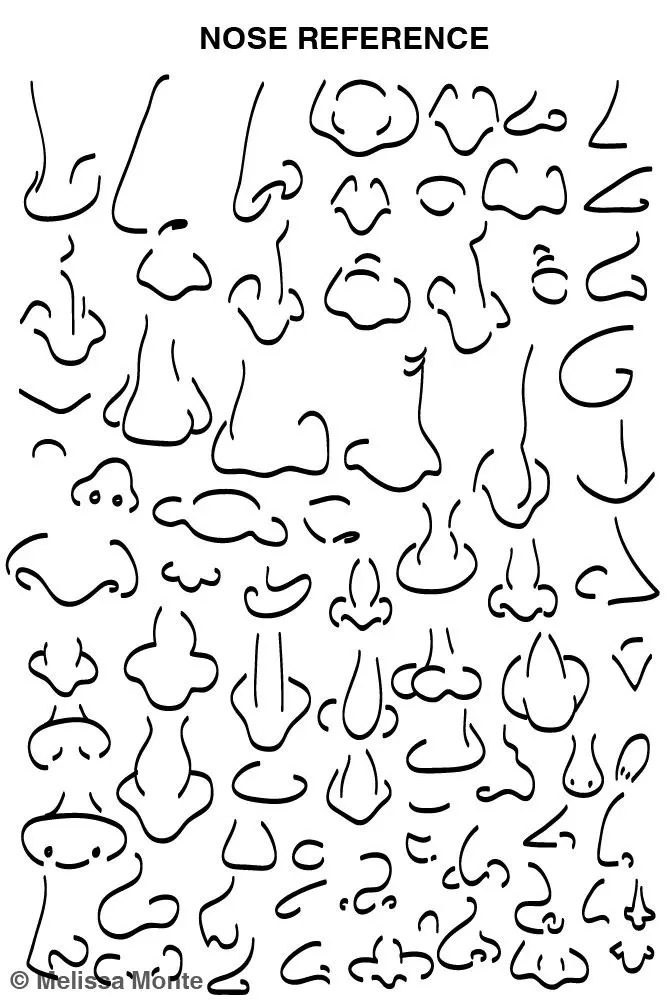

![For beginners] This is actually a crucial part! Review the techniques for drawing noses!](/img/e4/how-do-you-draw-a-nose-for-beginners-1.webp)