How do you draw a typewriter step by step?
Short answer
Drawing a typewriter involves constructing a rectangular base with a cylindrical platen on top. You begin by sketching a boxy frame, adding circular keys in rows, and detailing the carriage mechanism. By focusing on geometric shapes like cylinders and rectangles, you can accurately capture the mechanical aesthetic of this classic writing machine.
On this page
How to draw a typewriter step by step
To draw a classic typewriter, start by establishing the basic proportions using light pencil lines. Begin with a large, wide rectangle to serve as the main body. Place a smaller, thinner rectangle on top to represent the carriage, and add a long cylinder horizontally across the top section to act as the platen, which holds the paper. This structural foundation ensures your drawing remains symmetrical and balanced before you add complex mechanical details.
Once the frame is set, focus on the keyboard layout. Typewriters typically feature a slightly sloped, stepped platform for the keys. Draw several horizontal rows of small circles or rounded squares on this platform. Ensure the keys are spaced evenly, as a cluttered keyboard will ruin the perspective. Finally, add the smaller side levers and the carriage return arm on the left side to provide the machine with its iconic silhouette.
Best drawing techniques for beginners
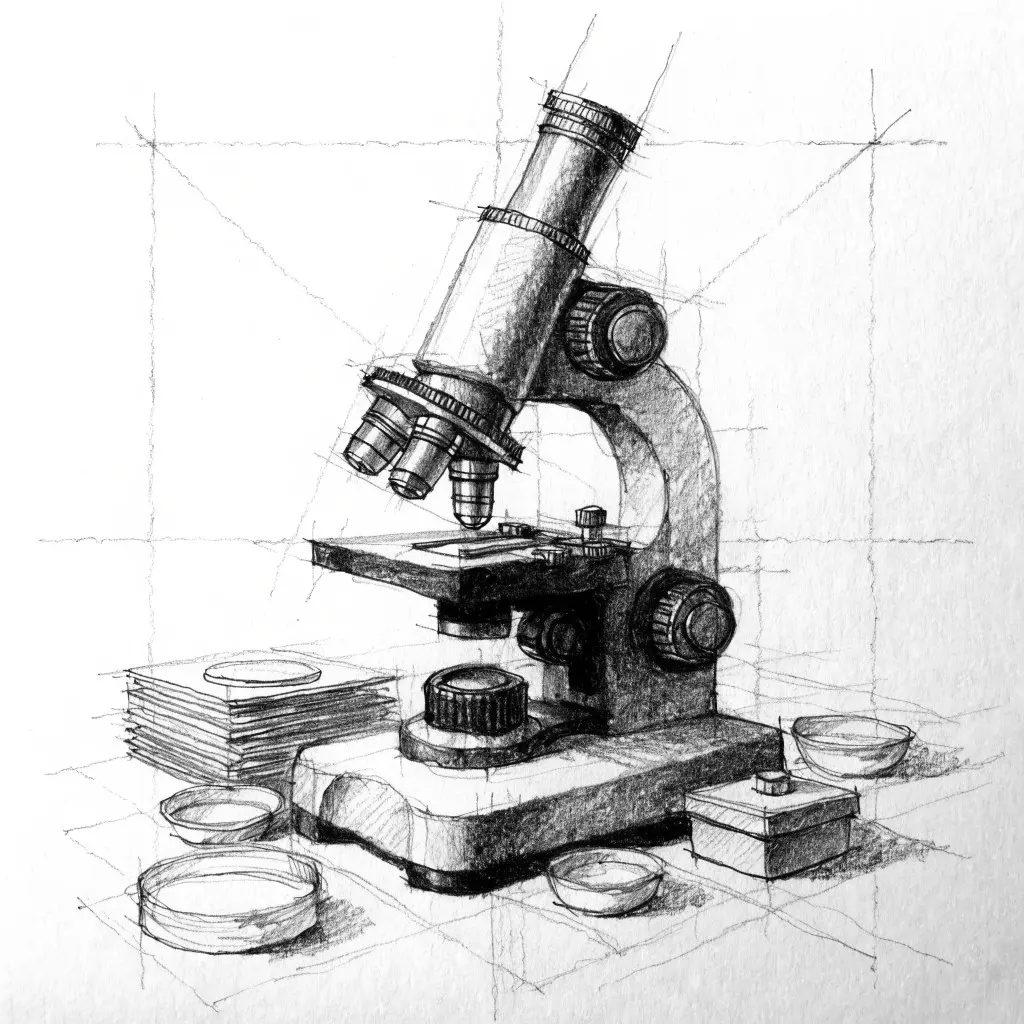
Beginners should utilize a grid system or "blocking" to maintain correct proportions. Start by drawing a central vertical axis line to ensure the left and right sides of the typewriter mirror each other. Use simple geometric shapes to build the machine piece by piece, rather than trying to draw the entire object at once. This method prevents the common issue of one side appearing larger or more distorted than the other.
When refining your sketch, consider these essential steps:
- Sketch a light box to define the overall width and height of the typewriter.
- Divide the front panel into three distinct horizontal sections for the keys.
- Draw the cylindrical platen using two circles connected by a curved line.
- Add vertical lines to define the side panels of the chassis.
- Use a darker pencil to outline the final shape and erase the initial guidelines.
Why typewriter proportions are difficult
The primary challenge in drawing a typewriter lies in the complex relationship between the carriage and the base. The carriage, which moves horizontally, must look as though it sits securely atop the main body. If the perspective of the cylinder is off, the entire machine will look tilted or unstable. Artists often struggle with the depth of the keyboard, as the keys must appear to recede into the distance following the angle of the machine’s frame.
Another common difficulty is the mechanical intricacy of the typebars and the ribbon spool. Many people try to draw every single internal gear, which often leads to a messy and cluttered final image. Instead, focus on the "gestalt" or the overall impression of the machine. By simplifying the internal mechanisms into shadows or subtle lines, you can suggest complexity without overwhelming the viewer. Focus on the contrast between the rigid, boxy frame and the circular, soft shapes of the keys.
Common mistakes when drawing typewriters
One of the most frequent errors is failing to account for the thickness of the frame. A typewriter is a heavy, industrial object made of metal, so the edges should look substantial rather than paper-thin. Avoid drawing the keys as flat, two-dimensional circles; instead, give them a slight 3D appearance by adding a small shadow on the bottom edge of each circle. This simple shading trick adds depth and makes the keyboard look tactile.
Be aware of these common pitfalls:
- Ignoring the slight curve of the keyboard rows, which creates a flat, unrealistic look.
- Making the carriage return lever too short or too thin, which disrupts the machine's balance.
- Forgetting the shadows cast by the keys onto the front panel of the typewriter.
- Drawing the platen as a flat rectangle instead of a rounded, three-dimensional cylinder.
- Neglecting the slight gap between the carriage and the main body of the machine.
How to add realistic details and shading
To bring your drawing to life, focus on the play of light across the metallic surfaces. Typewriters were historically finished in matte black or glossy enamel, which creates distinct highlights. Use a kneaded eraser to lift graphite from the top edges of the keys and the platen, simulating the reflection of light. Keep your shading consistent, assuming a single light source to ensure that shadows fall in the same direction across the entire object.
Final touches involve adding the texture of the keys and the subtle mechanical markings. You might add faint letters or numbers to the centers of the circles, though keep these minimal to avoid distraction. Use a fine-liner pen or a sharp pencil to emphasize the gaps between the keys, which creates a sense of depth. By carefully balancing these fine details with the broader structural shapes, you create a professional, accurate representation of a vintage typewriter that looks both functional and authentic.
Key facts
- Start by drawing a large, slightly rounded rectangle to serve as the main body of the typewriter.
- Use a smaller, thinner rectangle on top to represent the paper carriage and platen.
- Place a series of small circles or rounded squares at the bottom in a curved row to depict the keys.
- Add a vertical lever on the left side of the carriage to represent the carriage return.
- Connect the keys to the main body using thin, parallel lines to suggest the typebars.
- Keep your lines light initially so you can easily erase guidelines once the structure is finalized.
The bottom line
Drawing a typewriter is a study in geometric shapes and mechanical precision. By breaking the machine down into a main body, a carriage, and individual keys, you can build a complex object from simple components. Focus on maintaining symmetry and adding subtle shadows to give the keys depth. With practice, these basic structural steps will allow you to capture the timeless aesthetic of this classic writing tool.
People also ask
What is the most important part of a typewriter's design?
The carriage and the keyboard are the most recognizable features. Ensuring these two elements are proportional to each other is essential for a realistic drawing.
Should I use a ruler when drawing a typewriter?
Using a ruler helps maintain the geometric precision of the frame and the alignment of the keys. However, slight curves add character to the vintage aesthetic.
How do I make the keys look three-dimensional?
Add a small, crescent-shaped shadow on the bottom right of each key circle. This simple shading technique creates the illusion of depth and volume.
What is the purpose of the carriage return lever?
The lever is used to advance the paper and move the carriage back to the start of a line. In a drawing, it adds a distinct silhouette to the top-left corner.
Can I draw a modern typewriter?
Modern typewriters often have flatter, more streamlined bodies compared to the bulky, mechanical designs of the early 20th century. Choose a specific model, like an Underwood or an Olivetti, to guide your proportions.
How do I draw the paper inside the machine?
Draw a simple rectangle protruding from the top slot of the carriage. Adding a few horizontal lines on the paper suggests text and makes the machine look functional.
This answer was created with the help of AI research tools and reference sources. Spotted an error? Let us know — we correct mistakes quickly. See our editorial policy.