How do you draw a realistic rose?
Short answer
Drawing a realistic rose requires capturing its complex, spiral structure through careful observation of light and shadow. Begin by sketching a central core, then layer overlapping petals outward using curved, organic lines. Focus on creating depth by shading the folds and edges, which gives the flower its characteristic three-dimensional, volumetric appearance.
On this page
How to structure a rose drawing
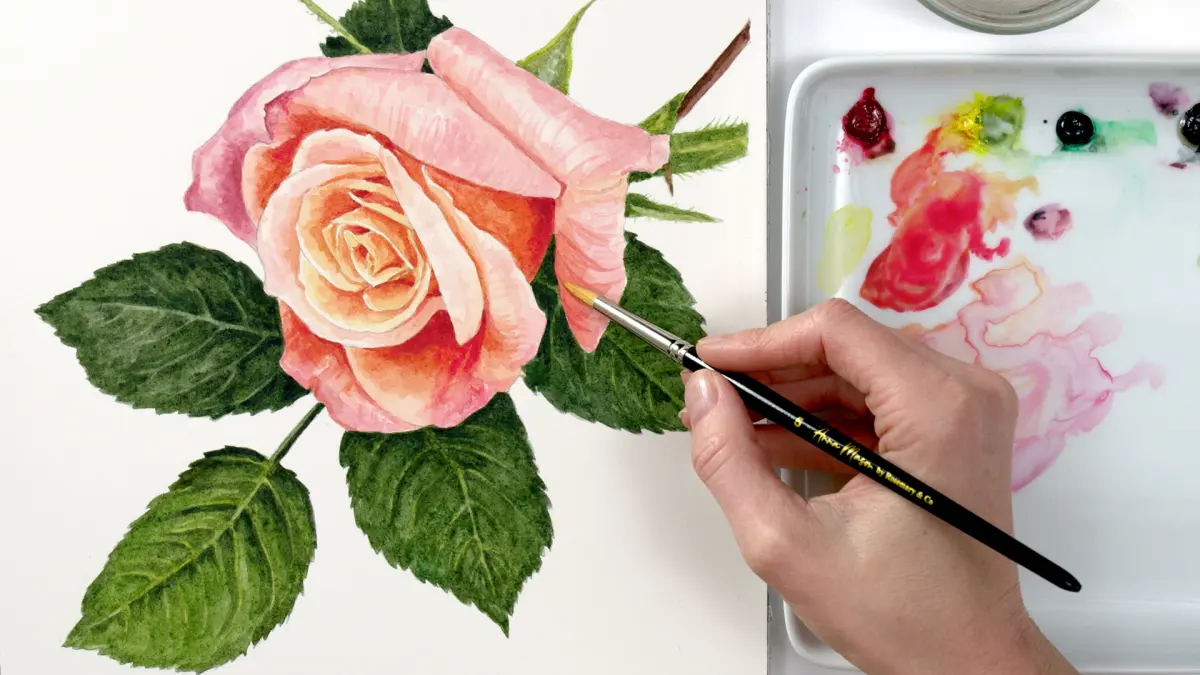
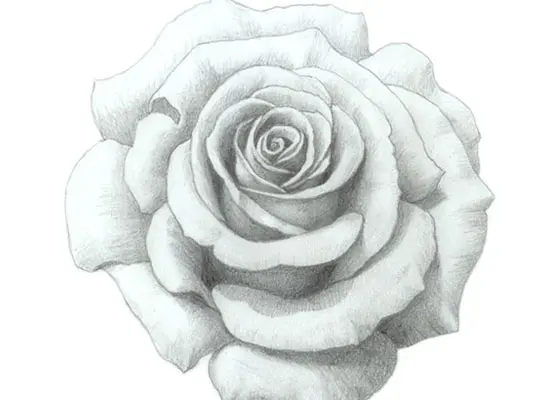
The key to a realistic rose is understanding its geometry. A rose is essentially a series of concentric, spiraling shapes that tighten toward the center. Instead of drawing individual petals immediately, start by sketching a small, tight bud or a "cup" shape in the center of your page. This core serves as the anchor for every other petal you will add later.
Once the center is established, build outward by sketching larger, looser curves that represent the outer petals. Keep these lines light and fluid, as they will define the overall silhouette of the bloom. Remember that petals rarely have perfectly straight edges; they are often ruffled, curled, or slightly wilted. Use these irregularities to your advantage, as they break up the symmetry and make the drawing appear more natural and alive.
- Draw a small, tight spiral or "U" shape to define the center.
- Outline 3 to 4 small, overlapping petals surrounding that center.
- Add larger, wider petals that curve outward, ensuring they vary in size.
- Connect the base of the petals to a stem with two small sepals.
How to shade for realistic depth
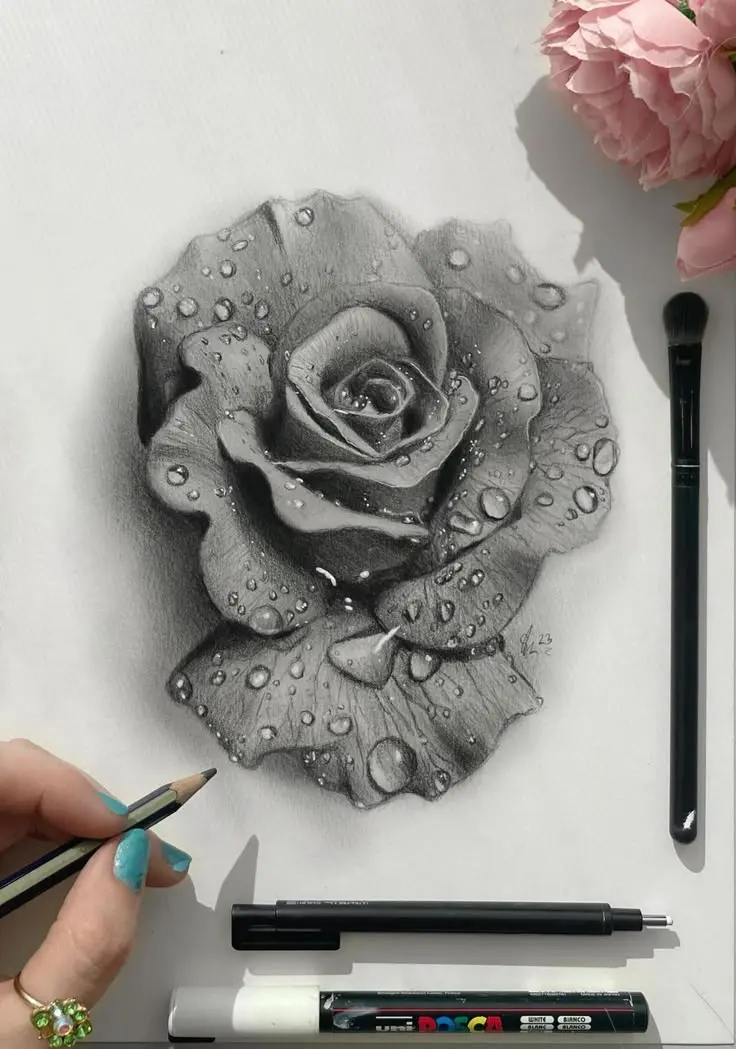
Shading is the most critical step for achieving a professional, realistic look. A rose is a collection of overlapping planes, and each petal casts a shadow on the one beneath it. Identify your light source early, such as a lamp to the upper right, and keep it consistent throughout the process. Areas tucked deep within the center of the bloom should be the darkest, as they receive the least amount of ambient light.
Use a range of graphite pencils, such as 2H for light initial marks and 4B or 6B for deep, rich shadows. When shading, follow the contour of the petal with your pencil strokes rather than using flat, horizontal lines. This technique, known as cross-contour shading, emphasizes the rounded, organic surface of the flower. Use a blending stump or a soft tissue to smooth out transitions between light and dark areas, ensuring the gradient looks seamless and soft.
- Use a 2H pencil for light, preliminary outlines.
- Apply 4B lead to the deepest crevices between petals.
- Leave small, white gaps at the very edges of petals to represent highlights.
- Use a kneaded eraser to lift graphite and create soft, reflected light.
Best techniques for petal texture
A rose’s texture is defined by the subtle tension in its skin and the way light interacts with its delicate surface. To capture this, avoid outlining every single edge with a heavy, dark line. Instead, use varying line weights; press harder where a petal folds over itself and use a lighter touch where the petal meets the background. This variation creates a sense of air and space around the flower.
Pay close attention to the edges of the petals, which are often the thinnest parts. By leaving these edges slightly lighter or even pure white, you mimic the way sunlight passes through the translucent tissue of a real rose. If you are drawing a wilted rose, add small, jagged tears or dark, mottled spots to the edges. These imperfections provide a sense of history and realism that a perfectly symmetrical flower often lacks, grounding the drawing in reality.
Common mistakes when drawing roses
One of the most frequent errors is drawing petals that are too uniform in size and shape. In nature, no two petals are identical; some are wide and flat, while others are narrow and tightly curled. If your rose looks like a repetitive pattern, try intentionally varying the size of your petal shapes. Another mistake is ignoring the stem and leaves, which are essential for context. A rose floating in space looks disconnected, so always include at least a portion of the stem or a leaf to ground the composition.
Additionally, beginners often neglect the "negative space" between petals. If you draw every petal as a distinct, isolated object, the flower will look like a stack of paper cutouts. Instead, focus on the shadows created in the gaps between petals. These dark, triangular shapes are what define the depth of the bloom. By darkening the recessed areas, you allow the petals to pop forward, creating a convincing sense of volume and physical presence on the paper.
How to refine your final drawing
Refining your drawing requires a critical eye and a willingness to make adjustments. Once your shading is complete, step back from your work to view it from a distance. Often, the overall form becomes clearer when viewed from a few feet away, allowing you to see if the balance of light and dark is correct. If the rose feels flat, go back into the darkest shadows and deepen them with a softer pencil to increase the contrast.
Finally, check your edges for clarity. If a petal looks too soft, use a sharp pencil to redefine the contour where it overlaps another. If a highlight is too harsh, lightly smudge it with a blending tool to soften the transition. A realistic drawing is rarely finished in one pass; it is the result of layering, erasing, and refining until the image captures the delicate, complex essence of the living flower. Take your time with these final details to ensure the drawing feels complete.
Key facts
- Start by drawing a small, tight spiral or a "bud" shape in the center to establish the rose's core.
- Use light, curved lines to build overlapping "C" and "U" shapes around the center to represent petals.
- Apply shading by pressing harder with your pencil at the base of each petal where it meets the center.
- Leave small white gaps between petals to create the illusion of depth and highlight the edges.
- Observe how petals fold outward; the outer petals should be larger and flatter than the inner ones.
- Use a blending stump or a soft tissue to smooth out graphite transitions for a velvety, realistic texture.
The bottom line
Drawing a realistic rose requires focusing on the interplay between light and shadow rather than just outlining shapes. By building the flower from a tight, dark center and expanding outward with overlapping, curved petals, you create a sense of depth. Always prioritize soft transitions and varied line weights to mimic the delicate, organic nature of the bloom, ensuring your final piece feels three-dimensional and lifelike.
People also ask
What pencil grades are best for drawing roses?
Use an HB pencil for light initial sketching and a 4B or 6B pencil to create deep, dark shadows. A range of pencils allows for better contrast and a more three-dimensional appearance.
How do I make petals look soft instead of stiff?
Avoid drawing perfectly straight lines; use gentle, flowing curves that follow the natural organic shape of a petal. Soften the edges of your shadows by blending them into the lighter areas of the petal.
Should I draw the stem and leaves first or last?
It is generally easier to draw the flower head first to establish the focal point. Once the rose is complete, add the stem and leaves to anchor the drawing and provide context.
Why does my rose look like a flat circle?
This usually happens because of a lack of contrast between the inner and outer petals. Ensure the center is significantly darker than the outer edges to create the necessary sense of volume.
How do I draw the texture of a rose petal?
Use very light, short strokes to suggest the delicate veins found on a petal. Keep these marks subtle so they do not distract from the overall form and shading of the flower.
Can I use colored pencils for a realistic effect?
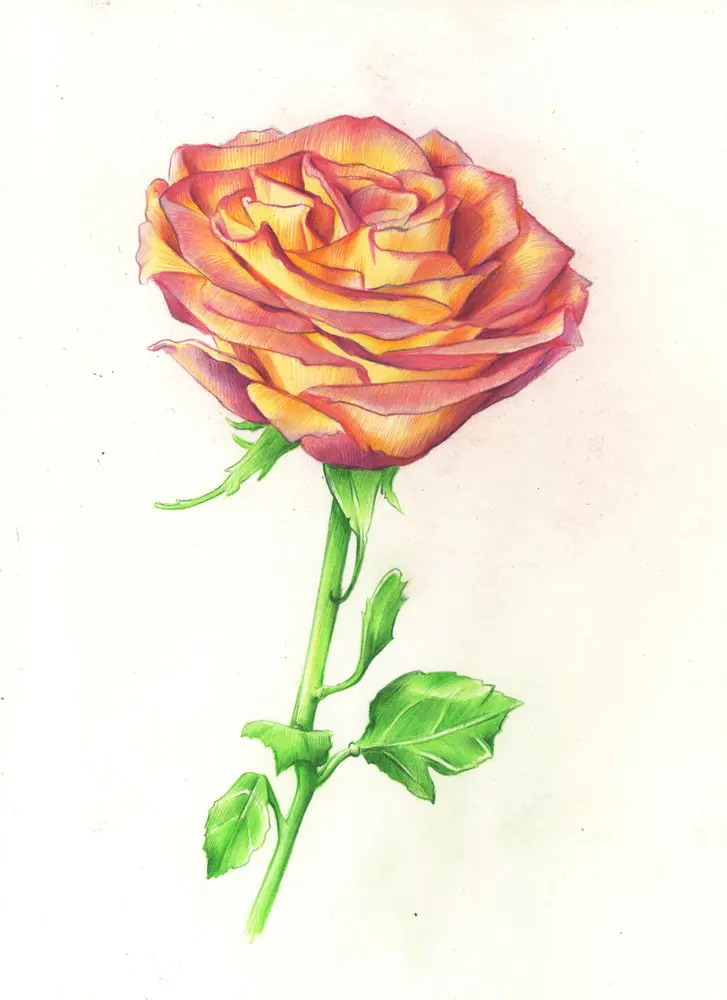
Yes, layering multiple shades of the same color, such as light pink, deep crimson, and dark purple, creates depth. Always apply the lightest colors first and build up to the darkest tones gradually.
This answer was created with the help of AI research tools and reference sources. Spotted an error? Let us know — we correct mistakes quickly. See our editorial policy.