How do you draw a mouth for beginners?
Short answer
Drawing a mouth begins with establishing the central line, which dictates the expression and perspective. By constructing the upper and lower lips as three distinct geometric shapes, you create volume and symmetry. Consistent practice with light pencil pressure ensures you can refine the contours and shading to achieve a realistic, lifelike appearance.
On this page
How to draw a mouth step by step
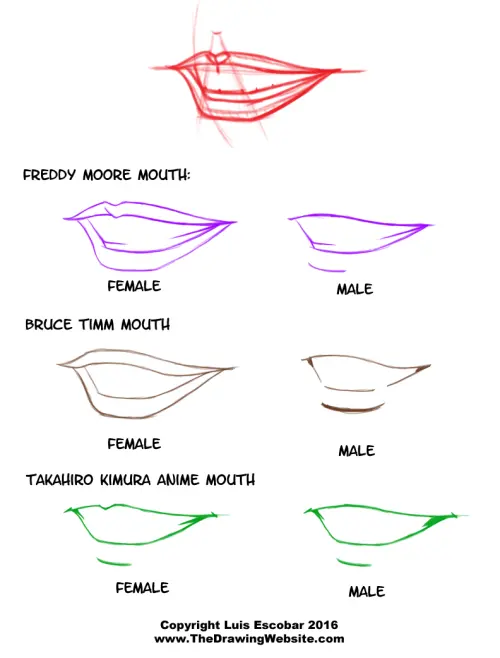
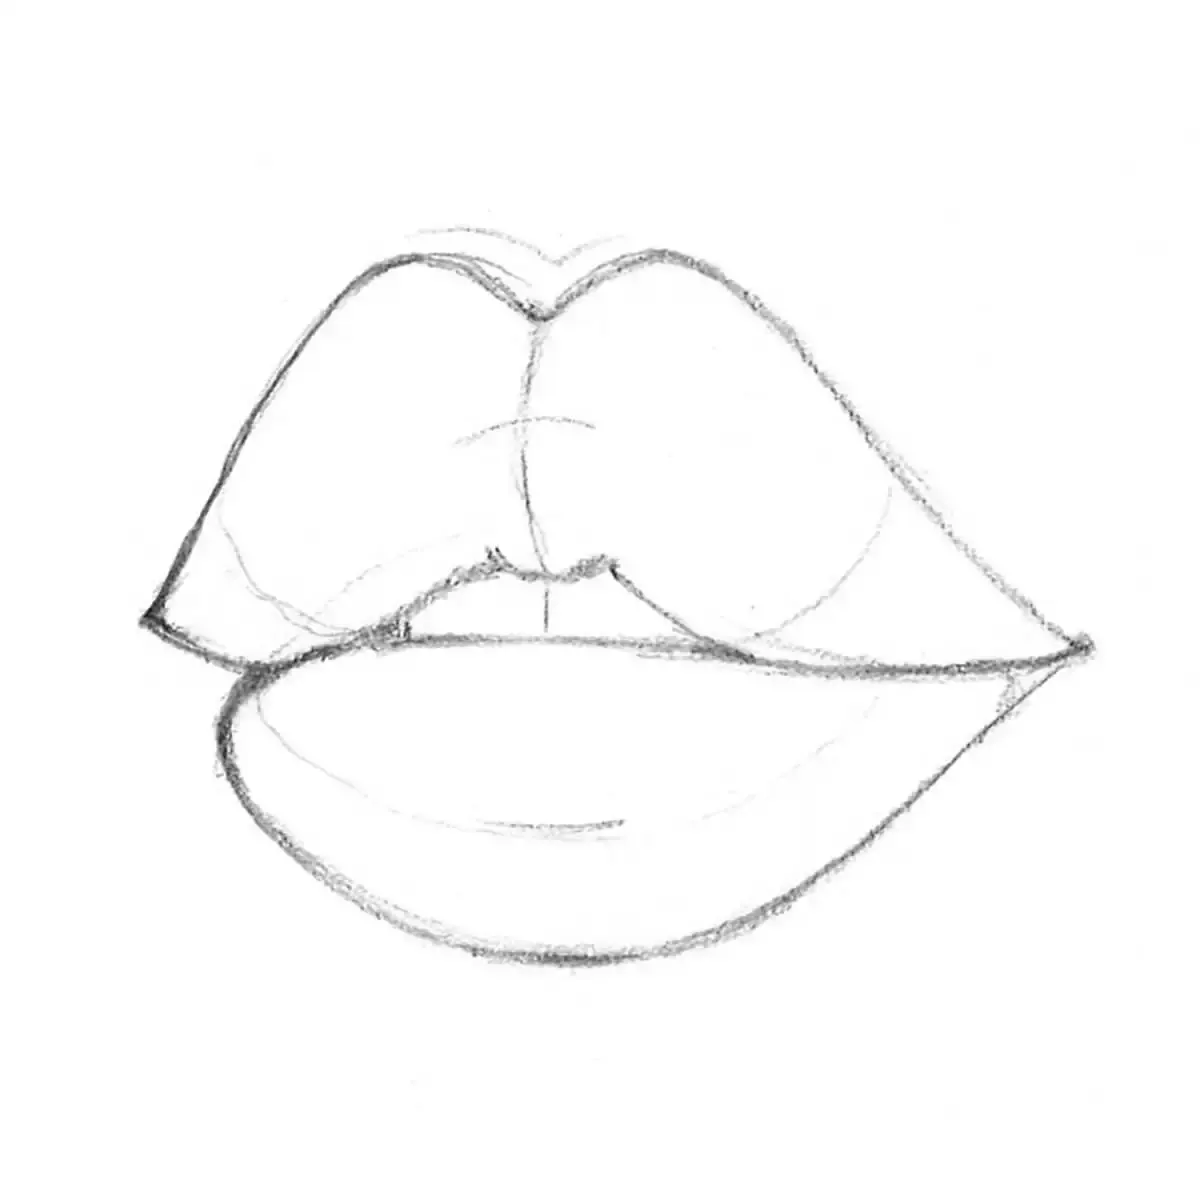
To draw a mouth, start by drawing a horizontal line to represent the mouth opening. This line should curve slightly according to the expression of your subject, such as turning upward for a smile or downward for a frown. Once the center line is established, draw a small "M" shape or a shallow dip in the center of the upper lip line. This creates the philtrum indentation, which is crucial for anatomical accuracy.
Next, build the lips using three simple shapes. Place a rounded triangle or oval in the center of the top lip and two smaller shapes on either side. Repeat this process for the bottom lip, but keep the center shape larger and more rounded, as the bottom lip is typically fuller. Connect these shapes with fluid lines to form the outer perimeter of the mouth. Finally, refine the edges where the lips meet the skin, ensuring the corners of the mouth are pulled slightly inward to suggest depth.
Best tools for drawing mouths
For beginners, using a standard HB graphite pencil is ideal for initial sketching because it is easy to erase. As you progress into shading, transition to 2B or 4B pencils, which offer softer, darker graphite that helps create the transition from light to shadow. A kneaded eraser is also essential, as it allows you to lift graphite gently to create highlights on the center of the lips without damaging the paper surface.
When selecting paper, choose a medium-weight drawing paper with a slight tooth or texture. This texture helps the graphite grip the surface, allowing for smoother gradients when blending. Avoid using standard printer paper, as it is often too smooth and thin, which can lead to smudging and poor control over your shading intensity. Keep a blending stump or a piece of soft tissue nearby to smooth out harsh lines once your basic structure is complete.
How to shade lips for realism
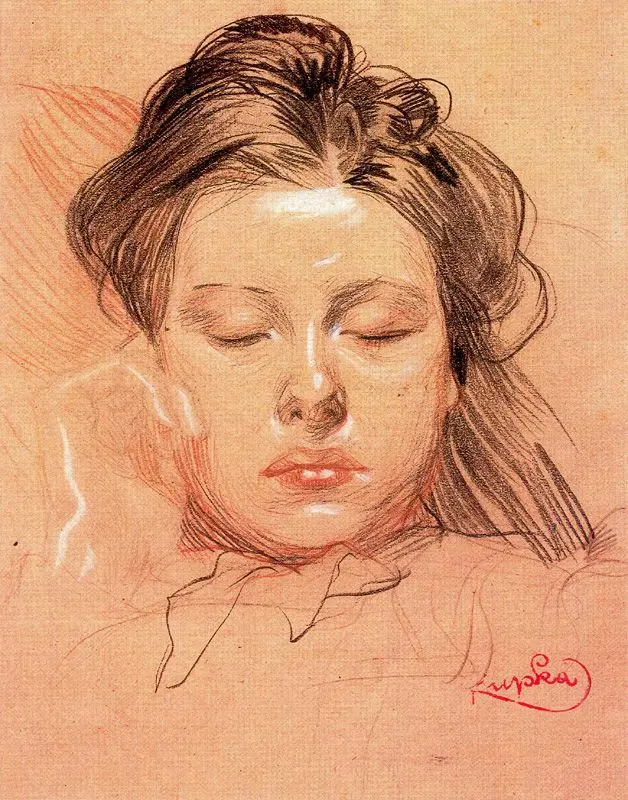
Shading is the process that transforms a flat outline into a three-dimensional form. Start by identifying your light source, as this determines where the highlights will appear. Typically, the upper lip is darker than the lower lip because it is angled downward, away from the light. Use light, vertical strokes to follow the natural contours and creases of the lips, which helps define their texture.
- Apply a light base layer of graphite across both lips, leaving the brightest areas on the lower lip untouched.
- Darken the center line of the mouth, as this is the deepest shadow where the lips meet.
- Add subtle vertical lines radiating from the center of the lips to mimic natural skin texture.
- Use a kneaded eraser to dab the center of the lower lip to create a highlight, which adds a sense of moisture.
- Blend the edges of the lips into the surrounding skin using a stump to ensure they do not look like they were pasted onto the face.
Common mistakes when drawing mouths
One of the most frequent errors is drawing the mouth too wide or too narrow. A helpful rule of thumb is that the corners of the mouth typically align vertically with the centers of the pupils. If the mouth extends beyond this point, it will look unnatural or exaggerated. Another mistake is drawing the mouth as a flat, straight line, which ignores the fact that lips are curved, fleshy structures that wrap around the teeth and jaw.
Beginners often neglect the surrounding anatomy, such as the chin and the area above the top lip. The mouth does not exist in isolation; it interacts with the muscles of the cheeks and the structure of the jaw. If you draw the lips without considering the curvature of the face, the mouth will appear to float on the surface of the skin. Always sketch the surrounding facial planes lightly to ensure the mouth sits correctly within the overall head structure.
Why lips look asymmetrical
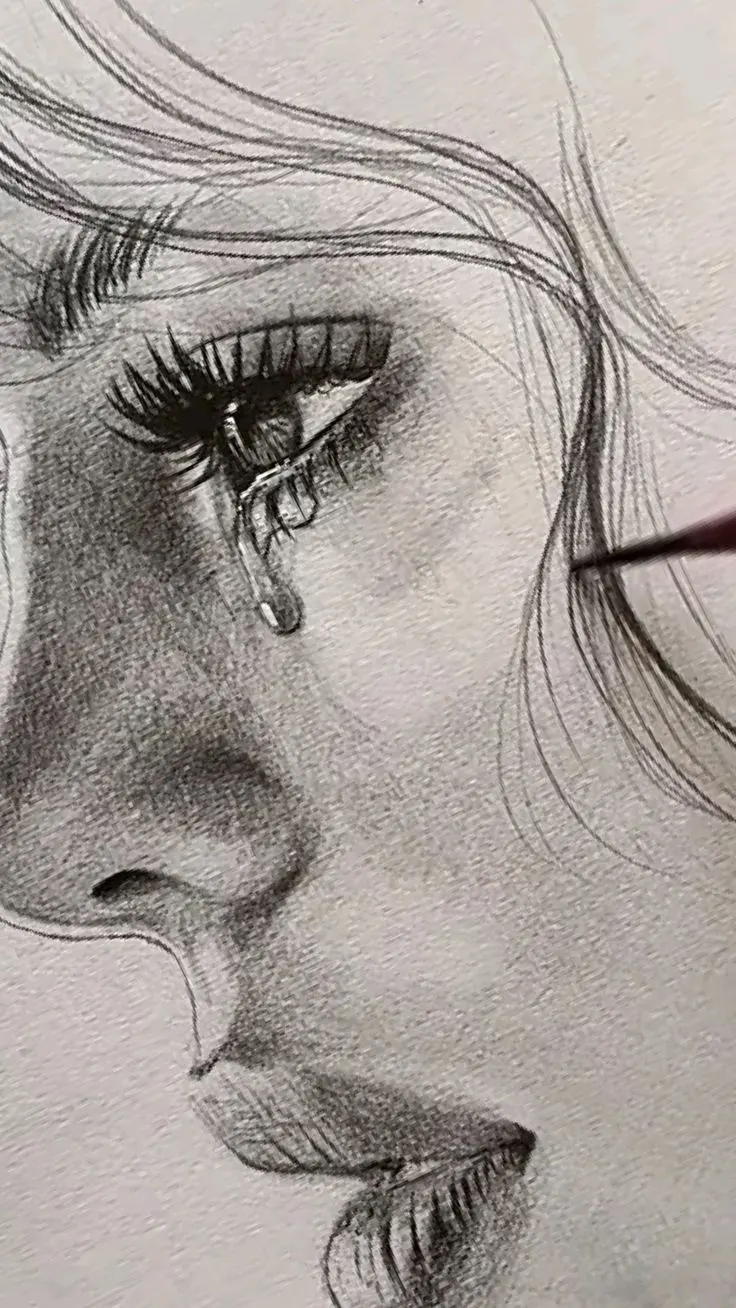
Asymmetry is a natural part of human biology, but it is often exaggerated in drawings due to poor perspective. If you are drawing a face at an angle, the side of the mouth closer to the viewer should appear slightly wider and more detailed than the side farther away. Failing to account for this foreshortening will make the mouth look distorted or tilted. Practice drawing the mouth from multiple angles, including three-quarter views, to understand how the shapes shift in space.
- Ensure the center line of the mouth follows the curve of the teeth and skull.
- Check that the upper lip's "M" shape aligns with the center of the nose.
- Use a mirror to check your drawing; looking at a reflection often reveals lopsided proportions that the eyes ignore during the drawing process.
- Remember that the corners of the mouth are usually slightly lower than the center, even in a neutral expression.
- Keep your initial construction lines very faint so they can be easily integrated into the final shading process.
By focusing on these structural elements and consistently checking your proportions against the rest of the face, you will develop the skills necessary to draw expressive and accurate mouths.
Key facts
- The human mouth is roughly the width of the distance between the pupils of the eyes.
- The upper lip is typically darker than the lower lip because it faces downward and receives less light.
- A natural mouth is not a straight line; it follows a gentle curve or "M" shape across the face.
- The corners of the mouth, known as the commissures, are often darker and act as anchor points for the lips.
- Use a light touch when sketching the philtrum, the vertical groove between the nose and the top of the upper lip.
- Avoid drawing individual teeth; instead, suggest them with subtle shading to prevent a cartoonish appearance.
The bottom line
Drawing a realistic mouth requires observing the natural curvature and lighting of the lips rather than relying on symbols. By focusing on the width between the pupils, the subtle "M" shape of the upper lip, and soft shading, you can create depth. Practice these techniques consistently, prioritize blending over outlining, and remember that the mouth is a three-dimensional structure that curves around the jawline.
People also ask
How do I make lips look soft rather than hard?
Focus on blending your shading rather than using harsh outlines. Use a soft graphite pencil or a blending stump to smooth out the transitions between the lip color and the surrounding skin.
Should I draw the mouth closed or open?
Beginners should start with a closed mouth to master the basic shape and volume of the lips. Once you are comfortable, practice slightly parted lips to learn how to represent the interior darkness of the oral cavity.
Why do my drawings of mouths look flat?
Flatness usually results from ignoring the three-dimensional curvature of the lips. Remember that the lips wrap around the cylindrical shape of the teeth and jaw, so use highlights to show the rounded surfaces.
Where should the mouth be placed on the face?
In a standard portrait, the mouth is positioned approximately one-third of the way down from the bottom of the nose to the chin. Always align the center of the mouth with the vertical midline of the face.
How do I draw the cupid's bow correctly?
The cupid's bow is the double curve at the center of the upper lip. Keep it subtle by drawing two gentle arches that meet at a soft point, rather than sharp, geometric angles.
What is the best pencil grade for sketching lips?
Start with an HB pencil for the initial layout to keep lines light and erasable. Switch to a 2B or 4B pencil for the final shading to achieve the necessary depth and contrast in the darker areas.
This answer was created with the help of AI research tools and reference sources. Spotted an error? Let us know — we correct mistakes quickly. See our editorial policy.