How do you draw realistic rocks?
Short answer
Drawing realistic rocks requires focusing on angular geometry, consistent light sources, and varied surface textures. By establishing a clear shadow side and a highlight side, you create depth. Use hard edges for facets and soft transitions for weathering. Success relies on observing geological structures rather than drawing generic, rounded, or smooth shapes.
On this page
How to structure rock shapes for realism
Rocks are rarely perfectly round or uniform. To achieve a realistic look, you must prioritize angularity and geometric construction. Start by sketching simple polygons, such as trapezoids or irregular pentagons, to define the primary mass of the rock. Avoid drawing smooth, continuous curves, as these suggest soft materials like clay or fabric rather than solid stone.
Once the basic silhouette is established, add secondary planes to break up the flat surfaces. Imagine the rock as a collection of facets, similar to a cut gemstone but with more organic irregularity. Use these steps to build your foundation:
- Sketch a rough, blocky silhouette using straight lines.
- Identify the "face" of the rock that receives the most light.
- Add smaller cracks and chips along the edges to create a sense of age.
- Vary the size of these facets to prevent a repetitive, artificial appearance.
How to use light and shadow on rocks
The key to making a rock look three-dimensional is a consistent light source. Before applying detail, determine where the light is coming from and stick to it strictly. The side facing the light will be your highlight, while the opposite side will fall into shadow. Use a sharp transition between light and dark to emphasize the hardness of the material.
Incorporate reflected light to add professional-level depth to your shadows. Reflected light occurs when light bounces off the ground or surrounding objects and hits the shaded side of the rock. This prevents the shadow from looking like a flat black void. Remember that the cast shadow—the shadow the rock throws onto the ground—is usually darker and sharper near the base of the rock and becomes softer as it extends outward.
Best tools for drawing rock textures
The texture of a rock is defined by its surface imperfections, such as pits, fissures, and mineral veins. For graphite artists, a hard lead pencil (2H or HB) works best for creating light, subtle textures, while a softer lead (4B or 6B) is essential for deep, dark cracks. Using a kneaded eraser is a critical technique; you can press it into the paper to lift out highlights, creating the appearance of moss or light-catching crystals.
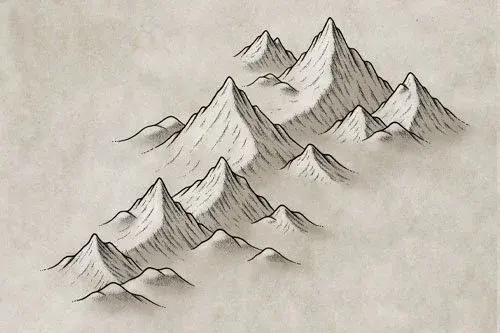
For those working with digital or ink mediums, focus on stippling and hatching to suggest grit. Do not try to draw every single grain of sand. Instead, focus on these techniques:
- Use cross-hatching to build up density in deep crevices.
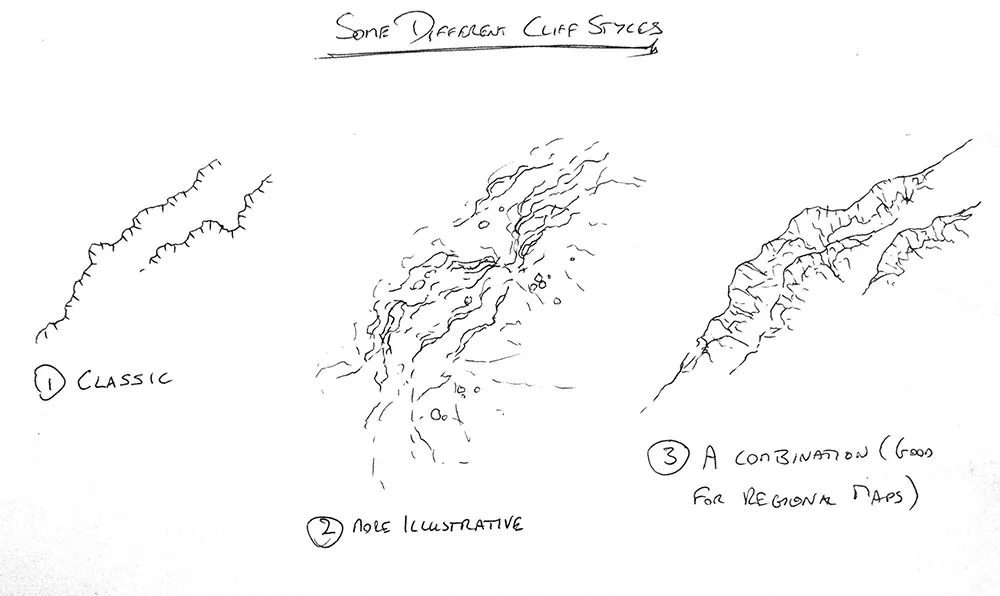
- Apply short, jagged lines to define the edges of cracks.
- Use a "broken" line style to show where a rock surface is crumbling or weathered.
- Vary the pressure of your strokes to mimic the uneven, porous nature of stone.
Why rocks look fake in drawings
The most common reason a drawing looks unrealistic is the "blob" effect. If your rocks lack sharp, angular planes, they will appear like soft potatoes or clouds. Another frequent error is inconsistent shading, where shadows appear on multiple sides of the same rock, confusing the viewer's eye. Always verify that your light source remains fixed throughout the entire drawing process.
Another mistake is uniform texture. Beginners often cover the entire surface of a rock with dots or lines, which makes the material look like sponge or foam. Real rocks have areas of high detail and areas of relative smoothness. Focus your texture work on the edges where planes meet and in deep fissures, leaving the larger, flat surfaces cleaner. This contrast between busy detail and open space is what gives a rock its realistic weight and density.
How to practice drawing rocks effectively
Observation is the most effective way to improve your drawing skills. Spend time looking at real rocks in nature, noting how they stack, how they break, and how they weather over time. If you cannot go outside, collect a few stones and place them under a single, strong desk lamp. This controlled environment allows you to study how light interacts with specific geological shapes.
To master the craft, try these exercises:
- Draw the same rock from three different angles to understand its volume.
- Practice drawing a "stack" of rocks to learn how they balance and overlap.
- Study different types of rocks, such as jagged granite versus smooth river stones, to understand how environment changes texture.
- Spend ten minutes sketching only the shadows of a rock formation without drawing the outlines first.
Consistent practice will eventually allow you to draw rocks from your imagination with convincing geological accuracy. Focus on the interplay of light and geometry, and your drawings will naturally gain a solid, grounded appearance that captures the essence of stone.
Key facts
- Use angular, geometric shapes as your foundation before adding rounded details.
- Squint your eyes to simplify complex rock surfaces into three main values: highlight, midtone, and shadow.
- Apply cross-hatching or stippling to create a rough, porous texture rather than smooth, blended shading.
- Place cracks and fissures along the planes of the rock to emphasize its structural integrity.
- Vary the size and density of your marks to represent different geological compositions like granite or sandstone.
- Remember that light sources dictate the depth of shadows; deeper shadows indicate sharper, more jagged edges.
The bottom line
Drawing realistic rocks requires moving beyond simple outlines to focus on geometric structure and light logic. By breaking down complex forms into sharp, angular planes and applying varied mark-making techniques, you can effectively simulate geological texture. Always prioritize a consistent light source to create depth, and avoid the common pitfall of over-blending, which softens the rugged, natural character essential to convincing stone illustrations.
People also ask
Should I use a soft or hard pencil for drawing rocks?
Start with a hard pencil, such as an H or HB, to sketch light structural lines. Switch to softer pencils like 2B or 4B to build up the dark shadows and rich textures.
How do I make rocks look like they have moss or lichen?
Use light, irregular stippling or small, clustered marks to suggest organic growth. Keep these marks concentrated in the crevices where moisture would naturally collect.
Why do my rocks look like blobs instead of solid stone?
You are likely using too many rounded curves and soft transitions. Focus on sharp, straight edges and distinct value shifts to define the rock's mass.
How do I draw a pile of rocks without it looking messy?
Establish a clear focal point and vary the sizes of the rocks. Ensure the shadows overlap consistently to ground the entire pile in a single light source.
What is the best way to show the difference between wet and dry rocks?
Dry rocks have a wider range of midtones and a matte finish. Wet rocks feature stark, high-contrast highlights and deeper, darker shadows due to light reflection.
Do I need to draw every single crack I see?
No, over-detailing can make a drawing look cluttered. Focus on the primary fissures that define the rock's shape and imply the smaller cracks with subtle, broken lines.
This answer was created with the help of AI research tools and reference sources. Spotted an error? Let us know — we correct mistakes quickly. See our editorial policy.