How can I draw a cookie easily?
Short answer
Drawing a cookie is simple when you treat it as a basic geometric shape. Start with an irregular circle, add texture with small clusters of dots or ovals for chocolate chips, and use light shading to create depth. By focusing on organic edges rather than perfect symmetry, you can easily capture a realistic look.
On this page
How to draw a basic cookie shape
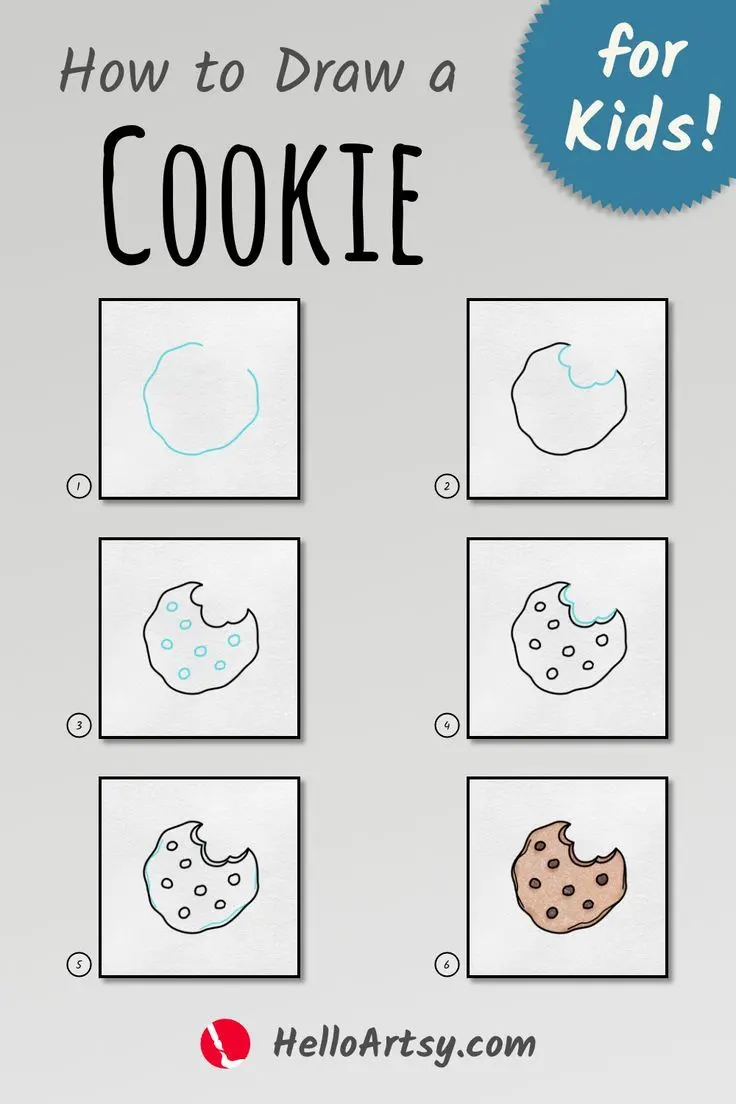
The foundation of a convincing cookie drawing is avoiding a perfect circle. Real baked goods are irregular, so start by sketching a slightly wobbly oval or a round shape with gentle indentations along the edges. Imagine the dough has spread unevenly on a baking sheet, which naturally creates a unique, non-uniform silhouette. Use a light pencil stroke initially so you can adjust the outline until it looks natural.
Once the primary shape is established, add thickness by drawing a second, slightly offset line along the bottom half of the cookie. This simple technique provides the illusion of volume, making the object appear three-dimensional rather than flat. Connect these lines at the sides to complete the form. Remember that cookies are rarely uniform in height, so keep your lines soft and fluid to mimic the texture of baked flour and sugar.
Best tools for drawing cookies
For beginners, a standard HB graphite pencil is the most versatile tool. It allows you to create both light structural sketches and darker, defined details for the chips or cracks. If you prefer a cleaner look, use a fine-liner pen after your initial pencil sketch is complete. A kneaded eraser is also essential, as it can lift graphite gently to create highlights on the surface of the cookie.
If you decide to add color, colored pencils or soft pastels work best to replicate the golden-brown tones of a baked treat. Start with a light tan base layer and build up darker browns in the crevices to suggest shadows. Using a variety of tools can help you achieve different styles, from a simple cartoon doodle to a detailed, realistic illustration. Always keep your pencils sharp to maintain control over the small details like chip placement.
- Graphite pencil for initial sketching.
- Fine-liner pen for outlining.
- Kneaded eraser for correcting mistakes.
- Colored pencils for adding texture and depth.
How to add texture and chocolate chips
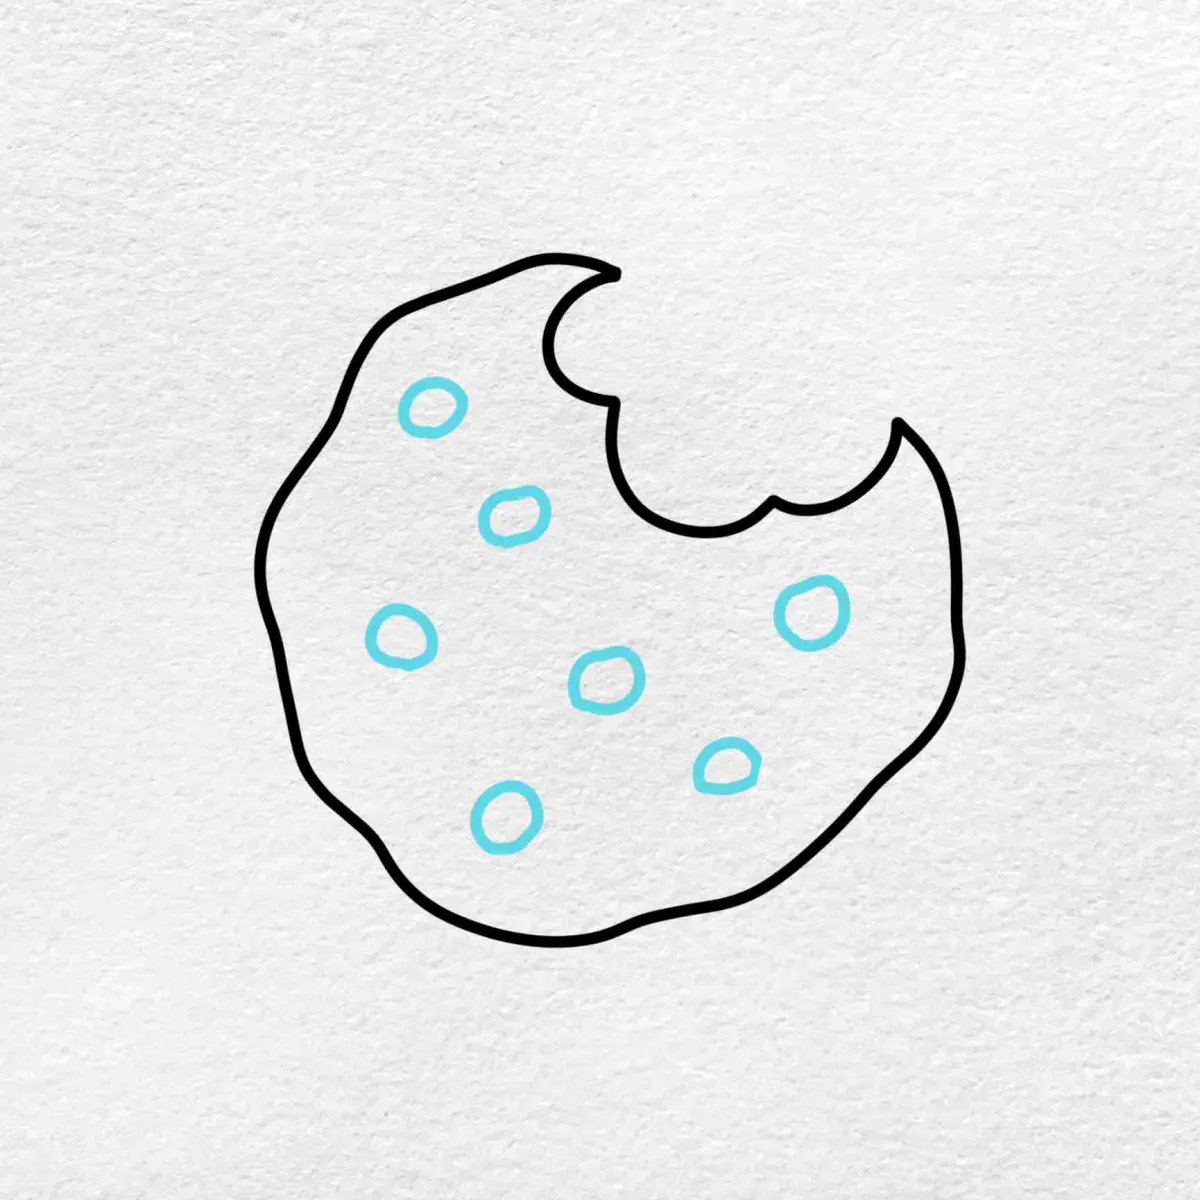
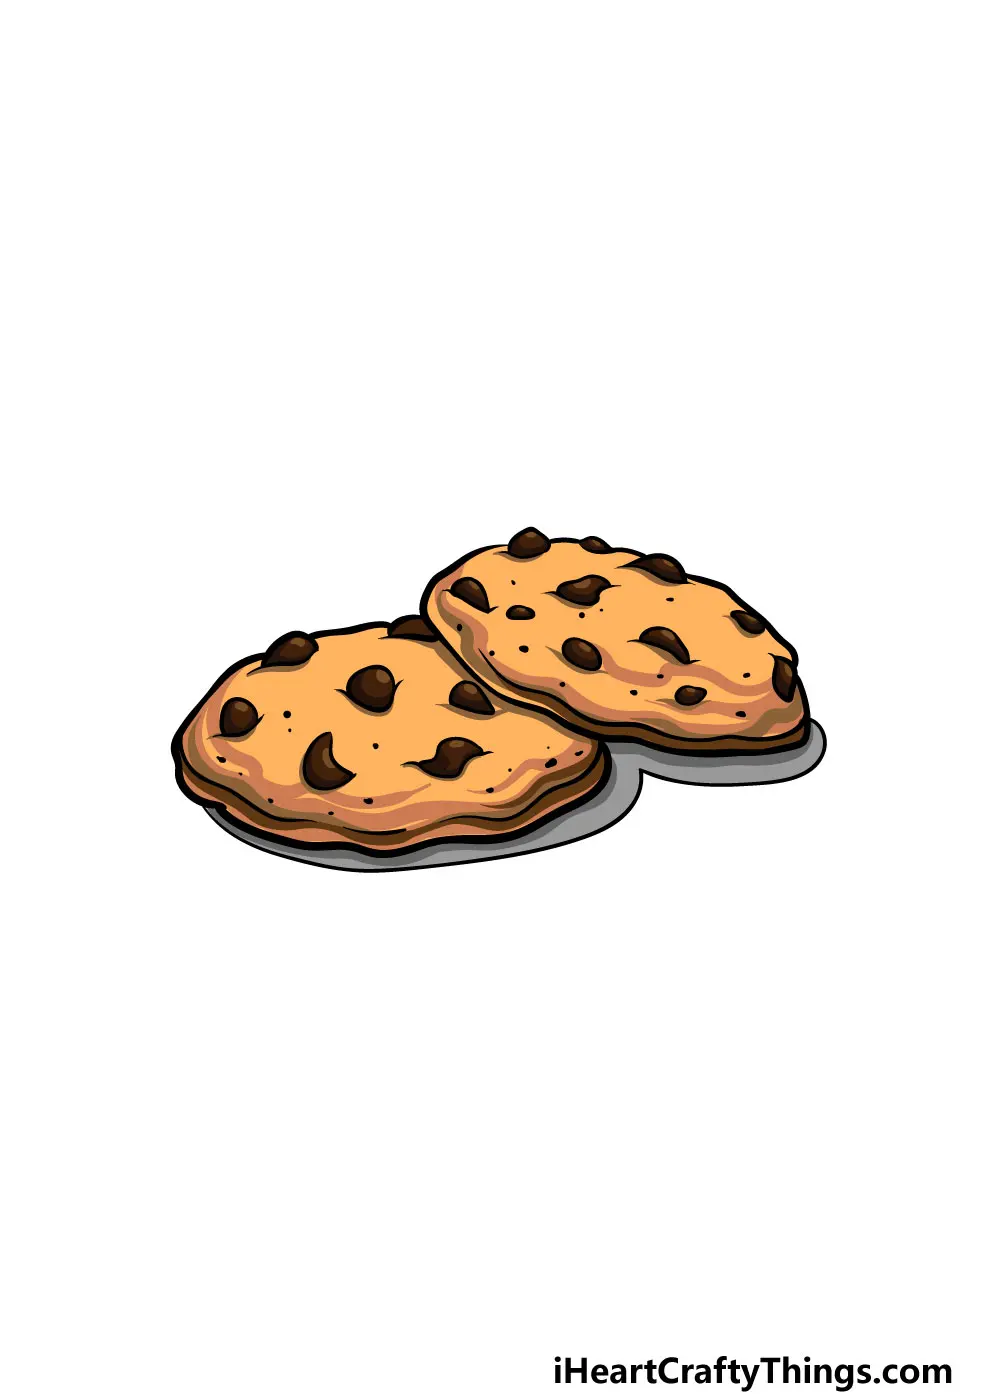
Texture is what transforms a plain circle into a recognizable cookie. To draw chocolate chips, place small, irregular shapes across the surface. Do not make them perfect circles; instead, draw them as blobs with soft, rounded corners. Some chips should look like they are partially submerged in the dough, which you can achieve by drawing only a portion of the shape.
Beyond chips, add tiny dots and short, thin lines across the surface to represent crumbs and air bubbles. These small marks break up the flat color of the dough and provide a sense of realism. If you are drawing a sugar cookie, focus on a grainy texture by using light stippling or very short, dashed pencil marks. The goal is to make the surface look porous and slightly uneven, which is a hallmark of authentic baked goods.
Common mistakes when drawing cookies
One frequent error is making the cookie look too symmetrical. Beginners often draw a perfect circle, which makes the result look more like a coin or a button than a snack. Another mistake is placing chocolate chips in a grid-like pattern. In reality, chips are distributed randomly, so vary their spacing and orientation to make the arrangement feel organic.
Another issue involves shading. If you ignore the light source, the cookie will look flat. Always decide where your light is coming from and shade the opposite side of the cookie and the bottom of the chips. Failing to use shadows makes the texture disappear, leaving the drawing looking unfinished. Take your time to observe real cookies, noting how the shadows fall in the small dips and around the raised edges of the chips.
- Drawing perfect, geometric circles.
- Placing chocolate chips in a uniform grid.
- Forgetting to account for a consistent light source.
- Making the edges too sharp or rigid.
- Ignoring the depth of the cookie's thickness.
Tips for adding realism and detail
To elevate your drawing, focus on the imperfections that occur during the baking process. Add small cracks radiating from the center or near the edges to suggest that the cookie is crisp. You can also vary the darkness of the brown tones to show where the cookie is most toasted, typically around the edges or near the chips. These subtle variations create a sense of warmth and authenticity.
Finally, consider the environment of the cookie. Adding a soft shadow directly beneath the cookie on the surface it rests upon will ground the object in space. This prevents the drawing from looking like it is floating on the page. By combining these small details—the irregular shape, the random chip placement, and the grounded shadow—you will create a professional-looking illustration that captures the essence of a delicious, freshly baked treat.
Key facts
- Start with a simple circle or oval to establish the base shape of the cookie.
- Use irregular, slightly wavy lines for the edges to make the cookie look baked and natural.
- Add small, dark, asymmetrical shapes inside the circle to represent chocolate chips.
- Use a light tan or golden brown color for the dough to provide a realistic base.
- Vary the size and placement of the chips to avoid a repetitive or artificial pattern.
- Add tiny dots or specks around the chips to simulate the texture of flour and crumbs.
The bottom line
Drawing a cookie is a rewarding exercise in texture and shape. By starting with a basic circular form and layering irregular details like chocolate chips and browned edges, you create a convincing illustration. Remember to use varied colors and shadows to add depth. With these simple techniques, you can easily capture the essence of a freshly baked treat on paper through careful observation and practice.
People also ask
What is the best medium for drawing a realistic cookie?
Colored pencils are excellent for beginners because they allow you to layer tan, brown, and golden tones easily. They also provide the precision needed to draw individual chips and texture marks.
How do I make the cookie look three-dimensional?
Add a slight shadow on one side of the cookie using a darker brown or grey pencil. This creates depth and makes the object appear to sit on a surface rather than floating.
Should I draw the chips before or after the dough?
It is best to draw the dough shape first as a light outline. Once the base is set, you can place the chips inside the perimeter to ensure they fit naturally.
How can I make the edges look crispy?
Use a darker brown shade along the very edge of the cookie. A slightly jagged, uneven line mimics the crunchy, browned edges found on real baked goods.
Why does my drawing look flat?
Flatness often results from using only one shade of color. Incorporate highlights with a white pencil or eraser to show where light hits the surface of the chips.
Can I draw different types of cookies using these steps?
Yes, you can adapt these steps for oatmeal cookies by adding small, dash-like marks instead of chips. Simply change the texture details while keeping the basic circular structure the same.
This answer was created with the help of AI research tools and reference sources. Spotted an error? Let us know — we correct mistakes quickly. See our editorial policy.