How do you make a scrapbook?
Short answer
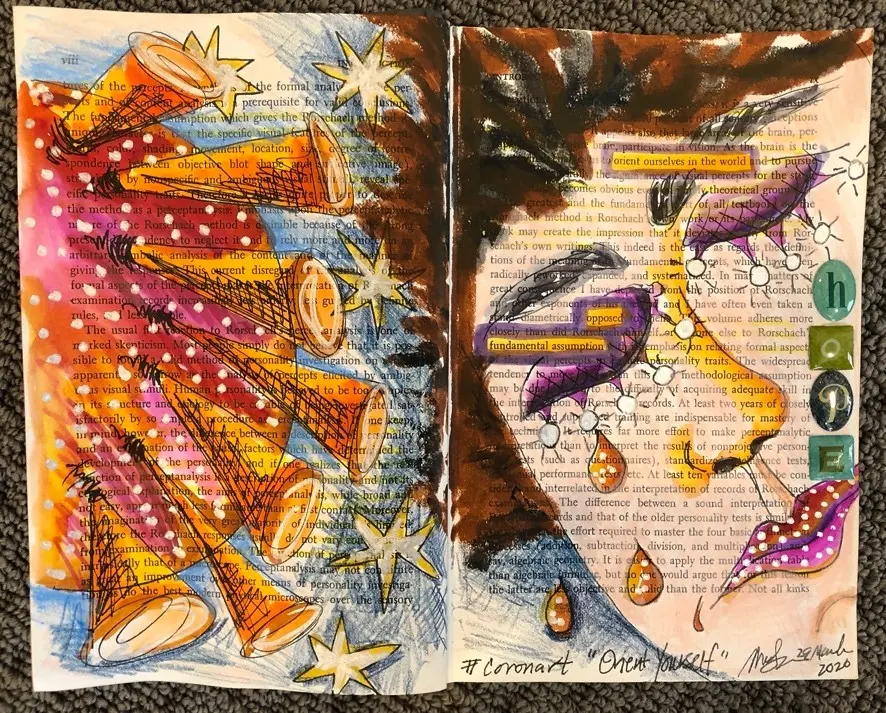
Making a scrapbook involves curating personal photographs, memorabilia, and decorative elements into a bound album to preserve memories. You select a theme, arrange items on acid-free paper using archival-safe adhesives, and add written journaling to provide context. This creative process transforms loose mementos into a structured, long-lasting narrative of your life experiences.
On this page
What supplies do you need to start scrapbooking?
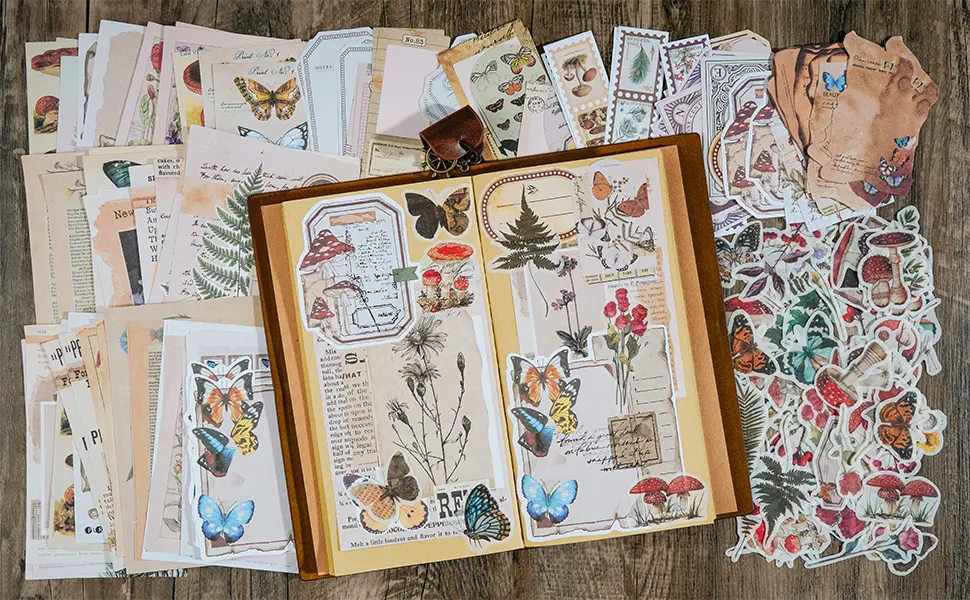
To begin scrapbooking, you need a few essential tools that ensure your pages look professional and remain preserved for years. The most important choice is your album, which typically comes in 12x12 inch or 8.5x11 inch sizes. You should prioritize "archival-quality" or "acid-free" materials, as standard paper and adhesives can yellow or deteriorate photographs over time. Investing in a high-quality paper trimmer will save you significant frustration compared to using scissors for straight edges.
Beyond the basics, you will need a variety of decorative elements to bring your pages to life. Many beginners find it helpful to purchase a starter kit that includes patterned cardstock, stickers, and corner mounts. You should also acquire a reliable adhesive runner or glue dots, which are cleaner than liquid glue. Keep a set of archival-safe pens on hand for journaling, as these inks will not fade or bleed through the pages.
- Acid-free album with page protectors.
- Patterned cardstock and background paper.
- Archival-safe adhesive runners.
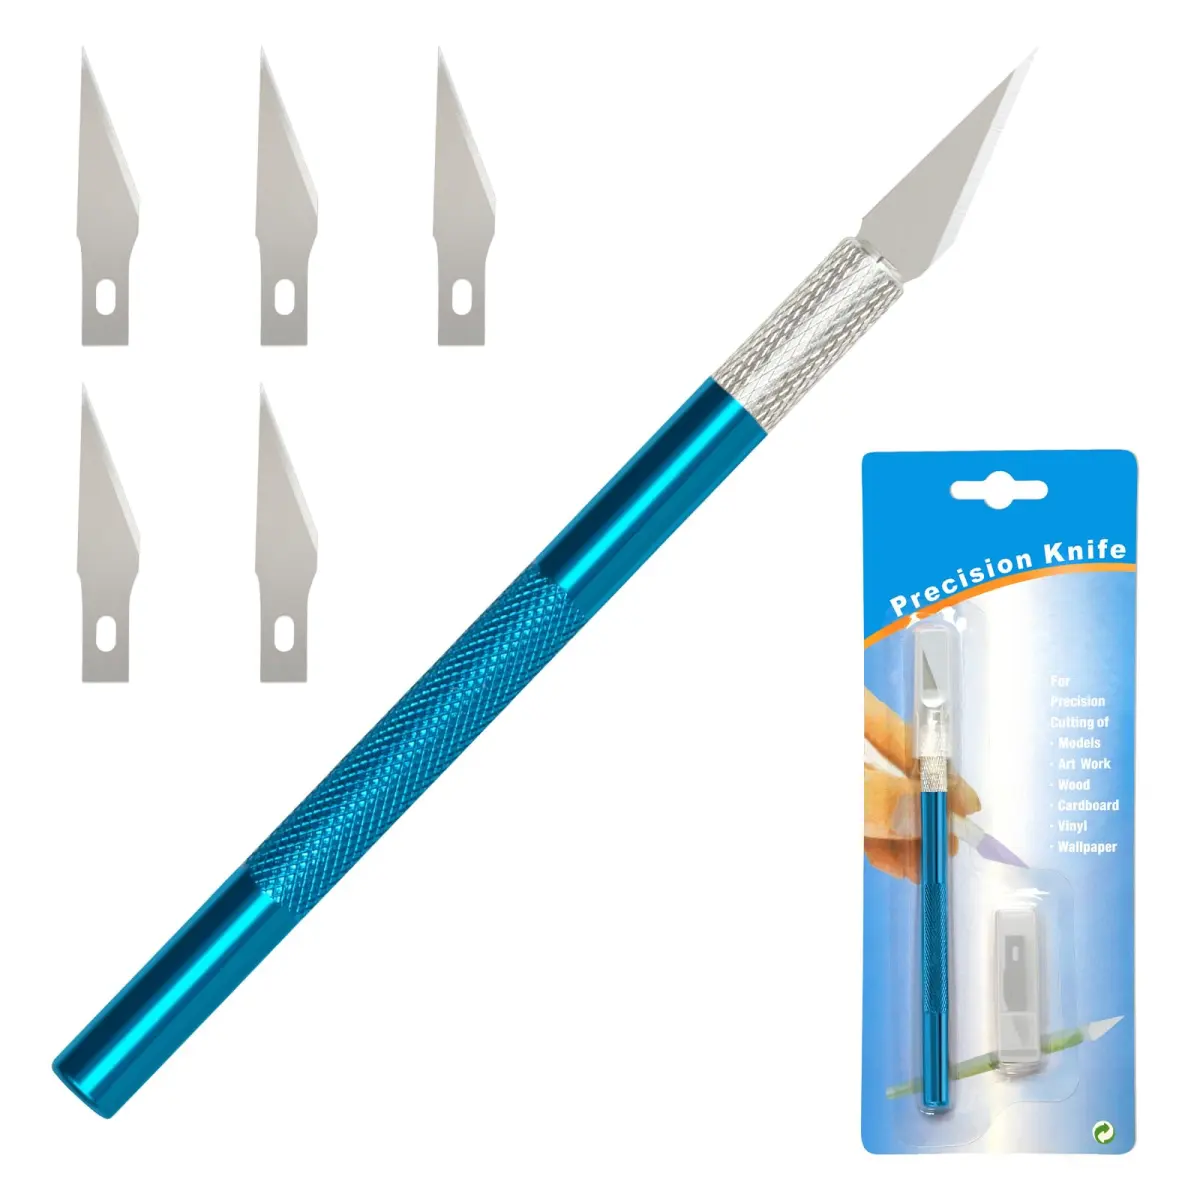
- Paper trimmer or craft knife.
- Archival-quality journaling pens.
- Decorative stickers, die-cuts, or ribbons.
How to organize photos for a scrapbook?
Organizing your photographs is the most critical step before you begin gluing anything to a page. Start by gathering all the photos you want to include for a specific event or time period. Sort them chronologically or by theme, such as a vacation, a birthday, or a school year. Eliminate blurry, duplicate, or poor-quality images to keep your album focused on the most meaningful moments. This curation process prevents your album from becoming cluttered and overwhelming.
Once you have selected your photos, consider the story you want to tell with each layout. Grouping photos by a central subject helps you decide how many images will fit on a single two-page spread. If you have too many photos, consider using photo sleeves or folding pockets to include extra images without overcrowding the design. By establishing a clear narrative flow before you start crafting, you ensure that your scrapbook remains a cohesive and enjoyable record of your memories.
How to design a scrapbook page layout?
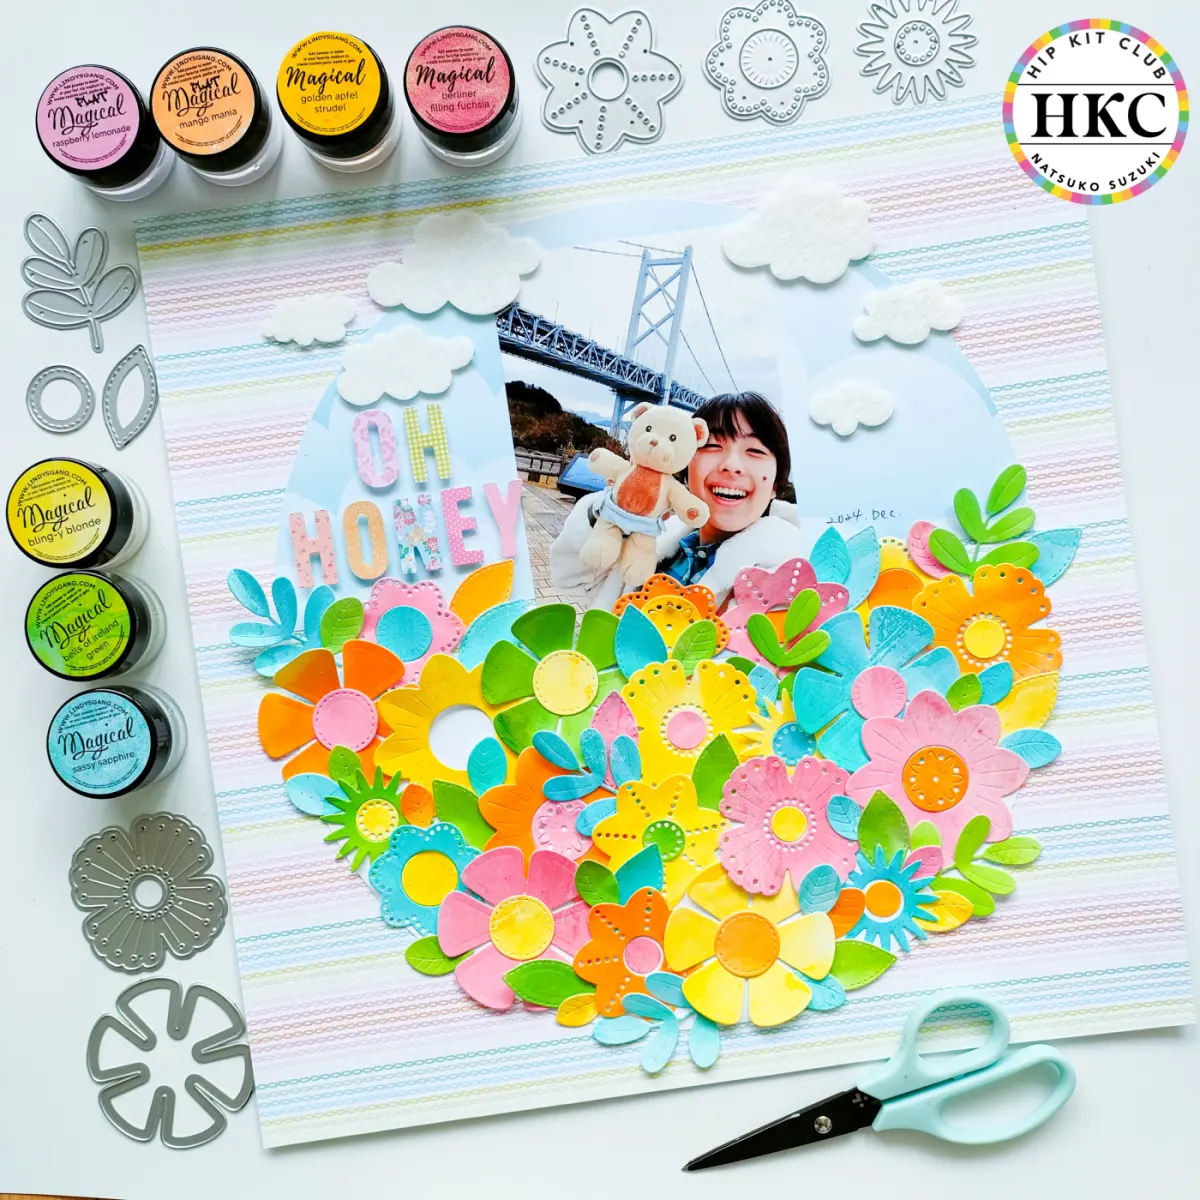
Designing a layout involves balancing your photographs with decorative elements and white space. Start by placing your focal point, usually the largest or most important photo, near the center or slightly off-center for visual interest. Use smaller photos around the focal point to provide context or show different angles of the same event. Leave enough empty space on the page so that the design does not feel cramped, which allows the viewer’s eye to rest.
Color coordination is another key aspect of page design. Choose background papers that complement the colors in your photographs rather than competing with them. If your photos are busy or colorful, opt for neutral backgrounds to make the images pop. You can also use "mats," which are pieces of cardstock slightly larger than your photo, to create a frame that helps the image stand out from the background. Experimenting with these layers adds depth and dimension to your finished pages.
- Use the "Rule of Thirds" to place focal points.
- Create layers by stacking paper, photos, and stickers.
- Maintain a consistent color palette across two-page spreads.
- Incorporate journaling blocks to explain the significance of photos.
Why journaling is essential in scrapbooking?
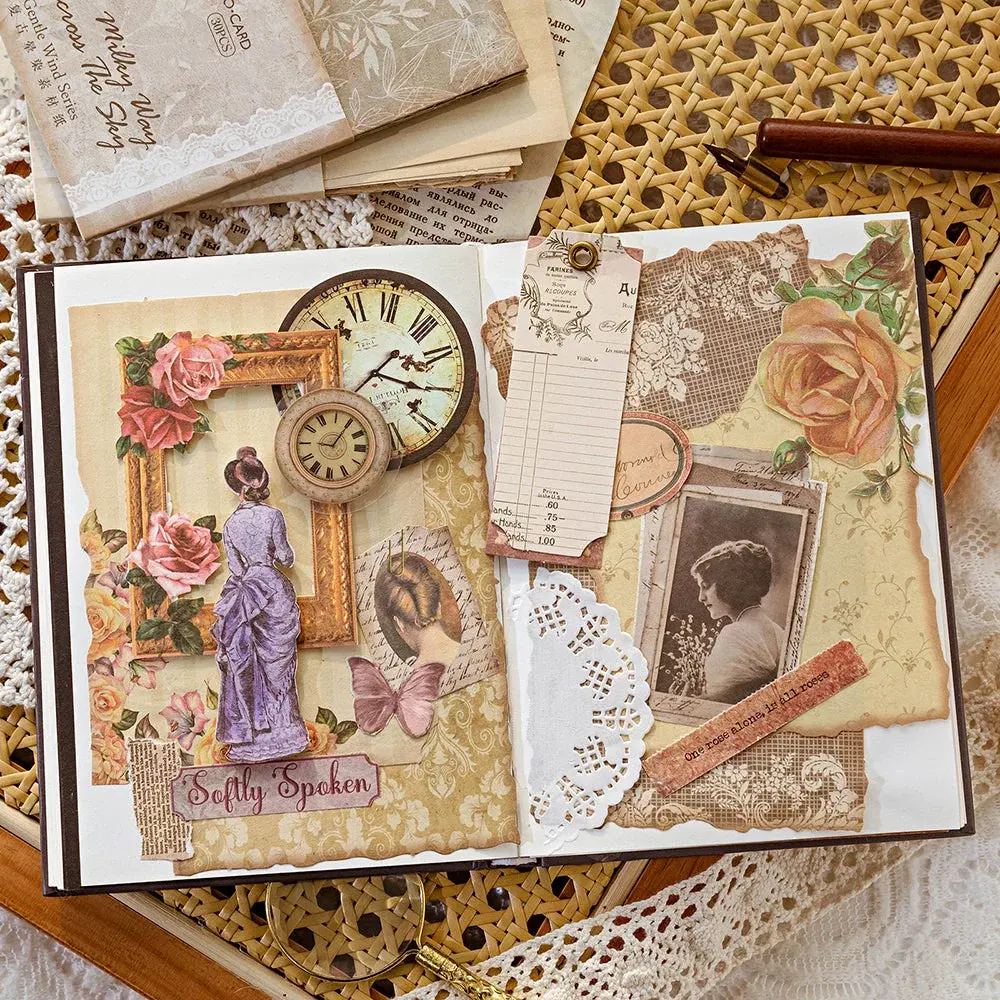
Journaling is the process of adding written details to your scrapbook pages, and it is what transforms a photo album into a true history. Without context, even the best photographs can lose their meaning over time. Include the who, what, where, and when for every event you document. You should also try to capture the "why" or the emotions behind a moment, such as how you felt during a graduation or a funny comment made during a family dinner.
You do not need to be a professional writer to create meaningful entries. Keep your writing conversational and authentic to your own voice. If you struggle with long-form writing, use bullet points to list highlights or write short captions directly under your photos. You can also include quotes, song lyrics, or ticket stubs that relate to the event. By documenting these small details, you provide future generations with a much deeper understanding of the stories behind the images.
Common mistakes when scrapbooking?
One of the most frequent mistakes is using non-archival materials, which can permanently damage your photographs. Avoid using standard office tape, rubber cement, or construction paper, as these contain acids that cause photos to yellow, crack, or stick together over time. Always check labels for "acid-free" or "photo-safe" certifications. Another common error is trying to cram too many photos onto a single page, which often leads to a disorganized and cluttered appearance that diminishes the impact of your best shots.
Finally, many beginners become discouraged by trying to make every page perfect. Remember that scrapbooking is a creative hobby meant to be enjoyed, not a high-stakes art project. Do not let the pressure of perfectionism prevent you from starting or finishing your album. If you make a mistake, you can often cover it with a sticker, a piece of paper, or a creative border. Focus on the joy of preserving your memories rather than achieving a flawless aesthetic result.
Key facts
- Use only acid-free and lignin-free paper and adhesives to prevent photos from yellowing or deteriorating over time.
- Choose a theme for each page, such as a specific vacation, birthday, or holiday, to maintain visual cohesion.
- Mount photographs using photo corners or archival-safe tape rather than liquid glue, which can warp paper.
- Include journaling by writing dates, locations, and names next to photos to preserve context for future generations.
- Utilize page protectors to shield your work from dust, fingerprints, and accidental spills.
- Keep your layout simple by using a focal point photo and surrounding it with smaller accents to avoid visual clutter.
The bottom line
Creating a scrapbook is a rewarding way to preserve personal history by blending photography with storytelling. By prioritizing archival-quality materials and thoughtful organization, you ensure your memories remain protected for decades. Start with a clear theme, keep your layouts balanced, and focus on documenting the details that matter most. Ultimately, the process is about capturing the essence of your life experiences in a tangible, lasting format.
People also ask
What is the difference between a scrapbook and a photo album?
A photo album is primarily designed for storing and viewing photographs in pre-made sleeves. A scrapbook is a creative project that incorporates photos, memorabilia, and decorative elements to tell a narrative.
How do I choose the right scrapbook size?
The most common size is 12x12 inches, which provides ample space for large layouts and multiple photos. Beginners often prefer 8.5x11 inches, as it is easier to manage and fits standard printer paper sizes.
Should I use original photos or copies?
It is best to use high-quality digital copies or reprints of your original photos. This ensures your irreplaceable negatives or original prints remain safe and undamaged in a separate storage container.
How can I prevent my scrapbook pages from becoming too bulky?
Avoid using too many dimensional embellishments like heavy buttons or thick ribbons on a single page. If you use bulky items, distribute them across different pages to keep the album from bulging when closed.
What are the essential tools for a beginner?
You need a high-quality scrapbook album, acid-free adhesive, a paper trimmer, archival-safe pens, and patterned cardstock. These basics allow you to start organizing your memories without needing expensive specialized equipment.
How do I organize my memorabilia?
Sort items by date or event into labeled folders before you begin assembling your pages. This preparation prevents you from feeling overwhelmed and helps you visualize the story you want to tell.
This answer was created with the help of AI research tools and reference sources. Spotted an error? Let us know — we correct mistakes quickly. See our editorial policy.