How do you make a brush in Procreate?
Short answer
To create a custom brush in Procreate, open the Brush Library, tap the plus icon to create a new brush set, and tap the plus icon again to enter the Brush Studio. Adjust settings like stroke path, grain, and shape to define your brush's behavior, then save your changes to begin painting.
On this page
How to create a new brush from scratch
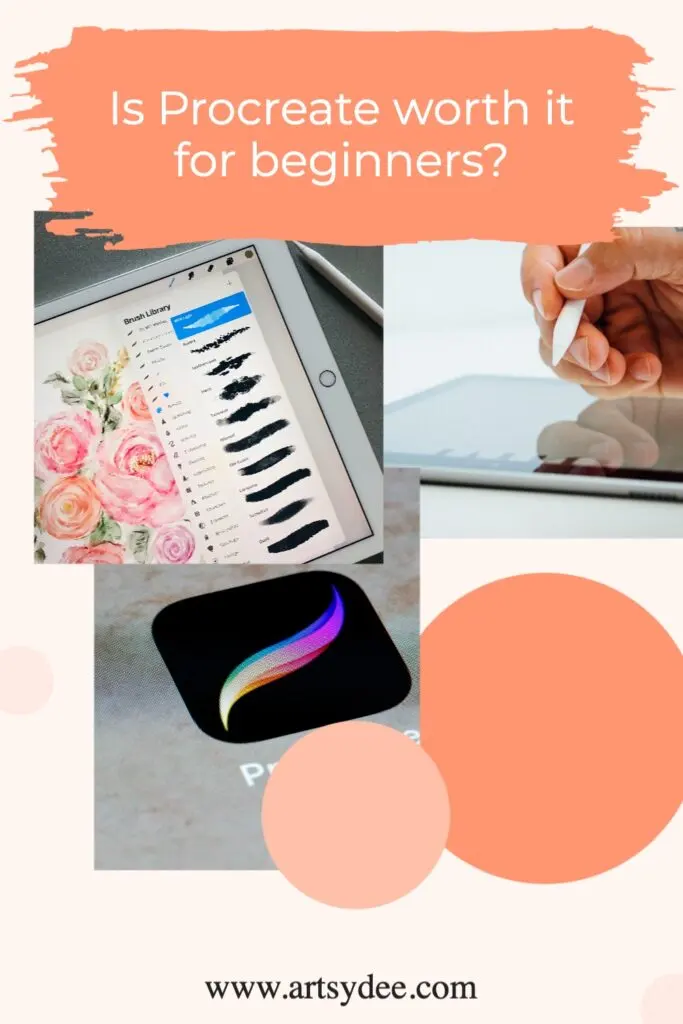
Creating a custom brush begins in the Brush Studio, a powerful interface that controls how your digital tool interacts with the canvas. To start, tap the Brush Library icon in the top toolbar. Scroll to the top of the list to create a new brush set by tapping the plus sign, or select an existing set. Tap the plus icon in the top right corner of the Brush Library to open the Brush Studio. This interface is divided into categories that dictate the brush’s physics, including stroke path, stabilization, and rendering.
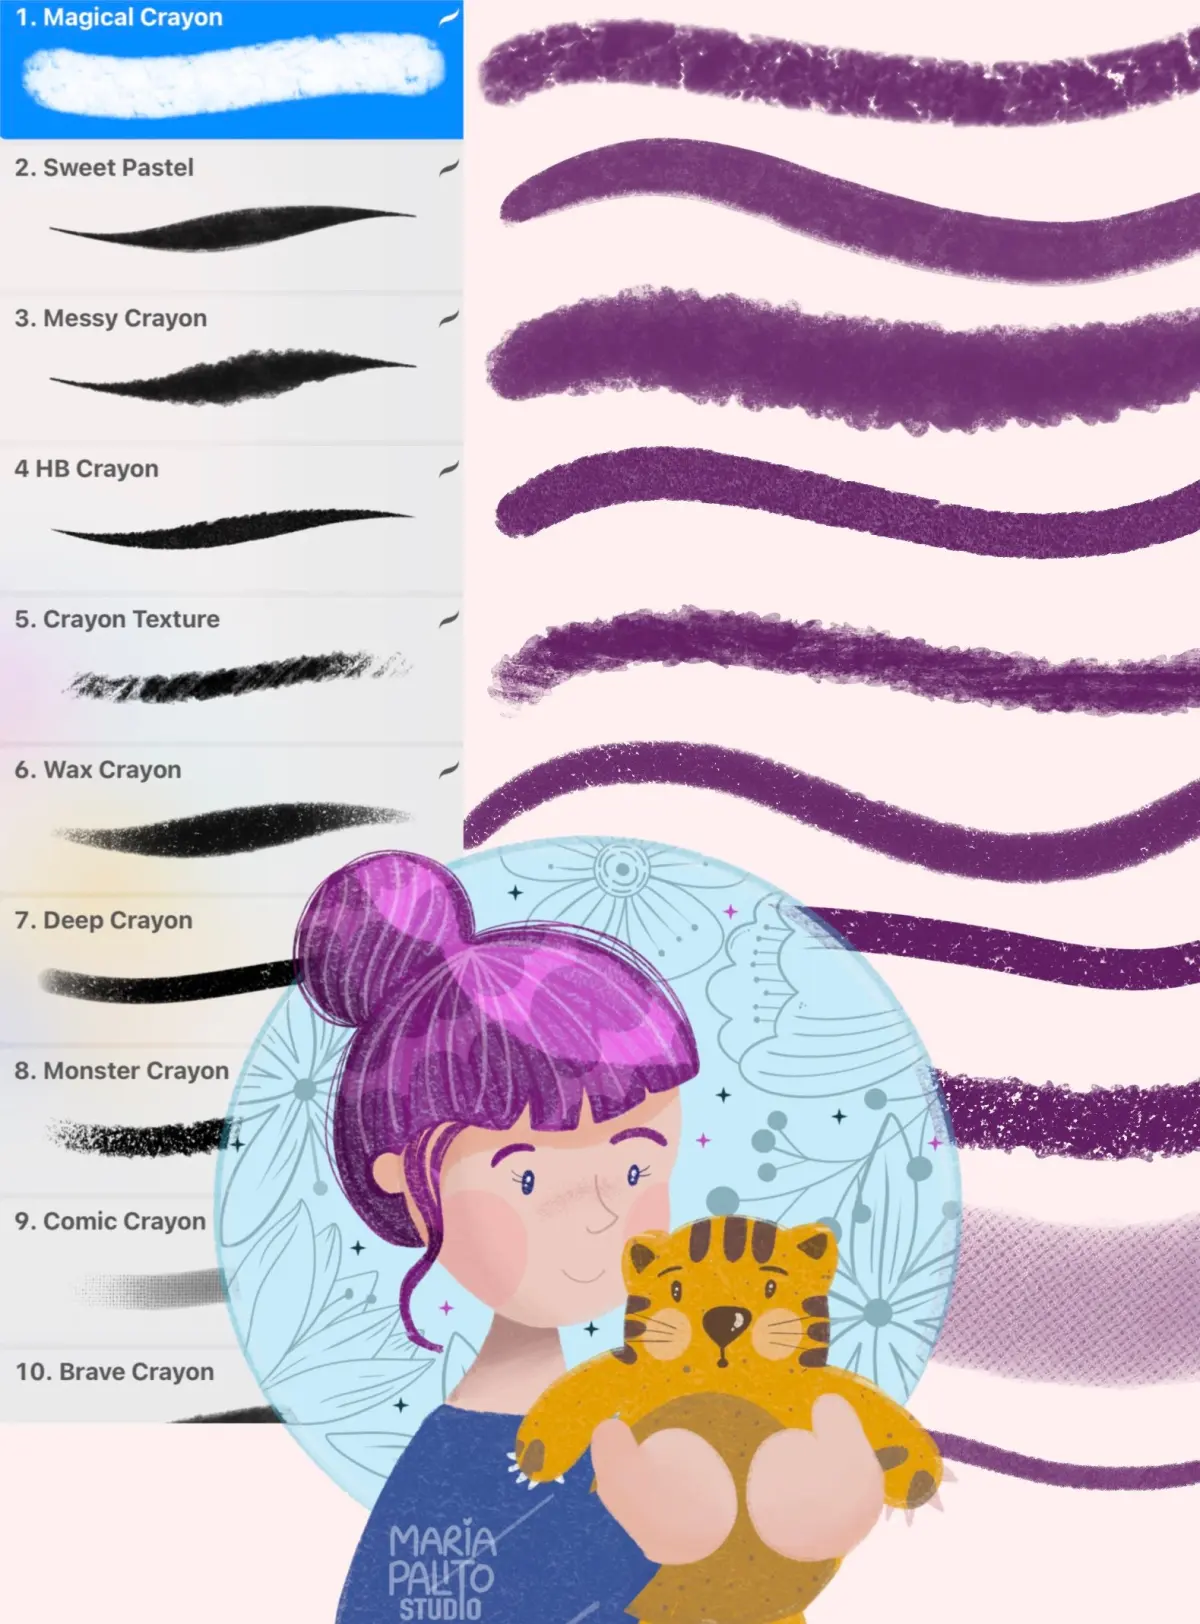
Every brush relies on two core components: the Shape source and the Grain source. The Shape defines the footprint of the brush tip, while the Grain determines the texture that fills that shape as you drag your stylus across the screen. You can import your own images or use the built-in library provided by Procreate. Experimenting with these two settings is the most effective way to achieve a unique look, whether you are aiming for a realistic charcoal pencil or a digital watercolor effect.
How to adjust brush settings for better performance
Once you have selected your source images, you must refine the brush behavior to ensure it feels natural. The "Stroke Path" setting is critical for controlling how the brush marks connect; increasing "Spacing" creates a dotted line effect, while decreasing it results in a smooth, continuous stroke. Use the "Jitter" slider to add an element of randomness to the brush’s placement, which helps in creating organic textures like foliage or gravel. This level of customization allows you to mimic traditional media with high precision.
Advanced settings like "Apple Pencil" pressure sensitivity are essential for professional results. By adjusting the pressure curves, you can dictate how the brush reacts to your touch, such as varying the opacity or size based on how hard you press. Follow these steps to calibrate your brush:
- Navigate to the Apple Pencil tab in the Brush Studio.
- Adjust the Pressure Size and Opacity sliders to match your drawing style.
- Use the "Tilt" settings if you want the brush to change shape when you angle your stylus.
- Test your settings in the drawing pad located on the right side of the screen.
Best practices for brush organization
Managing your custom brushes is just as important as creating them. As your collection grows, the default folders can become cluttered, making it difficult to find the right tool during a project. Create specific brush sets for different tasks, such as "Sketching," "Inking," or "Texturing," to keep your workflow efficient. You can rename these sets by tapping on the title and selecting "Rename" from the menu. This organizational strategy saves significant time during long illustration sessions.
If you decide to share your brushes with others or back them up, you can easily export them. Swipe left on a brush set and tap "Share" to convert your collection into a .brushset file. This file can be saved to your Files app, sent via email, or uploaded to cloud storage. Importing is just as simple; tapping a .brushset file in your Files app will automatically import the entire collection into your Procreate library. Keeping your brushes organized ensures that your creative process remains fluid and uninterrupted.
Why brush settings might not work as expected
A common frustration for new users is when a brush does not behave as intended. Often, this is due to the "Rendering" mode selected in the Brush Studio. For example, "Uniform Blending" will create a solid, opaque stroke, while "Glazed" mode allows colors to build up as you overlap strokes, similar to traditional markers. If your brush feels too "digital" or blocky, switching the rendering mode to "Light Glaze" or "Intense Blending" can often resolve the issue and provide a more natural, painterly feel to your work.
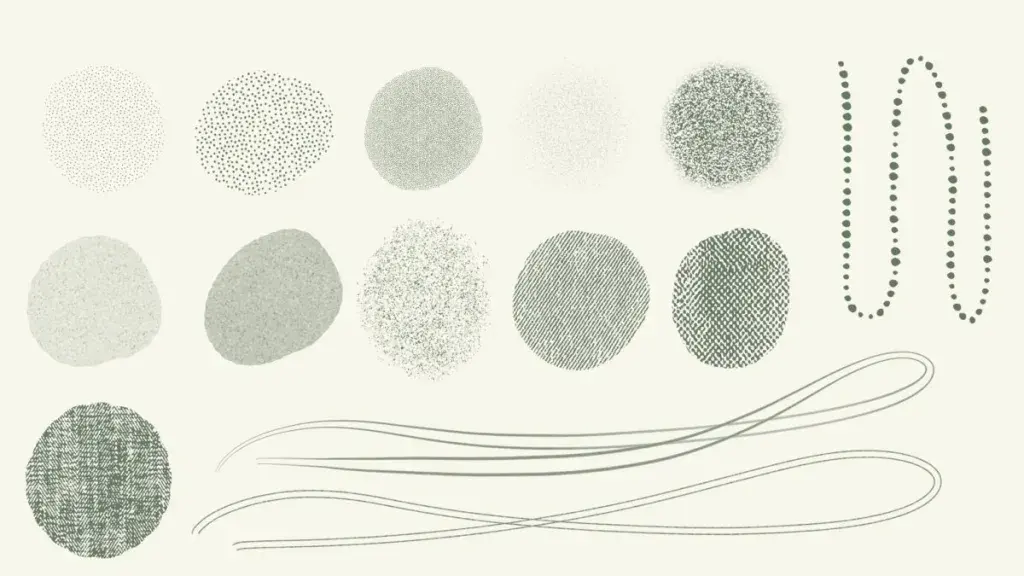
Another frequent issue involves the "Grain" behavior. If your texture seems to move with your stylus rather than staying fixed on the canvas, check the "Grain" tab and look for the "Movement" setting. Setting this to "Textured" ensures the grain remains static relative to the canvas, while "Rolling" makes the grain follow the stroke. Understanding these subtle differences is key to mastering the software. If you find your brush is lagging, try simplifying the grain image or reducing the size of the shape source to improve overall performance.
Common mistakes when designing custom brushes
One of the most frequent errors is using a source image that is too large or too complex. While high-resolution images might seem like a good idea, they can significantly slow down the rendering speed of your brush, especially when using large brush sizes. Aim for a square, grayscale image around 1024 by 1024 pixels for the best balance between quality and performance. Remember that Procreate converts these images to grayscale internally, so color information in your source file will not be preserved in the brush.
Another mistake is neglecting the "Stabilization" settings. Without proper stabilization, your lines may appear shaky or jittery, particularly if you are drawing long, sweeping curves. Adjust the "StreamLine" setting to add a digital assist that smooths out your strokes, making them look more professional and deliberate. Avoid setting this too high, however, as it can create a noticeable delay between your hand movement and the digital mark. Finding the right balance between responsiveness and smoothness is the hallmark of a well-designed custom brush.
Key facts
- Procreate brushes are defined by a "Shape" source, which dictates the footprint of the mark, and a "Grain" source, which defines the texture inside that footprint.
- You can create a custom brush by tapping the plus (+) icon in the Brush Library to open the Brush Studio.
- Procreate allows you to import images or photos from your iPad to use as custom brush shapes or grains.
- The "Stroke Path" setting controls how the brush mark repeats as you draw, affecting the smoothness of your lines.
- You can test your brush in real-time using the "Drawing Pad" located on the right side of the Brush Studio interface.
- Always save your custom brushes by exporting them as .brush files to ensure you have a backup if you reinstall the application.
The bottom line
Creating a custom brush in Procreate is a powerful way to personalize your digital toolkit. By mastering the interaction between Shape and Grain sources, you can replicate traditional media or invent entirely new textures. Focus on using high-resolution source images and experiment with the Stroke Path settings to achieve the desired flow. With practice, these unique tools will significantly enhance your creative workflow and artistic style.
People also ask
Can I use my own drawings as a brush shape?
Yes, you can import any black-and-white image from your files or camera roll to serve as a custom shape source. Procreate automatically converts white areas to opaque and black areas to transparent for the brush stamp.
What is the difference between a stamp brush and a painting brush?
A stamp brush is designed to place a single, static image on the canvas with each tap, while a painting brush is configured to repeat that shape continuously along a stroke. You adjust this behavior using the "Spacing" slider in the Stroke Path menu.
How do I change the size of my brush?
You can adjust the size of any brush using the slider on the left side of the main Procreate interface. You can also set specific maximum and minimum size limits within the "Properties" tab of the Brush Studio.
Why does my custom brush look pixelated?
Pixelation often occurs if the source image used for the shape or grain is too small or low-resolution. Use high-quality, square-format images to ensure your brush remains crisp even when scaled up.
Can I share my custom brushes with other users?
You can share brushes by swiping left on the brush in the library and selecting "Share." This exports the file as a .brush format that can be imported into any other iPad running Procreate.
Is it possible to edit built-in Procreate brushes?
You cannot directly edit the original system brushes, but you can duplicate them to create a copy. Once duplicated, you have full access to modify the settings, textures, and behaviors of that copy.
This answer was created with the help of AI research tools and reference sources. Spotted an error? Let us know — we correct mistakes quickly. See our editorial policy.