How do you draw shiny objects?
Short answer
Drawing shiny objects requires capturing high-contrast light reflections and deep shadows. You must observe the environment surrounding the object, as its surface acts like a mirror. By maintaining sharp edges between light and dark values and using a clean eraser to create intense highlights, you can effectively simulate metallic or glossy textures.
On this page
How to observe light on shiny surfaces
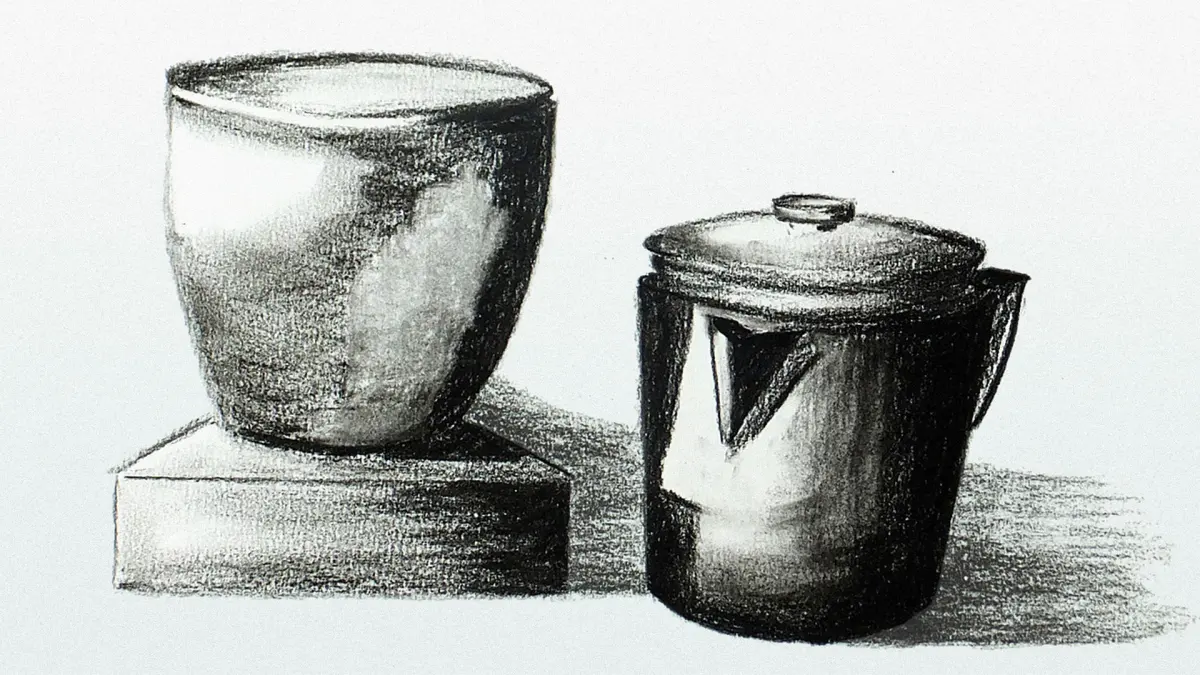
Shiny objects do not have a color of their own; instead, they reflect the colors and shapes of their surroundings. To draw them successfully, you must stop looking at the object as an item and start viewing it as a collection of abstract shapes and values. Every highlight represents a light source, while dark patches represent the shadows or objects reflected in the surface.
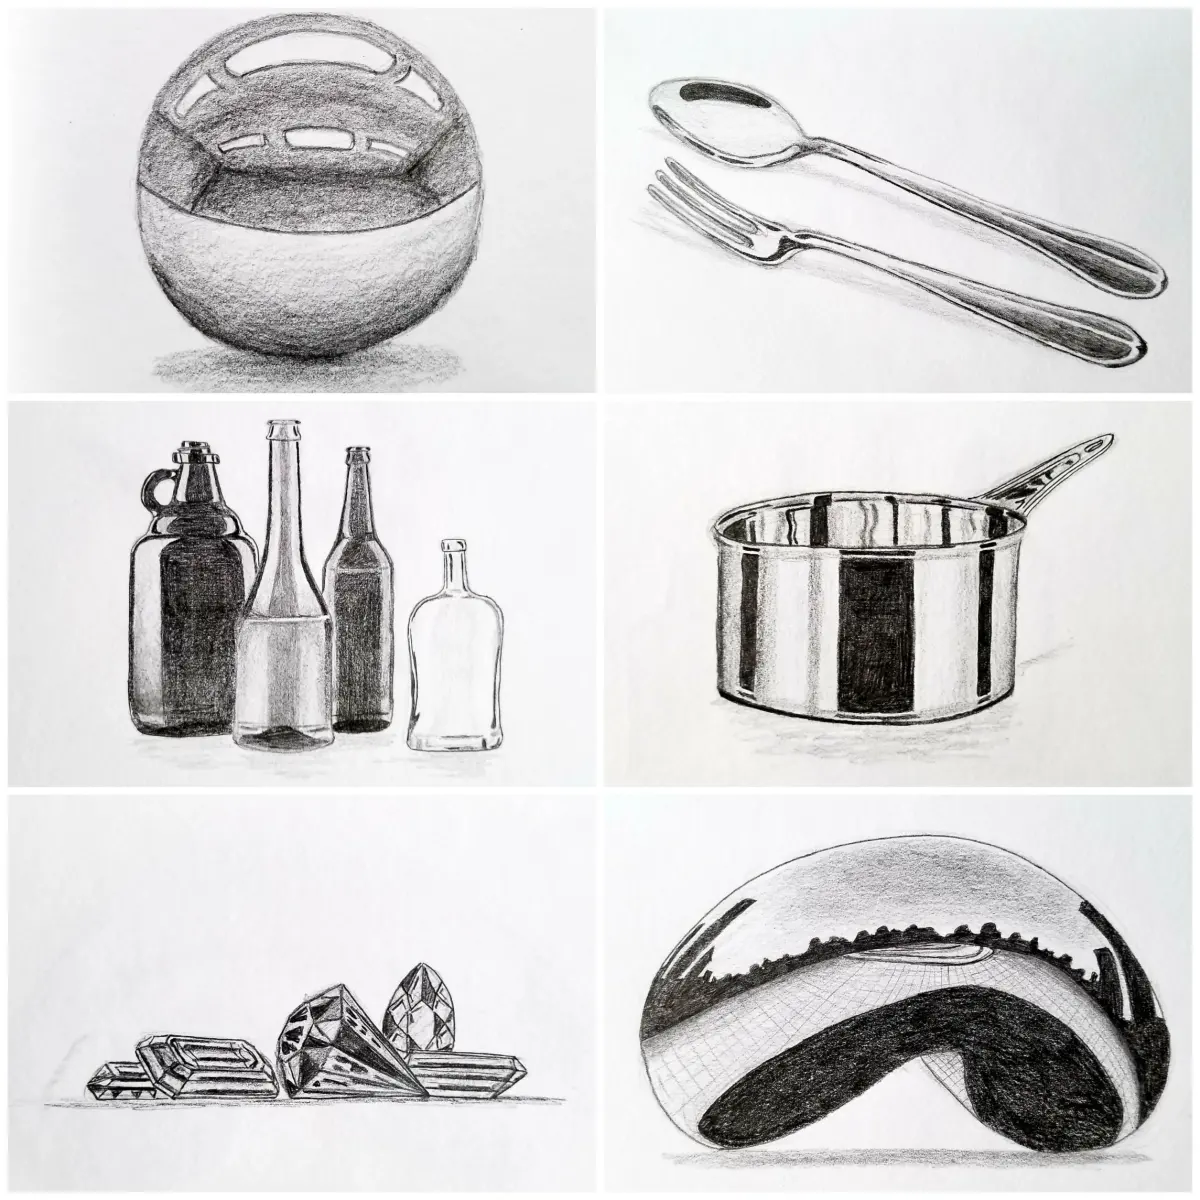
When you observe a metallic sphere or a polished spoon, notice that the transitions between light and dark are often abrupt. Unlike matte objects that have soft, blended gradients, shiny surfaces feature "hard edges" where light hits the curvature of the form. To capture this accurately, you must identify:
- The brightest highlight, often pure white.
- The darkest shadow, usually a deep black or dark gray.
- The mid-tones, which are the reflected colors of the room.
Best drawing tools for beginners
For beginners, the most important tool is a set of graphite pencils ranging from 2H for light details to 6B for deep, rich blacks. You also need a high-quality kneaded eraser, which can be molded into a fine point to lift graphite and create sharp, bright highlights. Using a blending stump or a piece of chamois cloth helps smooth out the mid-tones, but be careful not to over-blend, as this can make the surface look dull rather than reflective.
Smooth-surfaced paper, such as Bristol board, is superior to textured drawing paper for this task. The tooth of standard drawing paper interferes with the crisp edges required for reflections, whereas smooth paper allows your pencil to glide and create clean, sharp transitions. To achieve the best results, follow these preparation steps:
- Tape your paper down to prevent shifting.
- Ensure your workspace is well-lit to avoid casting your own shadow on the drawing.
- Keep a piece of scrap paper under your hand to prevent smudging your work.
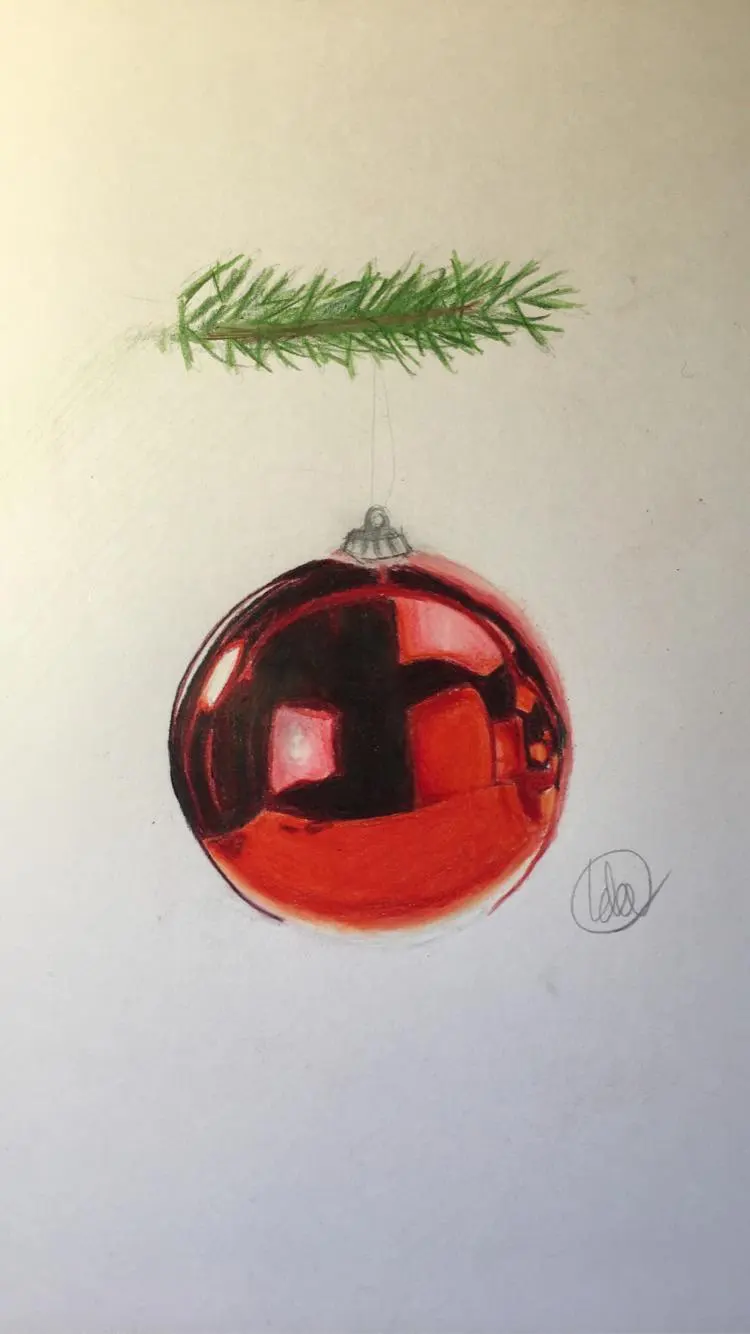
How to create realistic reflections
Creating realistic reflections is about mapping the distortion of the environment onto the object's surface. If the object is curved, like a chrome teapot, the reflections will appear warped or stretched. Use a grid or light construction lines to plot where these shapes fall before you begin adding dark values, as this ensures the proportions remain accurate throughout the process.
Focus on the contrast between the light and dark areas to define the volume of the object. A common technique is to "block in" the darkest values first, then move to the mid-tones, and finally reserve the brightest highlights for the very end. By leaving the paper white for the highlights rather than trying to add white media later, you maintain a level of luminosity that is difficult to replicate with colored pencils or paint.
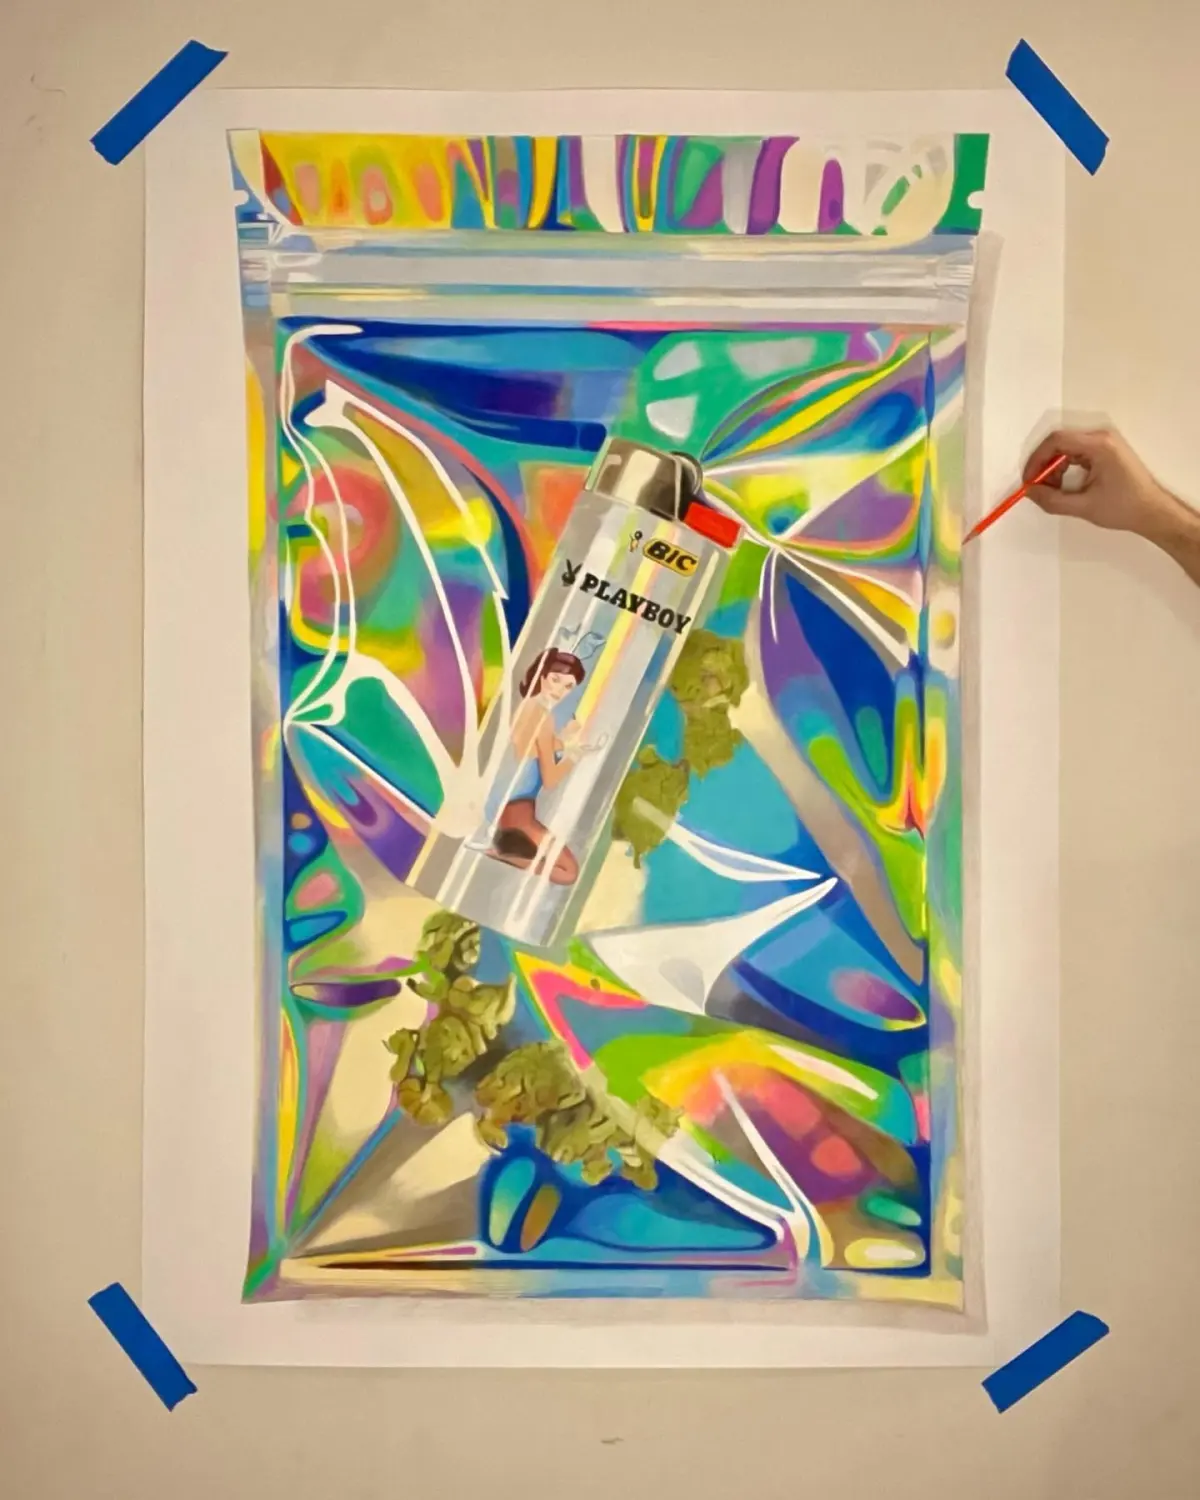
Common mistakes when drawing shiny objects
The most frequent error is softening the edges too much. Beginners often try to blend everything, which results in a fuzzy appearance that looks more like velvet or plastic than metal. Shiny objects rely on the stark contrast between light and dark to convey their material properties. If the transition between a highlight and a shadow is too gradual, the object will lose its perceived hardness and luster.
Another mistake is failing to account for the "reflected light" at the edge of the object. Even in the darkest shadow, there is often a thin sliver of light reflecting off the surface behind the object, which helps define its silhouette. Neglecting this detail makes the object look flat or like a hole cut out of the paper. Always check your reference to see if the object’s edge is catching light from the background.
How to add the final polish
The final stage of the drawing involves refining the highlights and deepening the shadows to push the contrast to its maximum potential. Take your kneaded eraser and sharpen the edges of your highlights, ensuring they are crisp and follow the contour of the object. If a highlight is meant to be extremely bright, you can use a white gel pen or a white charcoal pencil to add a final, intense pop of light.
Review your work by squinting at both your drawing and the reference object. Squinting helps you ignore the distracting details and focus entirely on the value structure. If the drawing feels flat, darken the shadows further to increase the overall range. Once you have balanced the extremes of light and dark, the object will appear to have a convincing, mirror-like quality that captures the viewer's attention and completes the piece.
Key facts
- Shiny objects are defined by high-contrast values, featuring pure white highlights and deep, near-black shadows.
- The "core shadow" is the darkest area of a reflective object, typically located just before the reflected light on the edge.
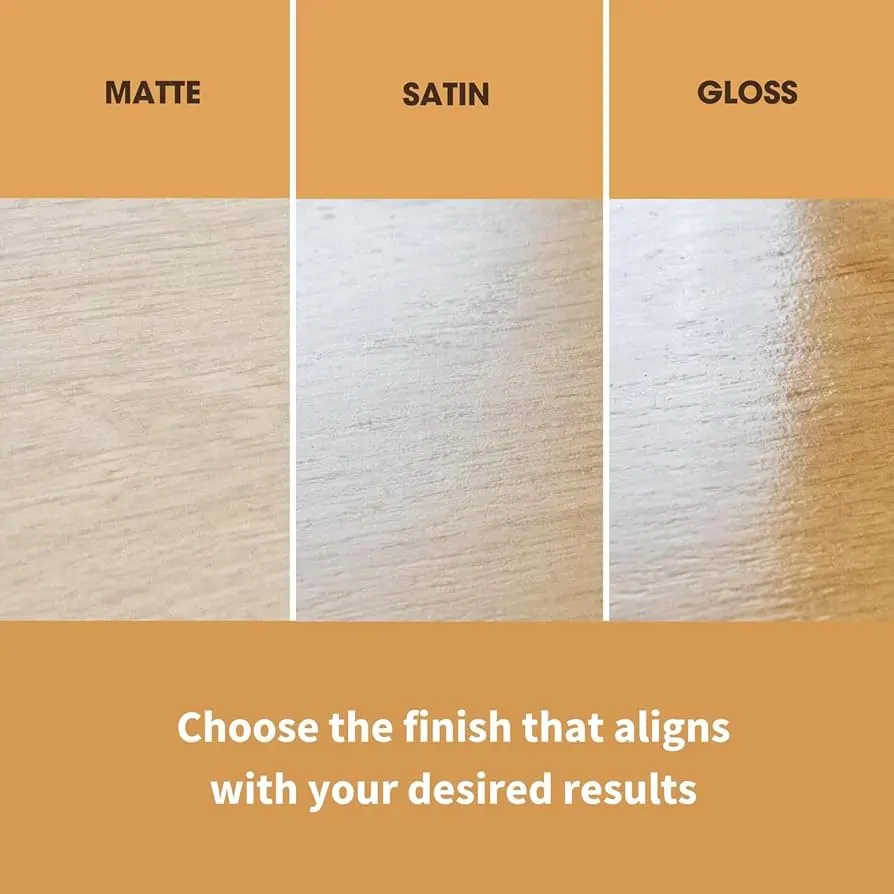
- Hard, crisp edges are essential for metallic surfaces, whereas soft, blurry edges suggest matte or satin materials.
- A "reflected light" or "bounce light" is the subtle glow on the shadowed side of an object, caused by light hitting the surface from the environment.
- Use a full range of values, from 0% (white paper) to 100% (darkest pencil lead), to create the illusion of a polished finish.
- Avoid smudging your shading, as smooth, deliberate pencil strokes better mimic the clean, uniform surface of polished metal.
The bottom line
Drawing shiny objects effectively relies on mastering extreme contrast and sharp edge control. By placing pure white highlights directly against deep, dark shadows, you create the illusion of a reflective, polished surface. Always observe how light interacts with the object’s specific shape, keeping your lines crisp and your values distinct. With practice, these techniques allow you to render convincing metallic textures that appear to shimmer on the page.
People also ask
Why does my drawing of a metal ball look like a gray circle instead of a sphere?
You likely lack sufficient contrast between your highlights and your shadows. Ensure you have a stark white spot for the reflection and a very dark, sharp shadow to create depth.
Should I use a blending stump to smooth out my metallic surfaces?
Avoid excessive blending, as it often creates a muddy, soft appearance. Instead, use sharp, directional pencil strokes to maintain the crisp edges characteristic of reflective materials.
What is the best pencil grade for drawing shiny objects?
Use a 2H or HB pencil for light construction lines and a 4B or 6B pencil to achieve the deep, rich blacks required for high-contrast highlights.
How do I decide where to place the highlight on a shiny object?
The highlight should be placed at the point closest to the light source. On a curved surface, this is usually a small, bright shape that follows the contour of the object.
Why do my reflections look distorted?
Reflections on shiny objects are always distorted by the surface's curvature. Study how the environment wraps around the object and simplify those shapes into basic geometric forms.
Can I use an eraser to help with shiny textures?
Yes, a kneaded eraser is an essential tool for "lifting" out sharp, clean highlights after you have established your dark values.
This answer was created with the help of AI research tools and reference sources. Spotted an error? Let us know — we correct mistakes quickly. See our editorial policy.