How do you draw furniture in perspective?
Short answer
Drawing furniture in perspective requires establishing a horizon line and placing vanishing points to guide receding lines. By connecting corners to these points, you create the illusion of three-dimensional depth. Consistent alignment of parallel edges toward these points ensures that chairs, tables, and cabinets appear structurally sound and realistically proportioned within space.
On this page
How to set up perspective for furniture
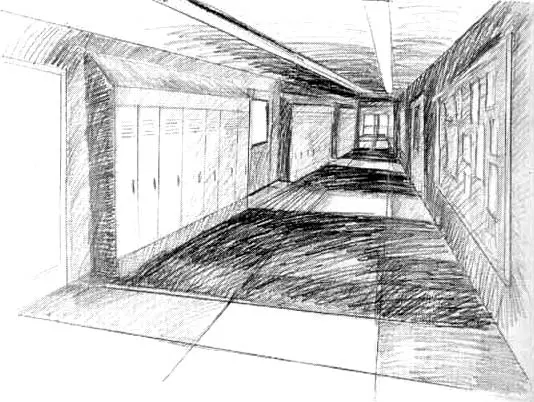
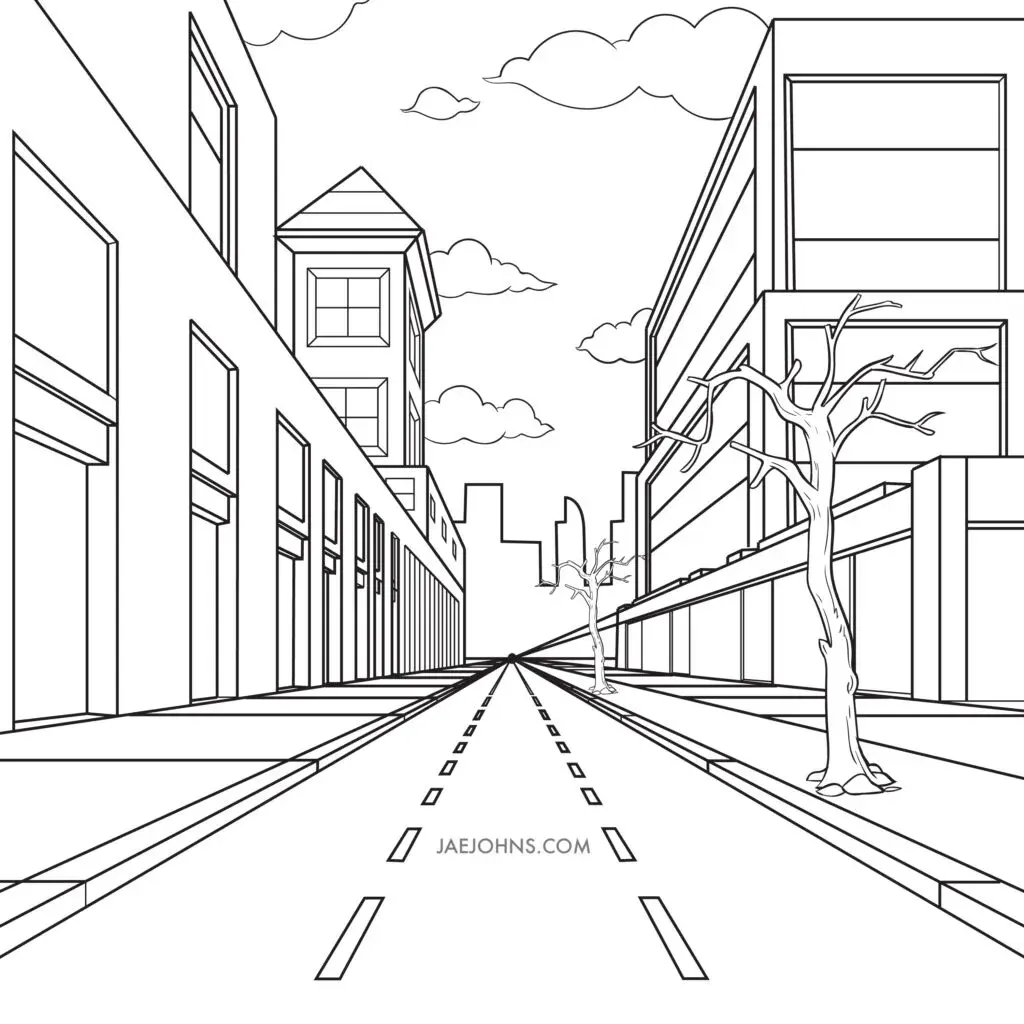
To begin drawing furniture, you must first establish a horizon line, which represents the viewer's eye level. Place one or two vanishing points on this line depending on whether you are using one-point or two-point perspective. One-point perspective is ideal for furniture viewed head-on, where the front face is parallel to the picture plane. Two-point perspective is better for items viewed at an angle, where two sides recede toward separate points on the horizon.
Use a ruler to draw light, thin construction lines that connect the corners of your furniture to these vanishing points. These lines, known as orthogonals, dictate the angle of every receding edge. Keep these lines faint so they can be easily erased once the primary structure is defined. Establishing these geometric foundations early prevents the common issue of "floating" or distorted objects that do not sit firmly on the ground plane.
How to draw a simple table in perspective
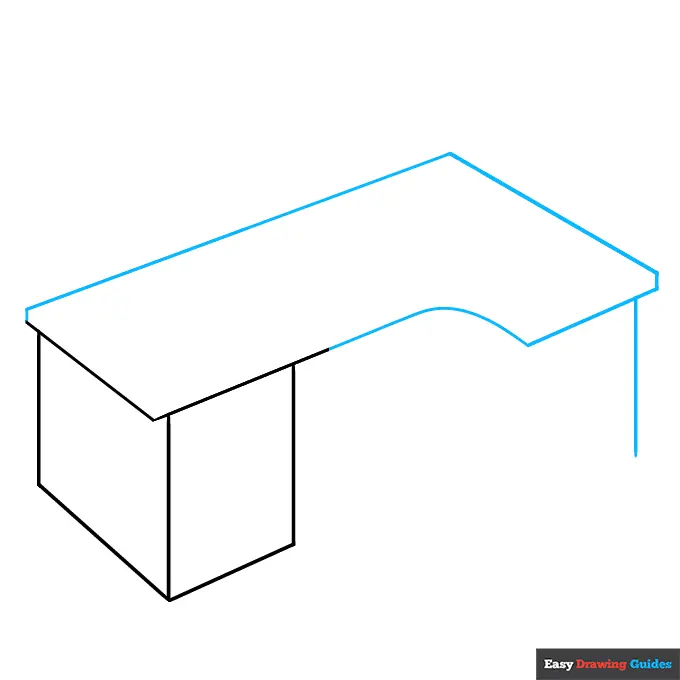
Drawing a table is the best way to master basic volume because it consists of distinct geometric components. Start by drawing the rectangular top as a flat shape in perspective, then drop vertical lines from each corner to establish the legs. Ensure these vertical lines remain perfectly perpendicular to the bottom edge of your paper, regardless of the perspective angle.
- Draw the top surface as a rectangle, angling the sides toward your chosen vanishing points.
- Drop vertical lines from the four corners to represent the legs.
- Determine the height of the legs by drawing a horizontal line across the bottom of the front legs and connecting it to the vanishing point.
- Add thickness to the tabletop by drawing a secondary, slightly offset rectangle inside the first and connecting the corners.
Following these steps ensures that your table legs appear to have the same length and thickness, maintaining structural integrity across the entire piece.
Why furniture looks distorted in drawings
Distortion often occurs when the vanishing points are placed too close together on the horizon line. If the points are within the frame of the drawing, the furniture will appear unnaturally stretched or skewed, a phenomenon known as wide-angle distortion. To achieve a natural look, place your vanishing points well outside the actual boundaries of your drawing paper. This creates a wider field of view that mimics how the human eye perceives objects in a room.
Another common cause of distortion is failing to maintain parallel vertical lines. In standard linear perspective, vertical edges must always remain vertical. If you tilt these lines, the furniture will appear to be falling over or collapsing. Always check your verticality against the edge of your paper or a T-square. By keeping the vertical axis rigid, you ground the object, making it feel heavy and stable rather than precarious or incorrectly tilted.
Common mistakes when drawing furniture
Many beginners struggle with inconsistent scale, where the back legs of a chair appear larger or smaller than the front legs. This usually happens when the artist guesses the depth rather than using the vanishing points to measure the recession. Always use your construction lines to verify that the depth of the object diminishes proportionally as it moves further away from the viewer.
- Ignoring the "ground plane" by failing to anchor the base of the furniture.
- Drawing curves, such as rounded chair arms, without first boxing them into a perspective grid.
- Over-detailing the far side of the furniture, which draws too much attention to areas that should be receding into the background.
- Forgetting to account for the thickness of materials, making tables or shelves look like paper-thin sheets rather than solid wood or metal.
Avoiding these errors requires a disciplined approach to construction. Always sketch the "box" of the furniture first before adding details like upholstery or decorative carvings.
Best techniques for adding depth and detail
Once the basic perspective structure is sound, you can refine the furniture by adding details like cushions, drawers, or hardware. Use the same vanishing points to align the edges of these smaller components. For example, the handles on a dresser drawer should align with the same vanishing point as the drawer itself. This consistency is what separates a professional-looking sketch from a flat, amateur drawing.
To enhance the illusion of three-dimensional space, apply shading based on a consistent light source. If the light comes from the upper left, the right side and bottom of your furniture will cast shadows. These shadows should also follow the rules of perspective, stretching away from the object toward the vanishing points. By combining accurate linear construction with logical light and shadow, you create furniture that looks like it occupies real, tangible space within your composition, completing the illusion of depth.
Key facts
- Perspective drawing relies on a horizon line, which represents the viewer's eye level.
- Vanishing points are the specific locations on the horizon line where parallel lines appear to converge.
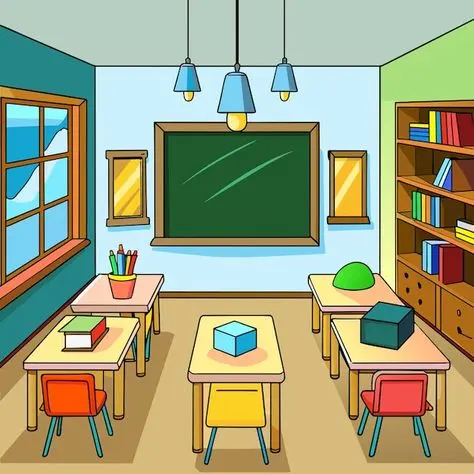
- One-point perspective is best for drawing furniture viewed directly from the front, such as a cabinet face.
- Two-point perspective is ideal for drawing furniture at an angle, where two sides are visible.
- Foreshortening is the technique of shortening lines to create the illusion of depth as an object recedes.
- Keep all vertical lines perfectly perpendicular to the horizon line to prevent furniture from appearing to tilt.
The bottom line
Mastering furniture perspective requires a disciplined approach to geometry and spatial awareness. By establishing a clear horizon line and carefully plotting vanishing points, you create a reliable framework for depth. Remember to keep vertical lines perpendicular and use ellipses for rounded forms. With consistent practice using a straightedge, you will develop the ability to render complex interior spaces that appear grounded, realistic, and professionally proportioned.
People also ask
What is the difference between one-point and two-point perspective?
One-point perspective uses a single vanishing point, making it perfect for items viewed head-on. Two-point perspective uses two points, allowing you to show the corner of a piece of furniture for a more dynamic look.
Read the full answer →How do I determine where to place the horizon line?
Place the horizon line at the height of your own eyes relative to the furniture. If you are drawing a chair from a standing position, the horizon line should be higher than the seat.
Should I use a ruler for perspective drawings?
Using a ruler or straightedge is highly recommended for beginners to ensure all lines converge accurately at the vanishing points. Freehand drawing can lead to distorted shapes that break the illusion of depth.
How do I draw circular objects like table legs?
Draw a square in perspective first, then sketch an ellipse inside it. The curves of the ellipse must touch the midpoints of each side of the square to look realistic.
Why does my furniture look distorted or "warped"?
Distortion usually happens when vanishing points are placed too close together on the page. Move your vanishing points further apart or even off the paper to create a more natural, wide-angle view.
What is the most common mistake when drawing furniture?
The most common error is failing to keep vertical lines straight. Even if the sides of a table recede toward a vanishing point, the legs must remain perfectly vertical to maintain structural integrity.
This answer was created with the help of AI research tools and reference sources. Spotted an error? Let us know — we correct mistakes quickly. See our editorial policy.