How do you draw flowers in a vase?
Short answer
Drawing flowers in a vase requires establishing the vessel's structure first, then layering floral shapes using light guidelines. By focusing on the negative space between stems and varying the sizes of the blooms, you create a balanced composition. Start with simple geometric forms before refining the petals and adding final shadows.
On this page
How to structure a vase for drawing
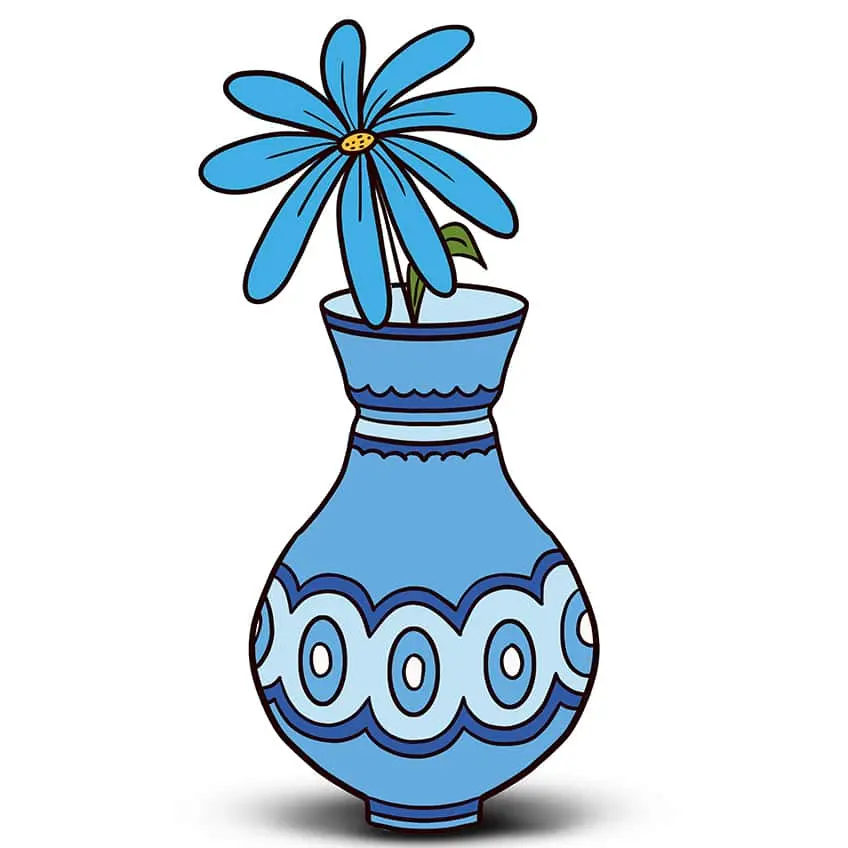
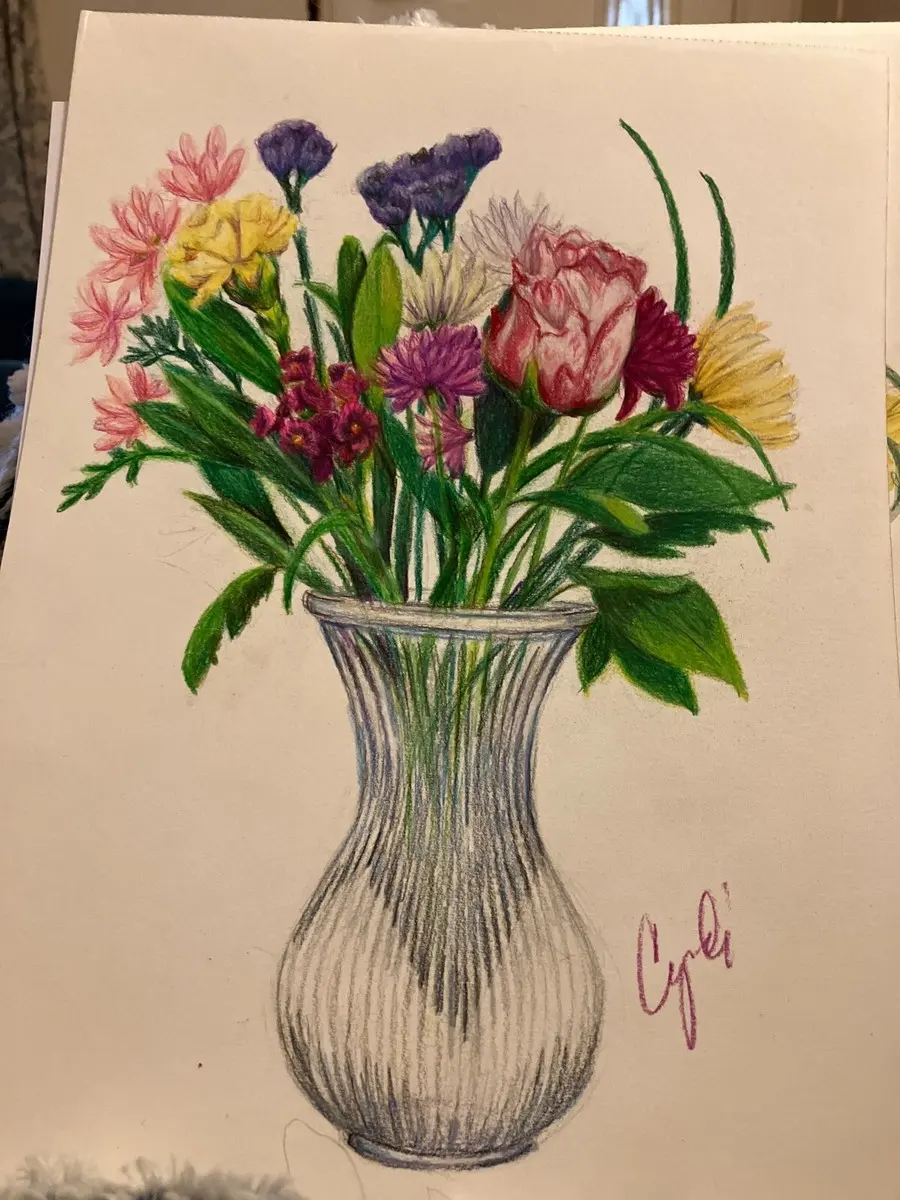
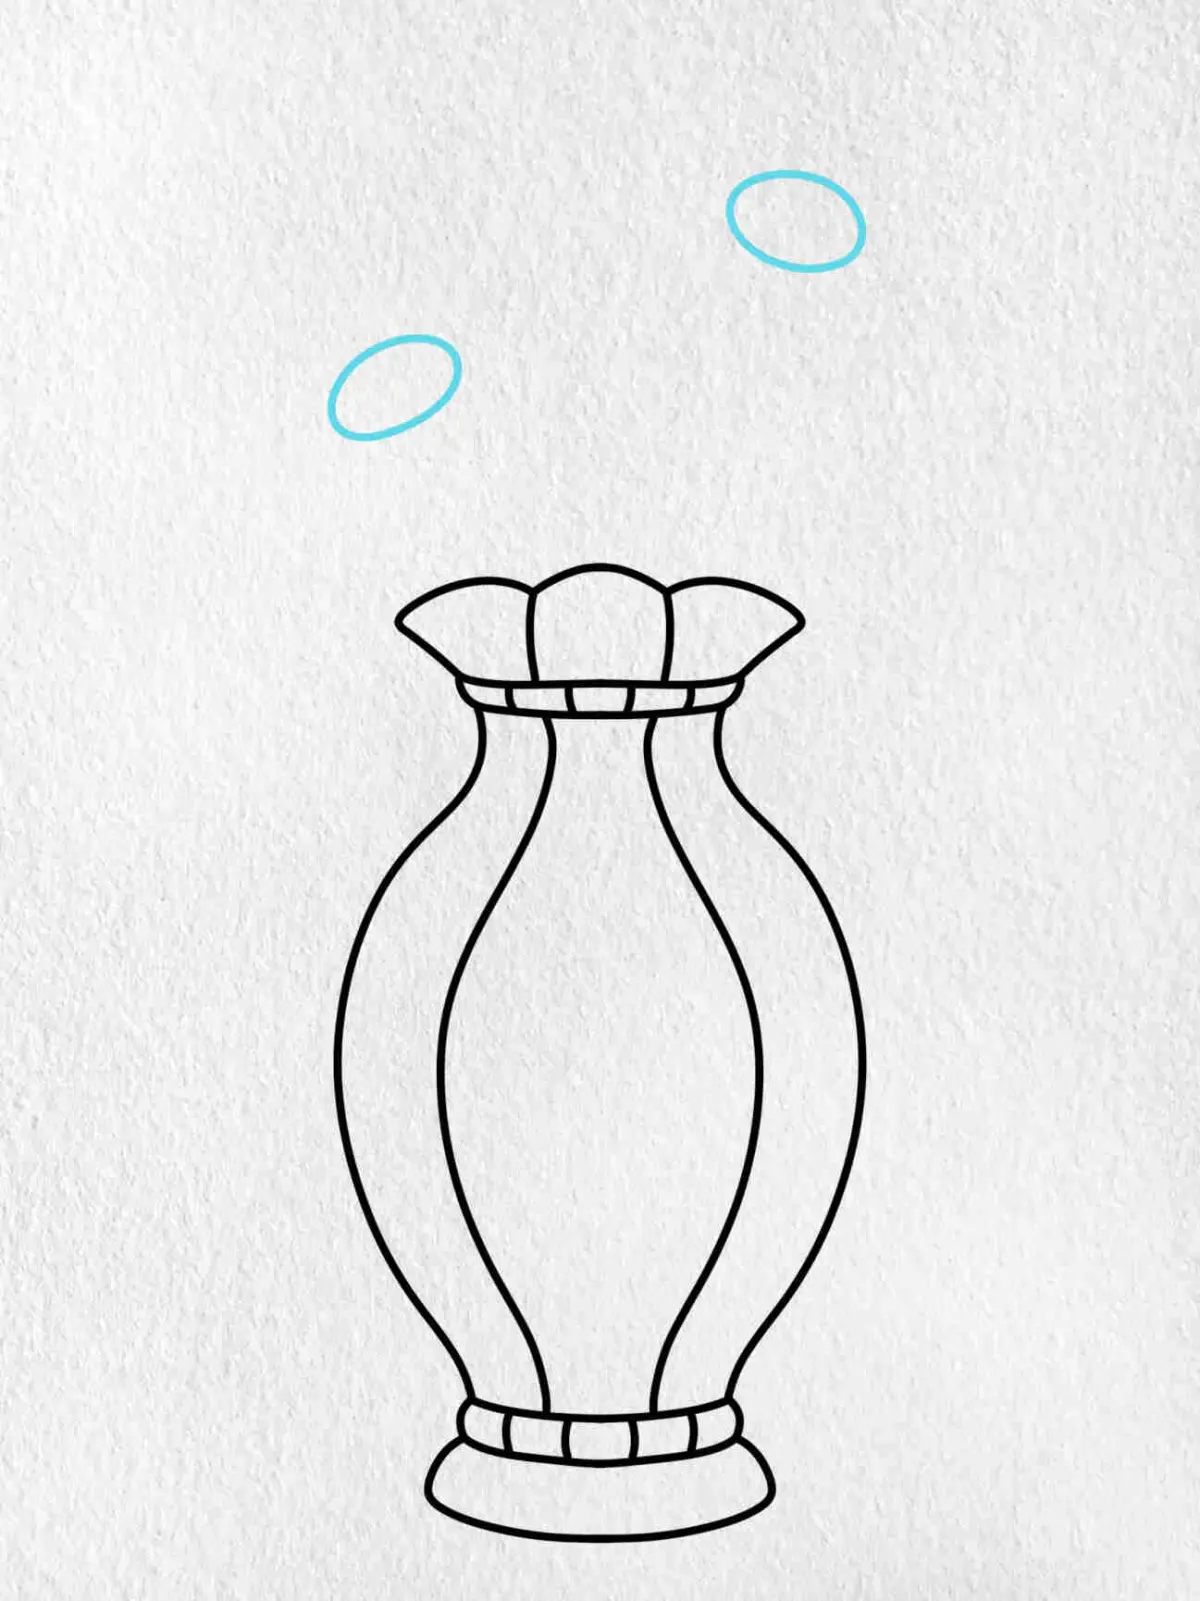
The foundation of a successful floral drawing begins with the vase, which acts as the anchor for your composition. Before sketching individual petals, establish the vertical axis of the vase to ensure it sits squarely on the surface. Use a light pencil to draw the outline, paying close attention to the symmetry of the rim and the base. If the vase is glass, remember that the water line will refract the stems, creating a slight visual shift that adds realism to your work.
To build the structure effectively, follow these steps:
- Draw a vertical center line to guide the symmetry of the vase.
- Sketch a simple cylinder or oval to define the top rim and the base.
- Connect these shapes with smooth, curving lines to create the body.
- Add a horizontal line inside the vase to represent the water level.
By establishing these geometric constraints early, you prevent the vase from appearing lopsided or floating off the table, providing a stable base for the organic shapes of the flowers.
Best techniques for sketching flowers
When approaching the flowers themselves, avoid drawing every individual petal immediately. Instead, treat the entire floral arrangement as a single mass or a collection of simple shapes like spheres, cones, and discs. By blocking in these basic forms first, you can easily adjust the composition and ensure the flowers are distributed naturally throughout the vase. This method prevents the common issue of overcrowding the top of the arrangement while leaving the bottom empty.
Focus on the following elements to create depth:
- Vary the size of the floral shapes to create visual interest.
- Place some flowers at different angles, including side views and back views.
- Use overlapping shapes to suggest depth and distance between the blooms.
- Keep your initial lines very light so they can be easily erased or covered by darker, more detailed marks later in the process.
How to draw realistic stems and leaves
Stems provide the vital connection between the vase and the flowers, yet they are often overlooked by beginners. When drawing stems, do not simply draw straight lines from the flowers to the rim of the vase. Stems naturally bend, twist, and overlap as they travel through water and air. Observe how they enter the water; refraction causes them to appear thicker or slightly offset, which is a key detail for achieving a professional look.
To add life to your stems and foliage, consider these tips:
- Vary the thickness of the stems to indicate different plant types.
- Add small, irregular nodes where leaves attach to the main stem.
- Use sweeping, fluid lines to suggest the weight of the leaves.
- Ensure that some stems are hidden behind others to create a sense of density within the bouquet.
By carefully mapping these lines, you ground the flowers in the physical space of the vase.

Common mistakes when drawing flowers
A frequent error is drawing flowers that look like identical stickers pasted onto the top of a vase. This happens when artists focus too much on the individual petals of one flower before considering the entire arrangement. To avoid this, always work on the whole drawing simultaneously, moving your pencil across the page rather than finishing one flower at a time. This ensures that the light source and the overall density remain consistent throughout the piece.
Another common pitfall is ignoring the negative space between the flowers. Beginners often forget that the gaps between petals and stems are just as important as the flowers themselves. If your drawing feels cluttered or confusing, look at the empty spaces between the blooms. By simplifying these gaps, you can better define the shapes of the flowers and make the arrangement feel airy and natural. Always check your proportions against the size of the vase to maintain balance.
Why shading creates depth in floral drawings
Shading is the final step that transforms a flat, linear sketch into a three-dimensional masterpiece. Because flowers have complex, overlapping surfaces, they create intricate patterns of light and shadow. Start by identifying the primary light source and applying consistent shadows on the opposite side of each petal and leaf. Use a soft lead pencil or a blending stump to create smooth transitions, which help mimic the delicate, velvety texture of flower petals.
To enhance your shading, keep these principles in mind:
- Use cross-hatching for darker, deeper areas inside the flower centers.
- Apply lighter, circular strokes for the soft edges of petals.
- Remember that the vase itself will have a highlight, usually on the side closest to the light source.
- Cast shadows on the surface beneath the vase help ground the entire composition.
By paying attention to these subtle gradations, you add weight and volume, effectively bringing your floral arrangement to life on the page.
Key facts
- Start by drawing a simple geometric shape, such as a cylinder or oval, to establish the vase's base and opening.
- Sketch light guidelines for the overall arrangement to ensure the flowers fit within the composition before adding details.
- Use overlapping circles and ovals to map out the placement of individual flower heads within the bouquet.
- Vary the stem lengths and angles to create a natural, asymmetrical look rather than a perfectly symmetrical arrangement.
- Focus on the negative space between stems and petals to help define the shapes of the flowers more accurately.
- Apply shading on the side of the vase opposite the light source to give the object a three-dimensional appearance.
The bottom line
Drawing flowers in a vase is most successful when you prioritize structure and observation over intricate detail. By establishing the vase as a solid foundation and using light guidelines to map out the bouquet's volume, you create a balanced composition. Focus on the interplay of light, shadow, and negative space to transform simple shapes into a convincing, artistic representation of a floral arrangement.
People also ask
Should I draw the vase or the flowers first?
It is generally best to draw the vase first to anchor the composition. Once the container is placed, you can build the flower arrangement upward from the opening.
How do I make the flowers look realistic rather than like cartoons?
Focus on observing the specific petal patterns and irregular shapes of real flowers instead of drawing generic symbols. Adding subtle shadows and texture to the petals helps create depth and realism.
What is the best way to handle overlapping petals?
Draw the petals in the foreground first with darker, firmer lines. Use lighter, thinner lines for the petals that appear behind them to create a sense of distance.
How do I keep the bouquet from looking too cluttered?
Limit the number of focal flowers and use leaves or filler greenery to bridge the gaps. Leaving some empty space between stems prevents the drawing from becoming visually overwhelming.
What kind of pencil should I use for sketching?
Start with an HB or 2H pencil for light, preliminary outlines that are easy to erase. Switch to a softer 2B or 4B pencil once you are ready to add final details and shading.
How do I draw water inside a clear glass vase?
Draw a horizontal line inside the vase to represent the water level and add a slight reflection or highlight near the top. Keep the lines inside the water slightly distorted to simulate the refraction of light through glass.
This answer was created with the help of AI research tools and reference sources. Spotted an error? Let us know — we correct mistakes quickly. See our editorial policy.