How do you varnish an acrylic painting?
Short answer
Varnishing an acrylic painting protects the surface from dust, UV damage, and environmental pollutants. You should wait at least 72 hours for the paint to cure completely before applying a non-yellowing, removable acrylic varnish. Use a wide, soft-bristled brush to apply thin, even coats in a dust-free environment for optimal results.
On this page
Why do you need to varnish an acrylic painting?
Acrylic paint is naturally thermoplastic, meaning it remains slightly soft and tacky even after it feels dry to the touch. This characteristic makes the surface a magnet for airborne dust, soot, and grime, which can become permanently embedded in the paint film over time. A professional-grade varnish acts as a sacrificial barrier, sealing the porous surface and preventing these contaminants from reaching the pigment.
Beyond basic protection, varnish serves an aesthetic purpose by unifying the sheen of the painting. Because acrylic paints often dry with varying levels of gloss or matte finishes, a final coat of varnish provides a consistent appearance across the entire piece. Furthermore, high-quality varnishes include ultraviolet light stabilizers that help prevent color shifting and fading, ensuring your artwork retains its intended vibrancy for decades to come.
How long does it take to cure before varnishing?
While acrylic paint may feel dry within an hour, it requires a significant curing period to reach a stable state. Applying varnish too early can result in a cloudy finish or, worse, cause the varnish to bond permanently with the paint layer. Most manufacturers recommend waiting at least 72 hours, though waiting one to two weeks is safer for thick impasto applications.
To ensure your painting is ready, perform a simple touch test in an inconspicuous corner. If the paint feels even slightly soft or sticky, it is not ready for varnish. Additionally, ensure the painting is stored in a clean, dry area during this time to avoid trapping dust under the protective layer. You should also consider the following factors before you begin:
- Humidity levels: High moisture can interfere with the drying process and the clarity of the varnish.
- Thickness of application: Heavy textures require more time for moisture to evaporate from the bottom layers.
- Environmental cleanliness: A dust-free room is essential to prevent debris from settling into the wet varnish.
Best varnish types for beginners
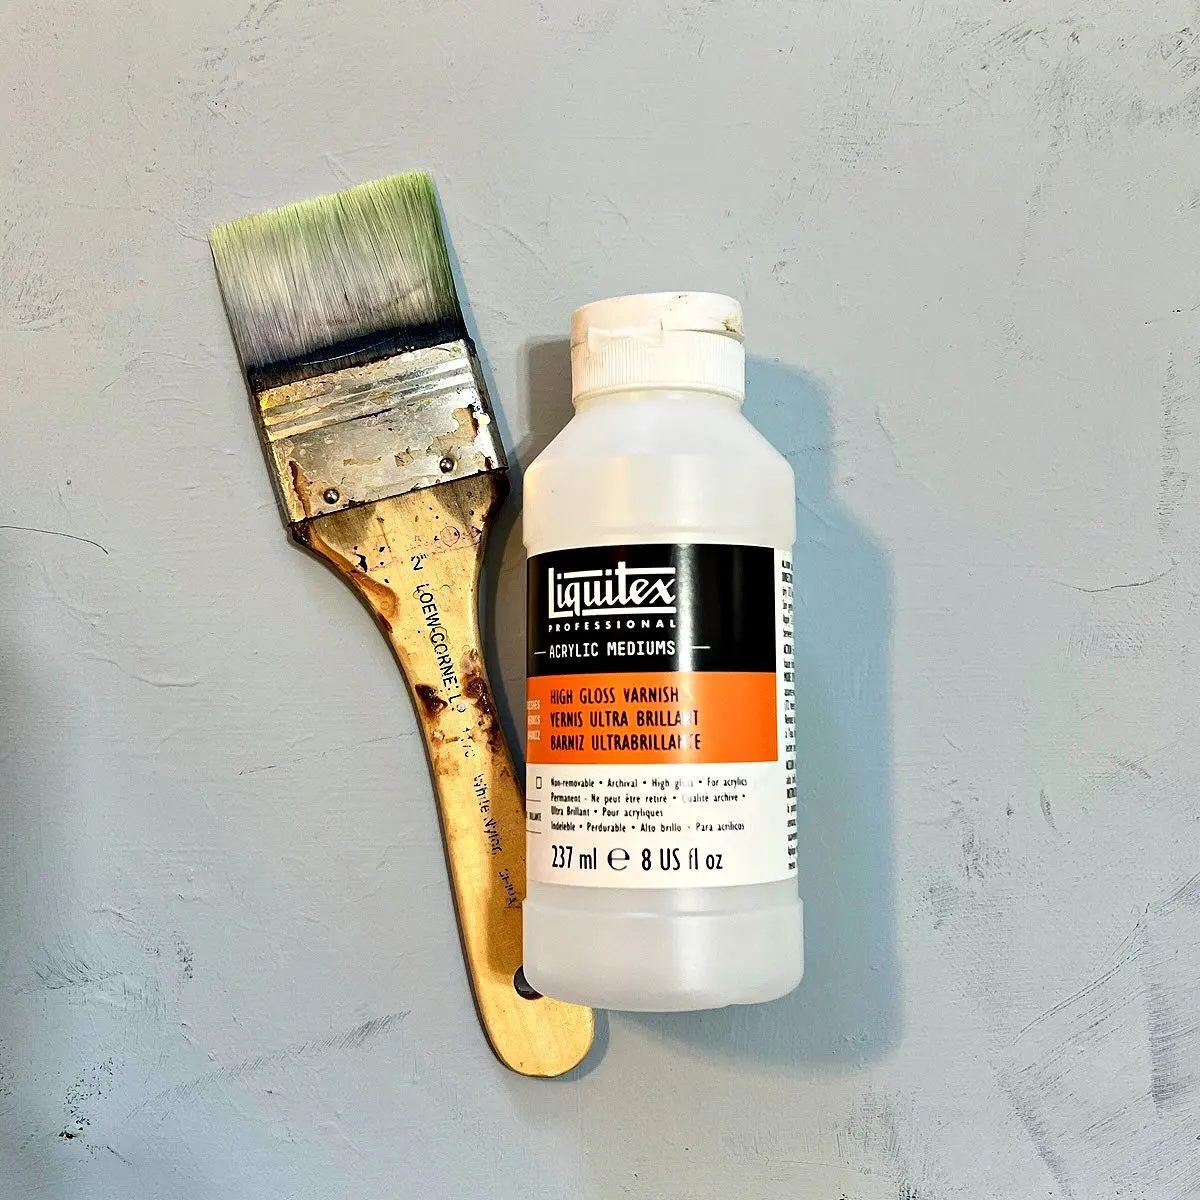
For those new to the process, water-based acrylic polymer varnishes are the most user-friendly option. Unlike solvent-based varnishes, these products are low-odor, non-flammable, and can be easily cleaned up with soap and water. They are specifically formulated to remain flexible, moving with the acrylic paint as it expands and contracts with temperature changes.
When choosing a finish, you have three primary options: gloss, satin, or matte. Gloss varnish provides the highest level of color saturation and depth, making it ideal for vibrant, high-contrast works. Satin offers a middle-ground sheen, while matte varnish minimizes glare and is perfect for paintings with complex textures. If you are uncertain about the final look, you can apply a gloss coat first for protection, followed by a thin layer of matte varnish to adjust the sheen to your preference.
How to apply varnish safely
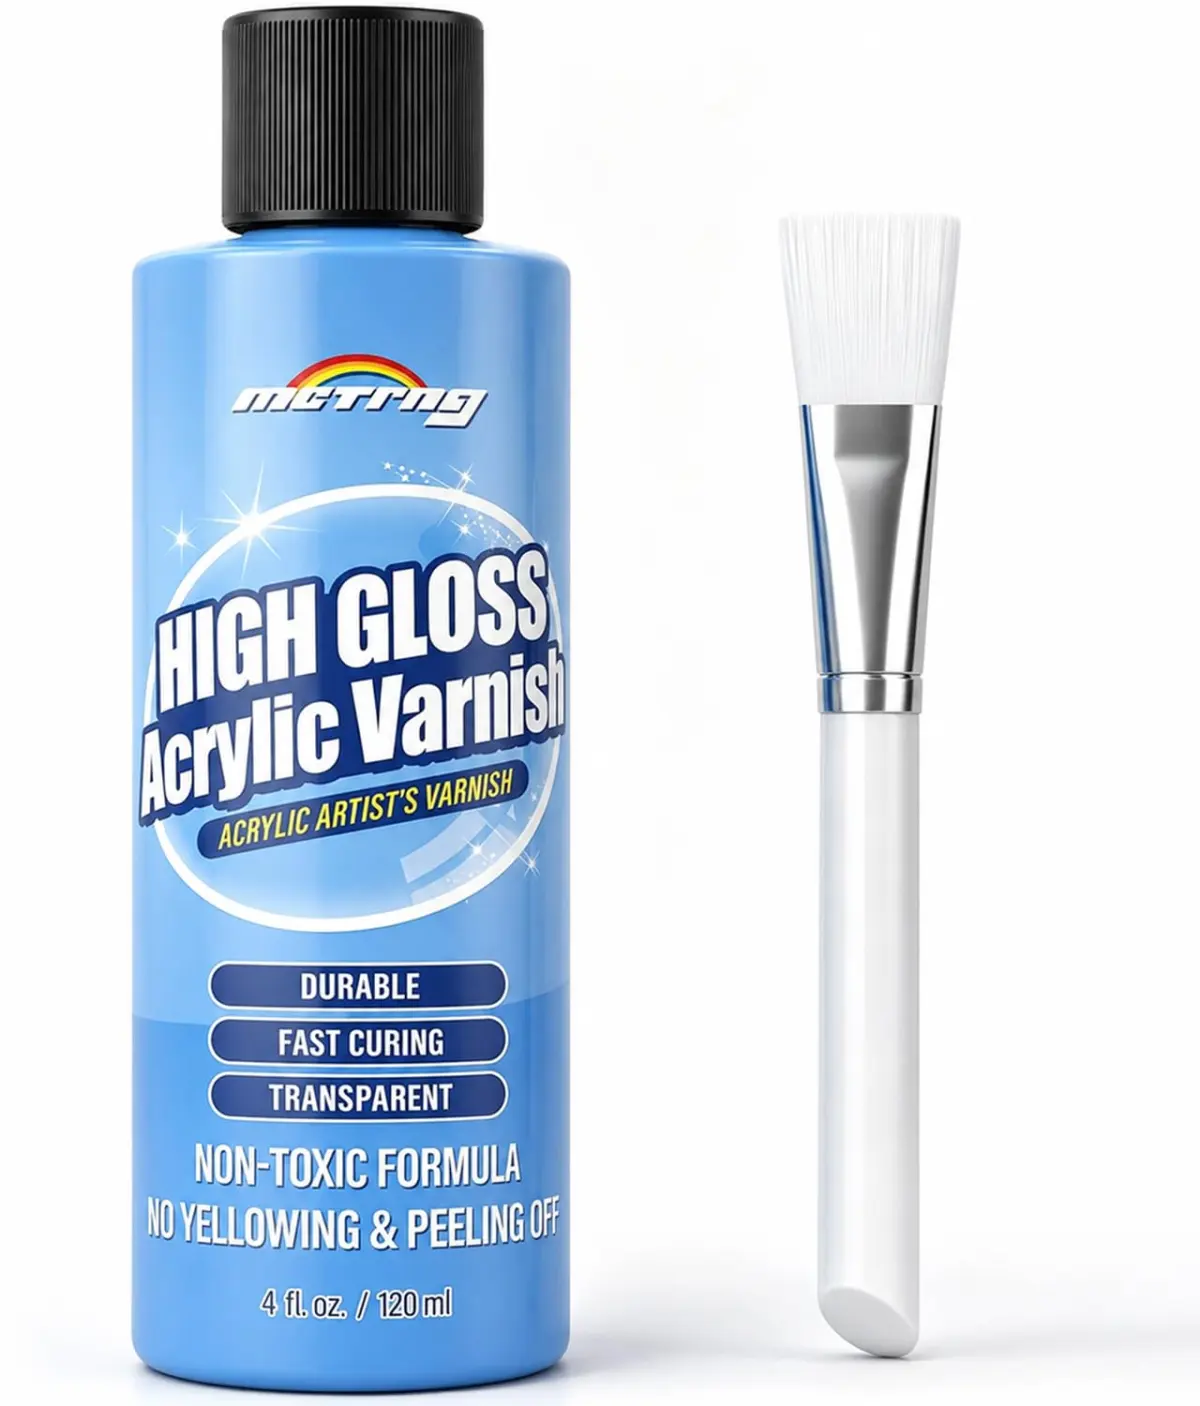
Proper application technique is critical to achieving a professional, streak-free finish. Always work on a flat, horizontal surface to prevent the varnish from pooling or running down the edges of the canvas. Use a wide, high-quality synthetic brush specifically designed for varnishing to ensure smooth coverage without leaving stray hairs behind.
Follow these steps to achieve a professional result:
- Clean the painting surface gently with a dry, lint-free cloth to remove any loose dust or debris.
- Pour a small amount of varnish into a clean container, avoiding vigorous shaking which can introduce air bubbles.
- Load your brush lightly and apply the varnish in long, continuous, overlapping horizontal strokes.
- Work quickly to cover the entire surface, then repeat with a second coat after the first has dried completely, usually after 24 hours.
- Allow the painting to cure in a horizontal position, covered by a box or tent to protect it from falling dust.
Common mistakes when varnishing acrylics
The most frequent error is overworking the varnish while it is still wet. If you brush back and forth repeatedly, you risk creating streaks, bubbles, or a cloudy appearance as the polymer begins to set. Once you have covered an area, leave it alone and trust that the self-leveling properties of the medium will smooth out minor imperfections as it dries.
Another common pitfall is applying the varnish too thickly in a single coat. A thick layer is prone to sagging and may remain tacky for an extended period, attracting more dust. It is always better to apply two or three thin, uniform coats than one heavy, uneven application. Finally, never attempt to thin your varnish with water unless the manufacturer explicitly states it is safe to do so, as this can compromise the protective integrity of the film and lead to a permanent, hazy finish that cannot be easily removed or corrected.
Key facts
- Acrylic paintings must be fully cured for at least 48 to 72 hours before applying varnish to ensure all water has evaporated.
- Always apply an isolation coat, such as a thin layer of soft gel medium, to protect the paint surface before varnishing.
- Use only varnishes specifically formulated for acrylics, as oil-based varnishes can yellow or crack over time.
- Apply varnish in thin, even coats using a wide, soft-bristled synthetic brush to minimize streaks and bubbles.
- Work in a dust-free environment to prevent debris from settling into the wet, tacky varnish surface.
- Choose a finish—gloss, satin, or matte—based on your aesthetic preference, as these do not affect the protective quality of the varnish.
The bottom line
Varnishing is a vital final step that preserves the longevity and vibrancy of your acrylic artwork. By ensuring the paint is fully cured, applying an isolation coat, and using a high-quality synthetic brush, you create a durable barrier against environmental damage. Always work in a clean, well-ventilated space, and apply multiple thin layers to achieve a professional, uniform finish that protects your creative investment for years.
People also ask
Can I use spray varnish instead of brush-on varnish?
Yes, spray varnish is an excellent alternative if you want to avoid brush marks. Hold the can 10 to 12 inches from the painting and apply several light, overlapping passes rather than one heavy coat.
Is it possible to remove varnish from an acrylic painting?
You can remove removable acrylic varnishes using a specific solvent recommended by the manufacturer. This allows you to clean the painting or remove yellowed varnish without damaging the underlying paint layers.
Do I need to varnish every acrylic painting I create?
While not strictly mandatory, varnishing protects your work from dust, ultraviolet light, and environmental pollutants. It also unifies the sheen across different paint applications, providing a professional, consistent look.
What happens if I varnish a painting that is still damp?
If the paint is not completely dry, moisture trapped beneath the varnish can cause cloudiness or "blooming." This can permanently ruin the appearance of the painting and may lead to long-term adhesion issues.
Should I thin my varnish before applying it?
Most modern acrylic varnishes are ready to use directly from the bottle. If you find the consistency too thick, check the manufacturer’s instructions, as adding water can sometimes compromise the finish or durability.
How many coats of varnish are recommended?
Two thin coats are generally sufficient for adequate protection. Allow the first coat to dry completely for at least 24 hours before applying the second to ensure a smooth and durable final surface.
This answer was created with the help of AI research tools and reference sources. Spotted an error? Let us know — we correct mistakes quickly. See our editorial policy.