What is varnish removal?
Short answer
Varnish removal is the process of chemically or mechanically stripping aged, yellowed, or damaged protective coatings from surfaces like wood furniture or oil paintings. This restoration technique exposes the original material beneath, allowing for repairs or the application of fresh finishes, effectively reversing decades of environmental degradation and aesthetic discoloration.
On this page
Why do people remove varnish?
Varnish is a clear, protective topcoat applied to wood, metal, or paint to provide durability and a specific sheen. Over time, natural resins like dammar or synthetic polymers can oxidize, leading to a yellow or brownish tint that obscures the underlying detail. In the world of fine art, this yellowing can significantly alter the intended color palette of a masterpiece, making the painting appear dull or murky.
Beyond aesthetic concerns, varnish can become brittle, crack, or flake off as it ages. These physical failures leave the substrate—whether it is delicate canvas or fine mahogany—vulnerable to moisture, dust, and pollutants. Removing the old layer allows conservators and hobbyists to stabilize the surface and apply a modern, non-yellowing protective coating that preserves the object for future generations.
How to remove varnish from wood furniture
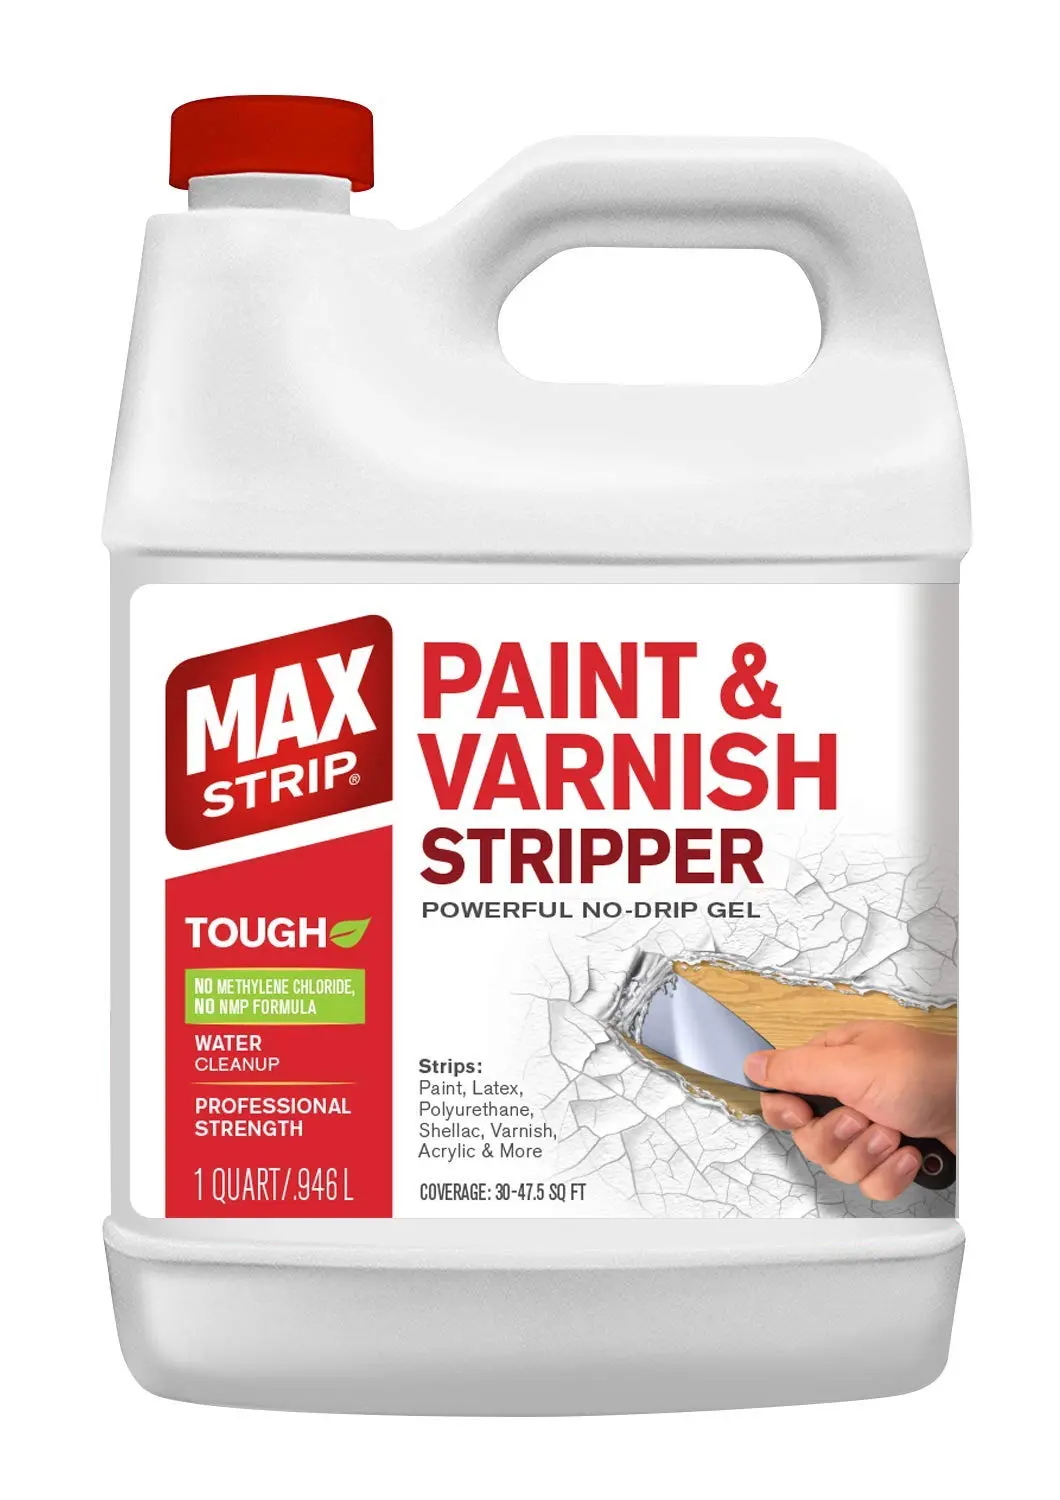
Stripping wood requires patience and the right chemical agents to ensure the underlying grain remains undamaged. The process typically involves applying a solvent-based stripper, waiting for the varnish to soften, and then carefully scraping it away. Always work in a well-ventilated area and wear appropriate personal protective equipment, such as chemical-resistant gloves and safety goggles, to prevent skin irritation or inhalation of fumes.
Follow these steps to safely strip a piece of furniture:
- Apply a thick, even layer of chemical stripper using a natural-bristle brush, ensuring you do not over-brush the product.
- Allow the stripper to sit for 15 to 30 minutes, or until the varnish bubbles and lifts from the surface.
- Use a plastic or metal scraper to gently remove the softened residue, working in the direction of the wood grain.
- Clean the remaining surface with mineral spirits or the manufacturer-recommended after-wash to neutralize the chemicals.
- Lightly sand the wood once it is completely dry to prepare for a new finish.
Best tools for varnish removal
The choice of tools depends largely on the surface being treated and the thickness of the varnish layer. For flat wooden surfaces, a high-quality steel or plastic scraper is essential for removing bulk residue without gouging the wood. For intricate carvings or detailed furniture legs, steel wool or specialized abrasive pads are often necessary to reach into crevices where scrapers cannot fit.
When dealing with oil paintings, the approach is far more delicate. Conservators utilize cotton swabs and precise solvent mixtures, such as a combination of alcohols or hydrocarbons, to remove varnish incrementally. This process requires a steady hand and a deep understanding of paint chemistry to avoid dissolving the original pigment layers. Essential tools for this task include:
- Soft-tipped cotton swabs for controlled application.
- Glass beakers for mixing precise solvent ratios.
- Magnifying lamps to monitor the removal process in real-time.
- Soft brushes for dusting and cleaning delicate edges.
Common mistakes when removing varnish
One of the most frequent errors is rushing the chemical reaction time. If a user tries to scrape the varnish before the solvent has fully penetrated the coating, they may need to apply excessive force, which often results in deep scratches or gouges in the underlying wood. Patience is the primary factor in successful restoration; if the varnish does not lift easily, reapply the stripper rather than forcing it off.
Another common pitfall is failing to neutralize the surface after the stripping process. Residual chemicals left on the wood can interfere with new stains, paints, or topcoats, leading to poor adhesion or uneven finishes. Additionally, many beginners ignore the importance of testing a small, inconspicuous area first. Always perform a spot test to ensure the chosen solvent does not react negatively with the substrate or original finish, as this prevents permanent damage to valuable items.
How long does it take to remove varnish?
The timeline for varnish removal varies significantly based on the size of the project, the number of existing layers, and the type of finish being removed. A small wooden chair might take an afternoon of active work, while a large dining table or an antique oil painting could require several days or even weeks of careful, iterative labor. Professional conservators often work in small sections, sometimes only a few square inches at a time, to ensure safety.
Factors that influence the duration of the project include:
- The age and hardness of the varnish, as older, cross-linked coatings are more resistant to solvents.
- Environmental conditions, such as temperature and humidity, which affect how quickly solvents evaporate.
- The complexity of the surface, as detailed carvings require significantly more time than flat panels.
- The drying time required between stripping, cleaning, and sanding stages before the final refinishing can begin.
Key facts
- Varnish is a transparent, protective finish applied to wood to guard against moisture, UV light, and physical wear.
- Removal is necessary when the existing finish has yellowed, cracked, or become uneven due to age or environmental exposure.
- Chemical strippers containing solvents like methylene chloride or safer alternatives like N-methyl-2-pyrrolidone (NMP) are the most common removal agents.
- Mechanical removal involves using scrapers or sandpaper, which is effective for flat surfaces but risks gouging the wood if done improperly.
- Always work in a well-ventilated area and wear protective gear, including chemical-resistant gloves and a respirator, to avoid inhaling toxic fumes.
- Testing a small, inconspicuous area first is essential to ensure the chosen method does not damage the underlying wood grain or stain.
The bottom line
Varnish removal is a meticulous process that restores wood to its natural state by stripping away degraded protective layers. Whether using chemical solvents or mechanical sanding, the key to success lies in patience and proper preparation. By following safety protocols and testing your method on hidden areas first, you can effectively prepare your furniture for a fresh, professional-grade finish that will last for years to come.
People also ask
How do I know if I should strip the varnish or just sand it?
If the finish is peeling, deeply cracked, or has multiple layers of buildup, stripping is necessary to reach the bare wood. If the varnish is simply dull or lightly scratched, a light sanding followed by a new coat is usually sufficient.
What is the difference between varnish and lacquer?
Varnish is typically an oil-based finish that cures through oxidation, making it durable and slow-drying. Lacquer is a solvent-based finish that dries rapidly by evaporation, resulting in a thinner, more brittle coating that is easier to remove with solvents.
Can I use a heat gun to remove varnish?
Yes, a heat gun can soften varnish, making it easier to scrape off with a putty knife. However, you must keep the tool moving constantly to prevent scorching or burning the wood surface.
What is the best way to clean the wood after stripping?
After removing the bulk of the finish, use a chemical after-wash or mineral spirits to neutralize the surface. This step removes residual wax or stripper chemicals, ensuring the new finish adheres properly.
Why does my wood look dark after using a chemical stripper?
This often happens if the stripper reacts with the wood’s natural tannins or if the residue was not thoroughly cleaned. A wood brightener or a light sanding can often restore the natural color before re-staining.
Do I need to remove all traces of old varnish before applying a new coat?
If you are applying a different type of finish, you must remove all old varnish to prevent incompatibility issues. If you are applying the same type of finish, you only need to remove loose material and scuff-sand the surface for adhesion.
This answer was created with the help of AI research tools and reference sources. Spotted an error? Let us know — we correct mistakes quickly. See our editorial policy.