How do you start scrapbooking?
Short answer
Starting a scrapbook involves gathering photos, acid-free paper, and adhesive to preserve memories in a decorative album. Begin by selecting a theme or chronological period, then organize your materials. Focus on storytelling through arrangement and journaling, ensuring you use archival-quality supplies to prevent your precious documents and images from fading over time.
On this page
What supplies do you need to start scrapbooking?
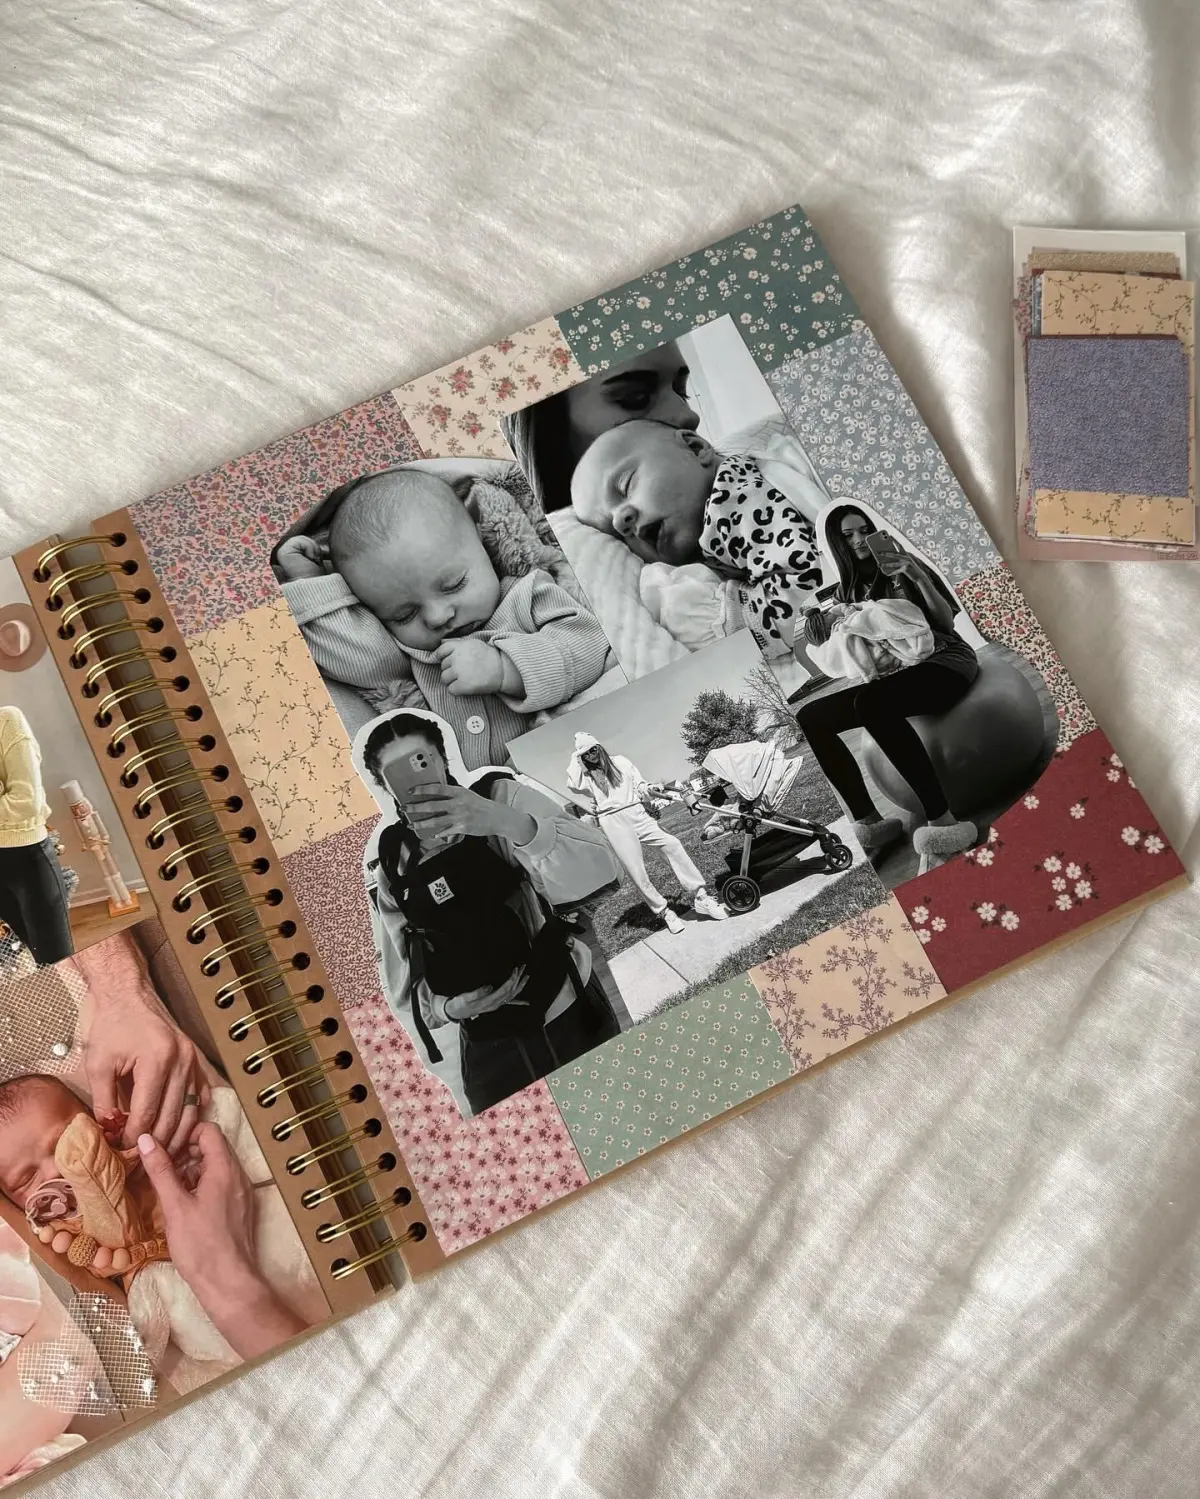
To begin scrapbooking, you need a few essential tools that ensure your work remains preserved for decades. The most critical item is an album, which typically comes in sizes like 12x12 inches or 8.5x11 inches. Look for albums with page protectors to shield your photos from dust, moisture, and fingerprints. You will also need acid-free, lignin-free cardstock or patterned paper, as acidic materials cause photographs to yellow and deteriorate prematurely.
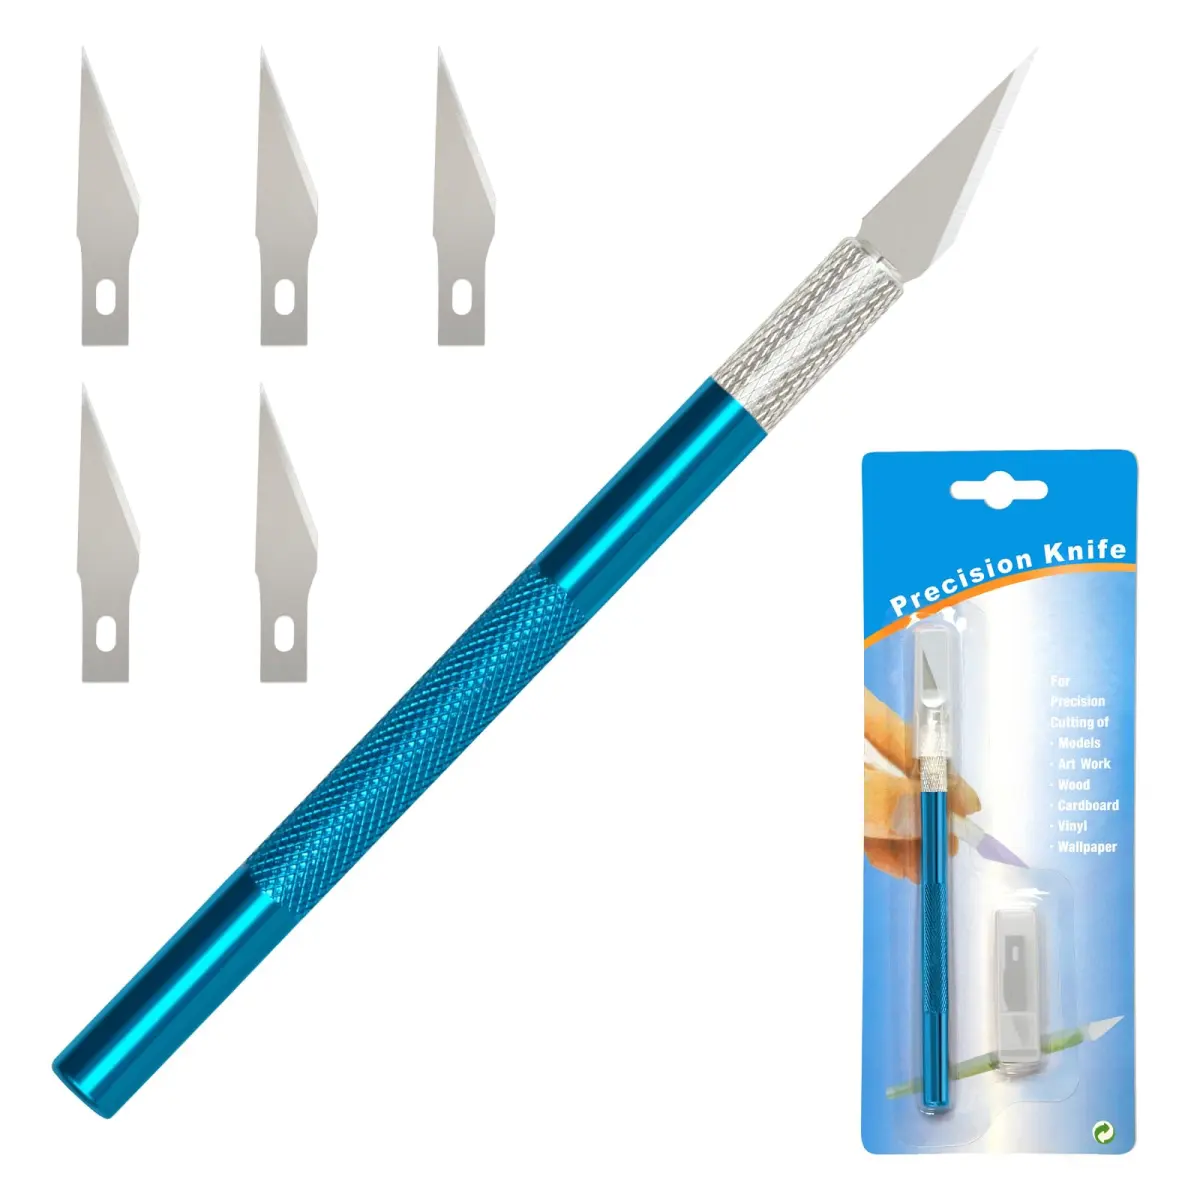
Beyond the album and paper, invest in high-quality adhesives and cutting tools. Double-sided tape runners or acid-free glue sticks are standard for securing photos. Avoid liquid glues that may warp paper or leave visible residue. A sharp paper trimmer is highly recommended over scissors for achieving perfectly straight edges on your photos and mats. Finally, keep a set of archival-safe pens on hand for journaling, as these inks are designed to resist fading and bleeding through your pages.
How to organize photos for your first scrapbook
Organizing your collection is often the most daunting part of the process. Start by sorting your physical photographs or digital prints into chronological order or by specific events, such as a vacation, a birthday, or a holiday season. Do not feel pressured to include every single photo you have ever taken. Instead, choose the images that best tell the story of the event and evoke the strongest emotions.
Once you have selected your images, follow these steps to prepare your layout:
- Lay your photos out on a blank page without adhering them to see how they fit.
- Incorporate "mats" by layering a slightly larger piece of colored cardstock behind your photos to make them pop.
- Add decorative elements like stickers, die-cuts, or ribbons, but ensure they do not overwhelm the focal point of the photos.
- Use a pencil to lightly mark where your photos will go before applying any permanent adhesive.
How to design a scrapbook page layout
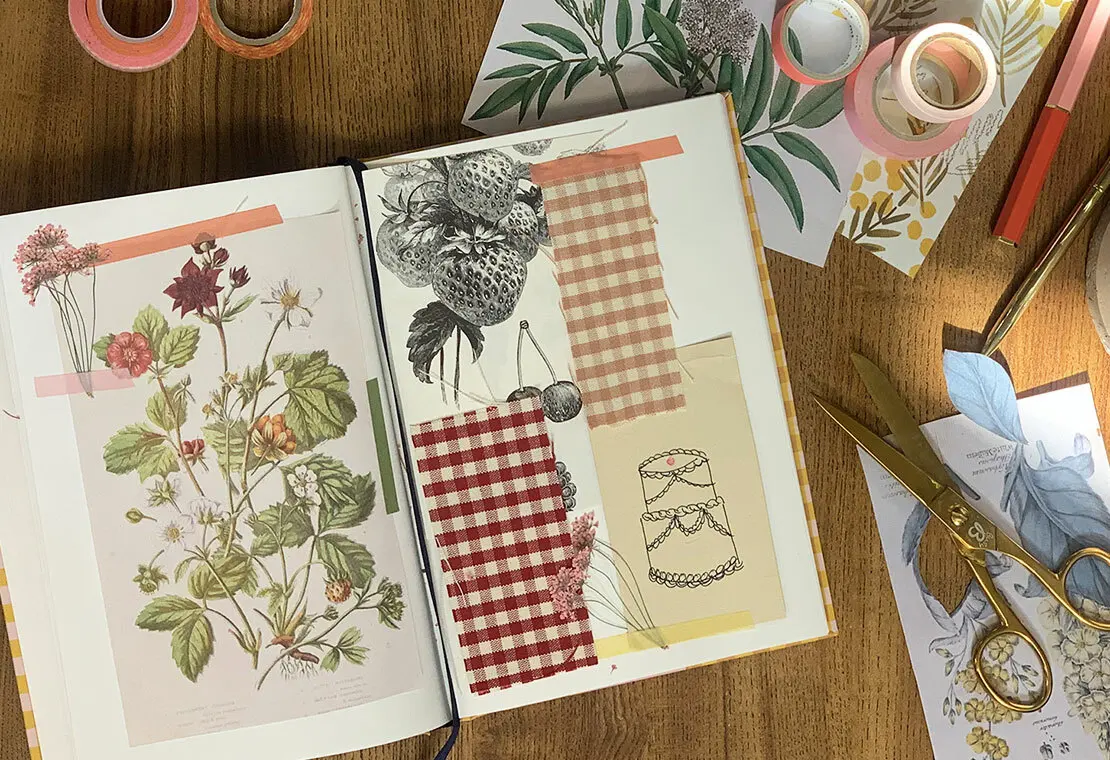
A successful layout balances visual appeal with clear storytelling. The "rule of thirds" is a helpful guideline here: place your primary photo slightly off-center to create a more dynamic and professional look. Use negative space—the empty areas on your page—to prevent the design from feeling cluttered. If you have many photos, consider using a collage style, but ensure each image has a clear connection to the others on the page.
Color coordination is another vital aspect of design. Choose a color palette based on the mood of your photos; for example, use soft pastels for baby pictures or bold, primary colors for sports events. You can also use patterned paper to add texture, but keep the patterns subtle so they do not distract from the images. Remember that the goal is to highlight the memory, not just the decorative materials you have purchased.
Why journaling is important in scrapbooking
Journaling transforms a scrapbook from a simple photo album into a historical record. Without context, future generations may not know who is in the photos, where they were taken, or why the moment was significant. Include the "five Ws": who, what, where, when, and why. Even a short sentence describing the feeling of the day or a funny quote from a participant adds immense value to the completed page.
If you struggle with what to write, try these prompts to get started:
- Describe the weather or the atmosphere of the day.
- Write down a specific conversation or joke that occurred.
- Explain why you chose these specific photos for the page.
- List the names of everyone present and their relationship to you.
- Note the date and location clearly at the bottom of the page.
Common mistakes when starting a scrapbook
One of the most frequent mistakes beginners make is over-complicating their pages with too many embellishments. While stickers and ribbons are fun, they can make a page bulky and difficult to store. Another common error is using non-archival supplies, such as standard masking tape or cheap construction paper, which contain chemicals that will eventually destroy your photos. Always check labels to ensure products are labeled "acid-free" or "photo-safe" to protect your investment.
Another pitfall is the "all-or-nothing" mentality, where you feel you must finish an entire album before starting the next. Scrapbooking is a hobby meant to be enjoyed in small increments. Do not let the size of your photo collection overwhelm you; focus on completing one page at a time. If you find yourself stuck on a layout, walk away and return to it later with fresh eyes. Consistency is far more important than speed, so aim to work on your project for short, regular intervals to maintain your interest and momentum.
Key facts
- Use acid-free, lignin-free paper and adhesives to prevent your photos from yellowing or deteriorating over time.
- Choose a theme for your album, such as a specific vacation, a child's first year, or a family genealogy project.
- Always make high-quality digital copies of original vintage photographs before cutting or adhering them to a page.
- Use a photo-safe journaling pen with archival-quality ink that will not bleed through paper or fade after exposure to light.
- Invest in a paper trimmer with a measuring guide to ensure your photos and cardstock have clean, straight edges.
- Organize your photos chronologically or by event to create a clear narrative flow throughout your scrapbook.
The bottom line
Starting a scrapbook is a rewarding way to preserve memories through a blend of photography and storytelling. By prioritizing archival-quality materials, you ensure your work withstands the passage of time. Begin with a clear theme, keep your tools simple, and focus on documenting specific details. With consistent practice, you will transform loose photographs into a meaningful, lasting narrative that honors your personal history and experiences.
People also ask
What is the best size for a scrapbook album?
The most common size is 12x12 inches, as it provides ample space for large layouts and multiple photos. However, 8.5x11-inch albums are popular for those who prefer a standard binder format.
How do I keep my photos from falling off the page?
Use double-sided archival tape runners or photo corners rather than liquid glue or tape. Liquid adhesives can warp paper and contain chemicals that damage photographic prints over time.
Should I write down the dates on every page?
Yes, documenting dates and locations is essential for preserving family history. Future generations will appreciate the context provided by these simple labels.
What are the most essential tools for a beginner?
You need an album, acid-free cardstock, a paper trimmer, archival-safe adhesive, and a permanent ink pen. Start with these basics before purchasing decorative stamps, stickers, or specialized punches.
Can I scrapbook with digital photos?
Absolutely, printing digital photos on high-quality photo paper is a standard practice. Ensure your printer uses pigment-based inks for better longevity and resistance to fading.
How do I avoid cluttering my pages?
Focus on one or two focal-point photos per page and use white space to draw the eye. Too many embellishments can distract from the images and make the layout feel disorganized.
This answer was created with the help of AI research tools and reference sources. Spotted an error? Let us know — we correct mistakes quickly. See our editorial policy.