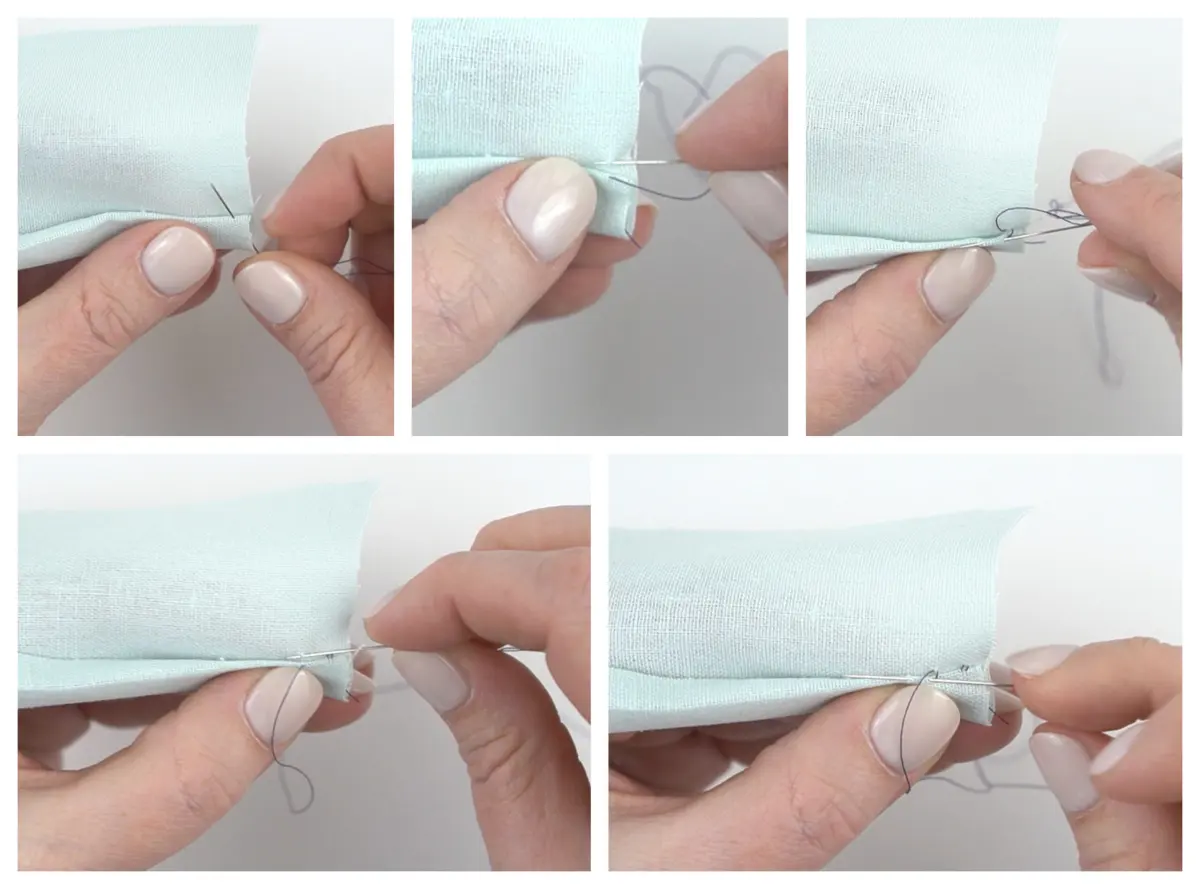
How do you make a lampshade?
Short answer
Making a lampshade involves attaching fabric to a wire frame using adhesive or sewing techniques. You will need a frame, flame-retardant fabric, pressure-sensitive styrene, and a craft glue or tape. By measuring the frame’s circumference, cutting the material to size, and securing it carefully, you create a custom light fixture.
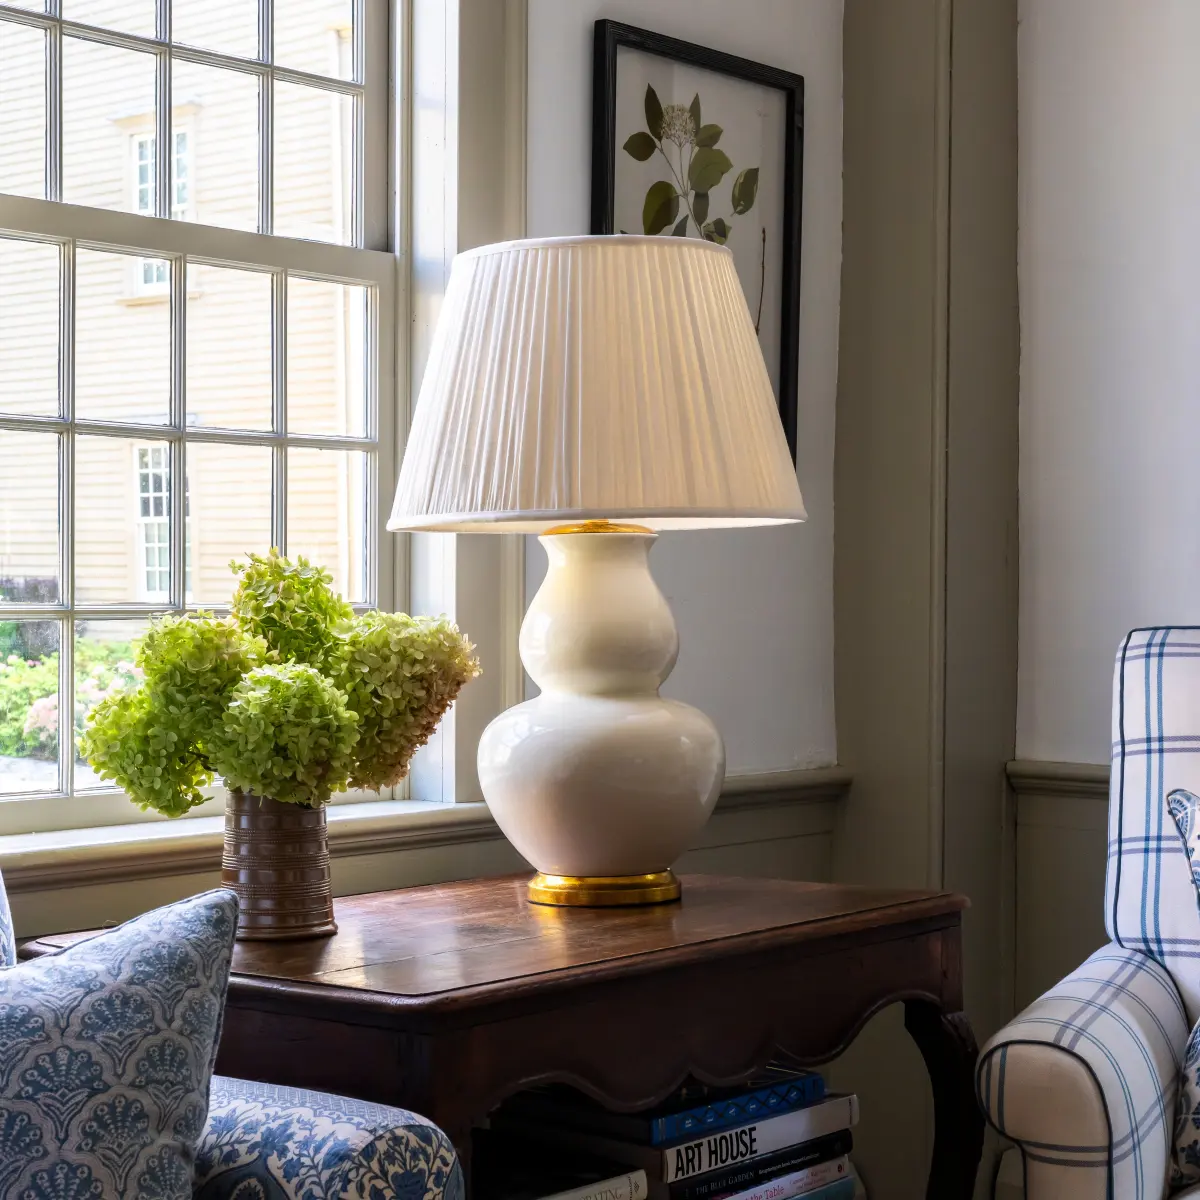
On this page
What materials are needed to make a lampshade?
To construct a professional-quality lampshade, you must prioritize fire safety and structural integrity. The most critical component is flame-retardant styrene, a thin plastic sheet that provides the shade with its shape and heat resistance. You should never use standard paper or untreated fabric directly against a light bulb, as the heat can cause a fire hazard. Always ensure that any fabric you choose is lightweight, such as cotton or linen, to allow for proper light diffusion.
In addition to the frame and styrene, you will need a few essential tools to ensure a precise finish. A high-quality fabric glue or double-sided adhesive tape is necessary for bonding the materials. You will also require a sharp rotary cutter, a self-healing cutting mat, and a metal ruler to achieve clean, straight edges. Having a bone folder on hand is also recommended for smoothing the fabric and creating crisp folds along the wire rings of the frame.
- Wire lampshade frame (drum or empire style).
- Adhesive-backed styrene sheet.
- Decorative fabric (cotton or linen blends work best).
- Fabric glue or specialized double-sided tape.
- Rotary cutter and metal ruler.
- Bone folder for edge finishing.
How to measure and cut fabric for a lampshade?
Accurate measurement is the foundation of a successful lampshade project. You must measure the circumference of both the top and bottom rings of your frame, then add at least one inch to the length to account for the seam overlap. It is helpful to roll the frame across a piece of paper to trace its path, which creates a template for your fabric. This method ensures that the slope of the shade is perfectly captured in your pattern.
Once you have your template, lay your fabric face down on a flat surface and place the adhesive styrene on top. Use the rotary cutter to trim the fabric, leaving an extra half-inch margin on all sides to allow for folding over the wire edges. Avoid using scissors for long, straight cuts, as they often cause the fabric to fray or move, leading to uneven edges. Always verify your measurements twice before committing to the final cut.
- Measure the circumference of the top and bottom rings.
- Add 1 inch to the length for the seam allowance.
- Trace the frame’s path on paper to create a custom template.
- Leave a 0.5-inch margin of fabric beyond the styrene for folding.
- Use a rotary cutter for the cleanest possible edges.
How to assemble a custom lampshade?
Assembly requires patience and a steady hand to prevent bubbles or wrinkles in the fabric. Start by peeling back a small portion of the protective backing from the styrene and aligning the edge of your fabric with the adhesive side. Gradually peel and press the fabric onto the styrene, smoothing it out with your hands or a brayer as you go. Ensure the fabric is taut and free of creases before you attempt to attach it to the wire frame.
Once the fabric is bonded to the styrene, align the frame with the edges of your shade. Apply a thin line of glue to the wire rings and carefully roll the frame along the edge of the shade material. The seam where the two ends meet should be tucked inward for a seamless look. Use the bone folder to press the fabric edges tightly around the wire rings, ensuring a secure and professional bond that will hold up under the heat of a light bulb.
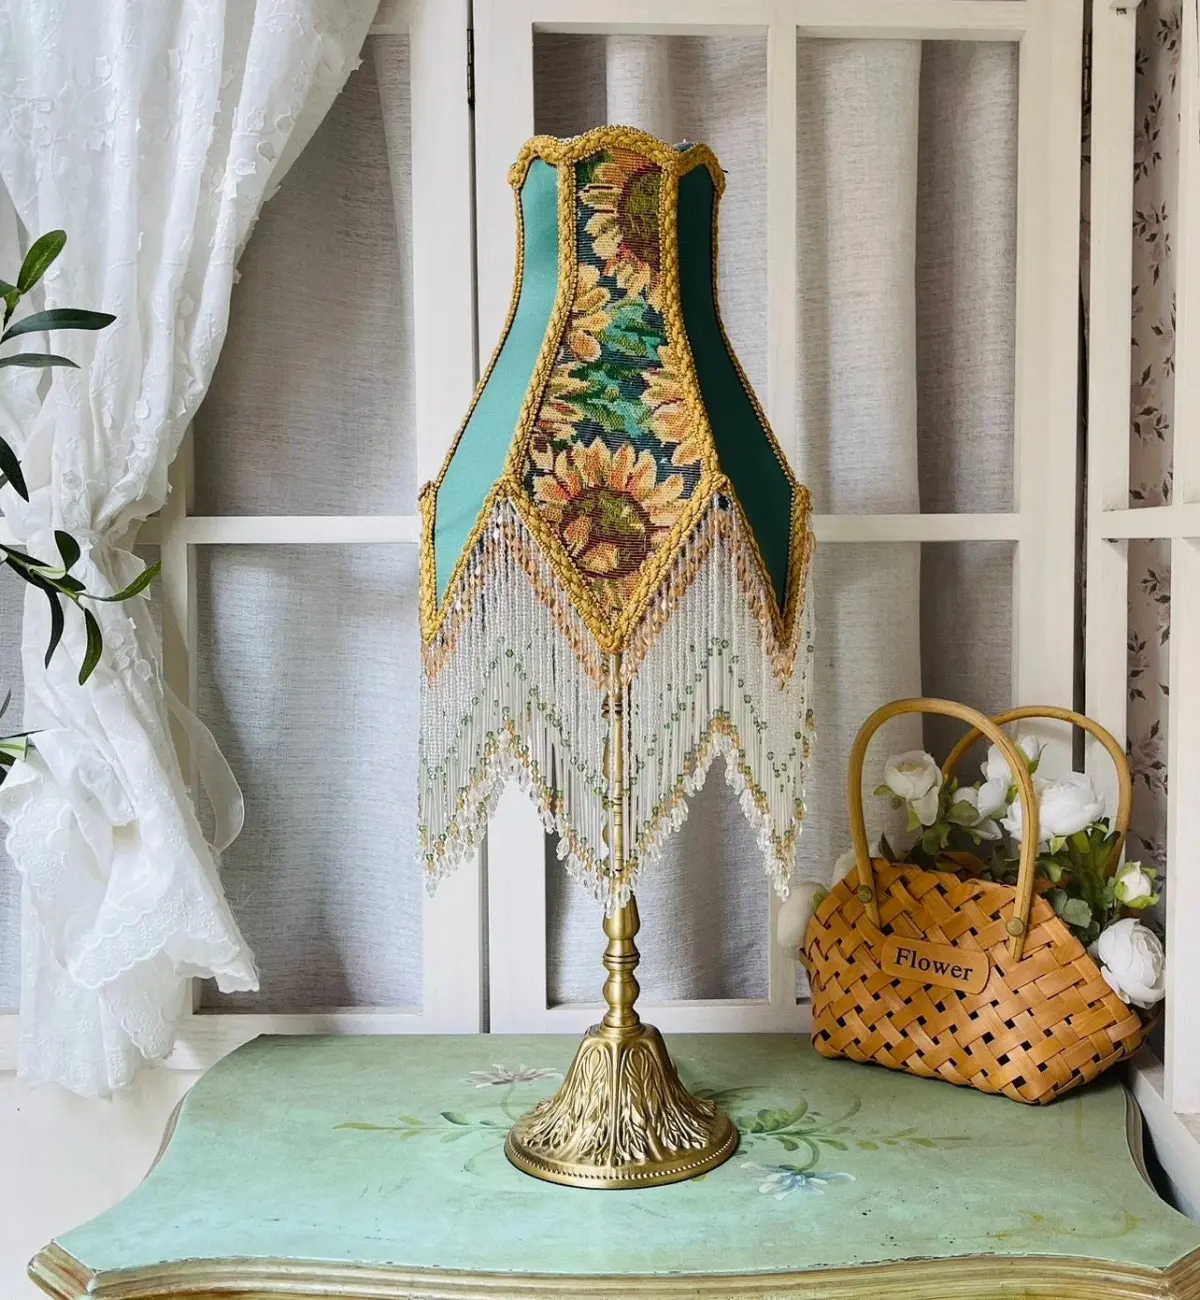
Common mistakes when making a lampshade?
The most frequent error beginners make is failing to account for the thickness of the fabric when measuring. If the fabric is too thick, the shade will not close properly at the seam, leaving an unsightly gap. Another common issue is applying too much glue, which can bleed through the fabric and leave permanent stains. Always test your adhesive on a scrap piece of fabric first to see how it reacts to the material.
Another mistake involves neglecting the direction of the fabric pattern. If your chosen fabric has a directional print, such as stripes or a floral motif, ensure that the pattern is oriented correctly before you begin the bonding process. An upside-down pattern is impossible to fix once the styrene is applied. Additionally, rushing the drying process can lead to the shade shifting out of alignment. Allow the glue to cure completely for at least 24 hours before installing the shade on a lamp base.
How to finish and install your lampshade?
The final step involves trimming any excess fabric and ensuring the internal structure is clean. Once the glue has dried, use your rotary cutter to trim any stray threads or uneven edges along the top and bottom rings. If you want a more decorative finish, you can apply a trim or ribbon over the wire edges using a fabric-safe adhesive. This not only hides the raw edges but also adds a professional, polished look to your custom creation.
When installing the shade, ensure the spider or clip-on fitting is centered correctly on the lamp harp. If the shade sits crookedly, check that the wire rings are perfectly circular and not bent during the assembly process. If the shade is slightly loose, you can add a small piece of felt or a rubber washer to the fitting to stabilize it. With these steps completed, your custom lampshade is ready to provide a unique, warm glow to your living space.
Key facts
- Use flame-retardant backing material, such as styrene, to ensure the lampshade does not ignite from heat.
- Measure the circumference of your wire rings accurately, adding at least one inch for the seam overlap.
- Always use a high-quality fabric adhesive or double-sided heat-resistant tape to secure the fabric to the frame.
- Apply fabric to the frame on a flat, clean surface to prevent wrinkles and debris from getting trapped.
- Use binder clips to hold the fabric in place against the wire rings while the adhesive sets.
- Calculate the height of your shade by measuring the distance between the top and bottom rings plus two inches for rolling the edges.
The bottom line
Creating a custom lampshade is a rewarding project that combines technical precision with personal style. By selecting the right materials, such as flame-retardant styrene and stable fabric, you ensure both safety and durability. Focus on accurate measurements and patient assembly to achieve a professional finish. With these fundamental steps, you can craft a unique lighting fixture that perfectly complements your home decor and illuminates your space beautifully.
People also ask
Can I use any type of fabric to make a lampshade?
While many fabrics work, medium-weight cotton or linen is easiest for beginners because they are stable and easy to glue. Avoid very thin silks that reveal glue marks or heavy upholstery fabrics that are too stiff to roll around the rings.
How do I determine the correct size for a lampshade?
A general rule is that the shade should be approximately two-thirds the height of the lamp base. The width should be at least one inch wider than the base on all sides to ensure proper proportions.
What is the purpose of the styrene backing?
Styrene is a plastic sheet that provides structural rigidity and heat resistance to the lampshade. It prevents the fabric from drooping and keeps the shade at a safe distance from the light bulb.
How do I clean a handmade lampshade?
Use a soft microfiber cloth or a lint roller to gently remove dust from the surface. Avoid using water or liquid cleaners, as they can weaken the adhesive or cause the fabric to warp.
Why is my lampshade fabric bubbling?
Bubbling usually occurs when the adhesive is applied unevenly or if the fabric was not smoothed out properly during application. Ensure you press firmly from the center toward the edges to eliminate trapped air pockets.
Is it safe to use LED bulbs in handmade shades?
Yes, LED bulbs are ideal because they emit significantly less heat than traditional incandescent bulbs. This reduces the risk of the adhesive drying out or the fabric discoloring over time.
This answer was created with the help of AI research tools and reference sources. Spotted an error? Let us know — we correct mistakes quickly. See our editorial policy.