How do you export from Procreate?
Short answer
Exporting from Procreate involves opening the Actions menu, selecting the Share tab, and choosing your desired file format. You can export individual layers, full canvases, or time-lapse recordings. The process is straightforward, allowing you to save your artwork directly to your device, cloud storage, or share it across various social media platforms.
On this page
How to export artwork from Procreate
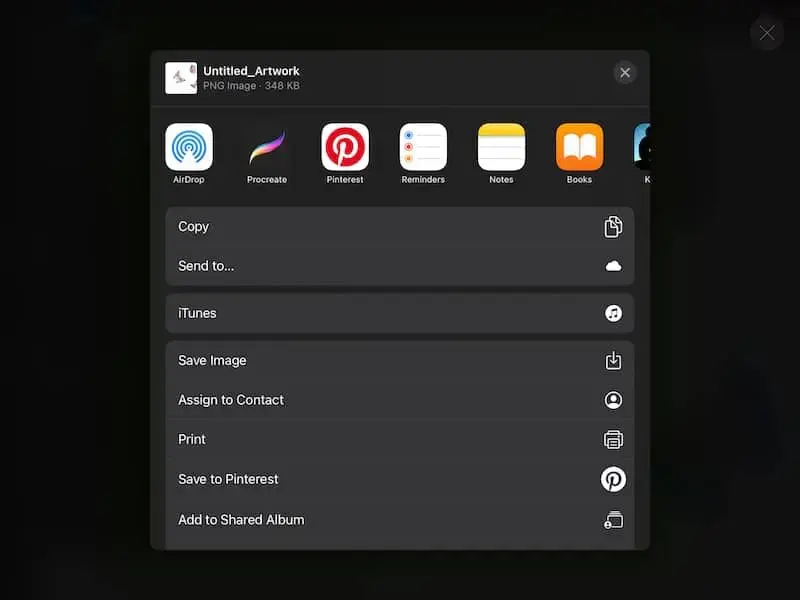
To export your work, tap the wrench icon in the top-left corner of the interface to open the Actions menu. From there, select the Share tab to view a list of available file formats. Procreate supports a variety of industry-standard formats, including Procreate (.procreate), PSD, PDF, JPEG, PNG, and TIFF. Selecting a format will trigger the iOS share sheet, where you can choose to save the file to your Files app, send it via email, or upload it to cloud services like iCloud Drive or Dropbox.
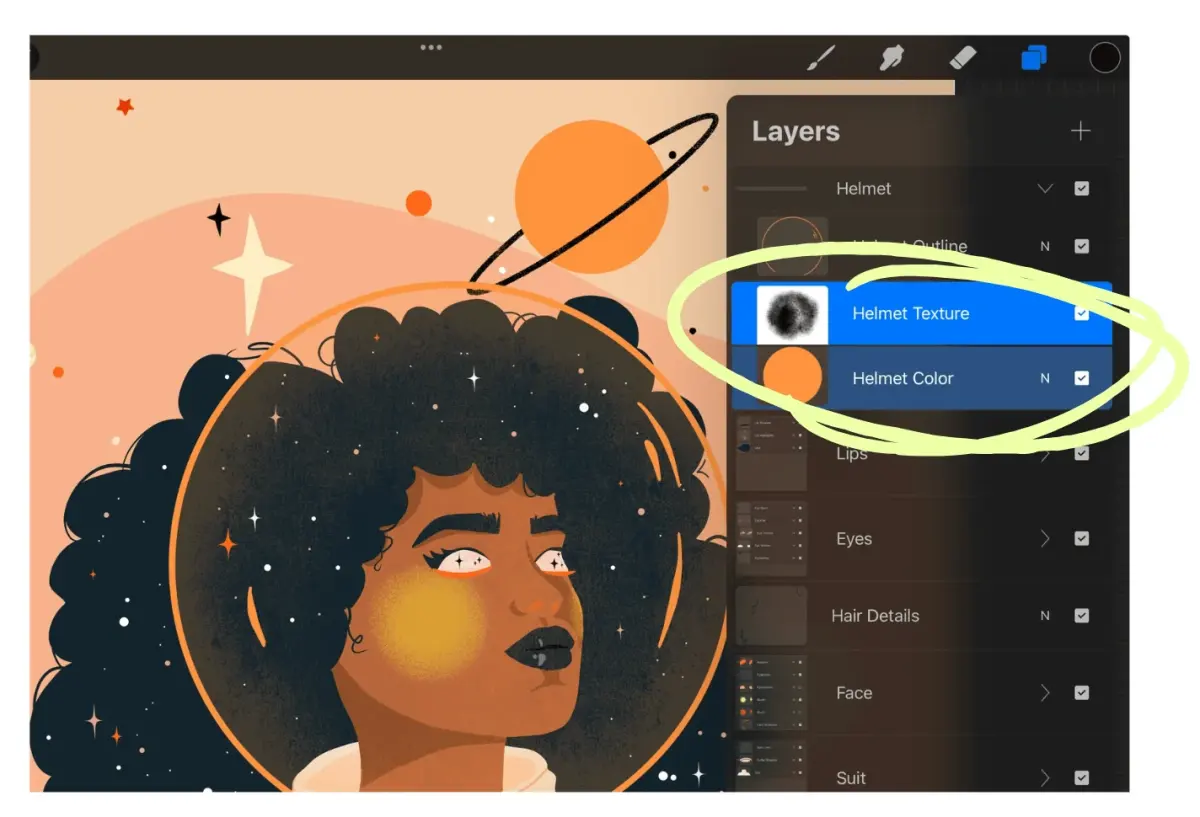
If you need to export your artwork with a transparent background, ensure you hide the background layer in your Layers panel before exporting. Choose the PNG format, as it is the most reliable file type for preserving transparency. Always verify your color profile settings in the Canvas Information menu before exporting for print, as converting from RGB to CMYK at the final stage can sometimes lead to unexpected color shifts in your final output.
How to export layers as individual files
Sometimes you may need to export every layer of a complex illustration as a separate file, especially for animation or game asset development. Procreate offers a specific feature to handle this efficiently. Within the Share menu, look for the "Share Layers" section at the bottom of the list. You can choose to export all layers as individual PNG files, a single multi-layered PDF, or an animated GIF or MP4.
- Open the Actions menu and tap the Share tab.
- Scroll down to the Share Layers section.
- Select your preferred file format, such as PNG files.
- Choose the destination folder in the iOS share sheet to save your assets.
This method automatically names files based on your layer names, so labeling your layers before exporting saves significant time during organization. If you select the animated format options, Procreate will treat each layer as a frame in your sequence, which is essential for creating simple frame-by-frame animations.
How to export time-lapse recordings
Procreate automatically records every stroke you make on the canvas, allowing you to share the creative process with others. To export this footage, go to the Actions menu and select the Video tab. You will see an option labeled Time-lapse Export. You can choose to export the full-length recording or a 30-second condensed version. The 30-second version is ideal for social media platforms where brevity is preferred.
- Tap the wrench icon and select the Video tab.
- Choose Time-lapse Export.
- Select either "Full length" or "30 Seconds."
- Tap Export to save the video to your Photos app or share it directly to another application.
Ensure your canvas has Time-lapse Recording enabled in the Canvas settings before you begin your project. If this setting was turned off, Procreate cannot retroactively generate a video of your work. Regularly checking your video settings ensures you do not lose the opportunity to showcase your progress.
Common mistakes when exporting files
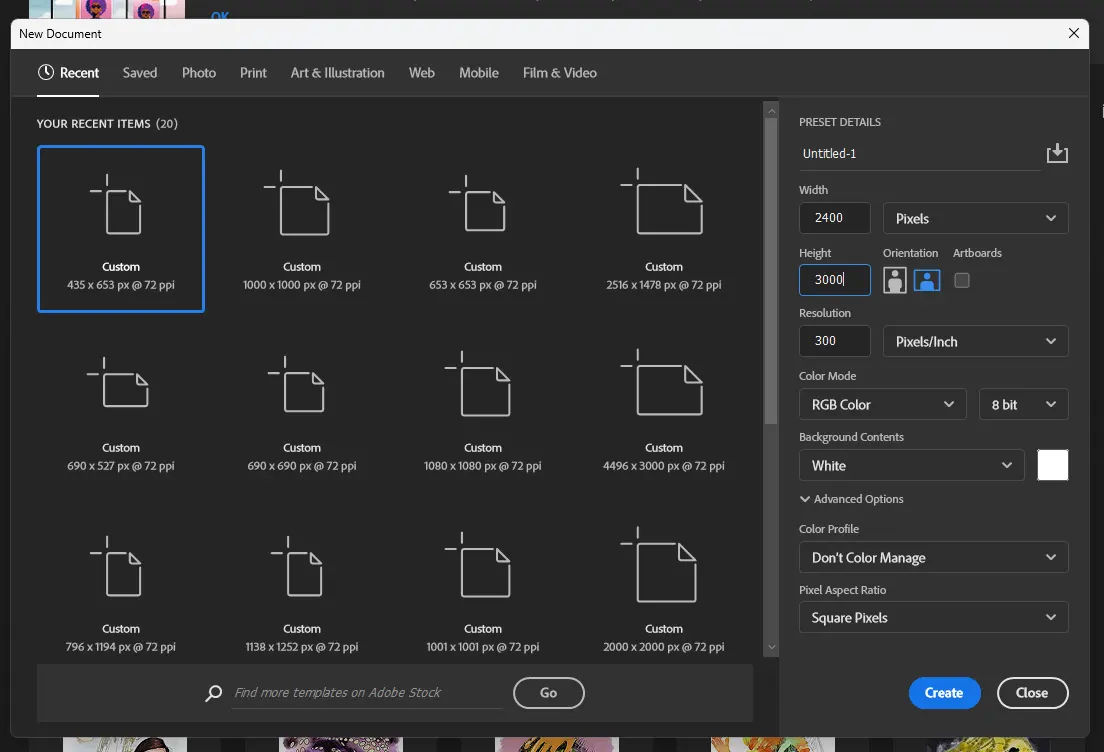
One of the most frequent errors users encounter is exporting a low-resolution file for print. If you create a canvas at 72 DPI, your print output will appear pixelated or blurry regardless of the file format used. Always set your canvas to at least 300 DPI if you intend to print your work. Additionally, avoid choosing JPEG if you require transparency, as the JPEG format will automatically fill transparent areas with a solid white background, which can be difficult to remove later.
Another common mistake involves forgetting to check the file size before sending images via email or messaging apps. High-resolution files can easily exceed attachment limits, leading to failed uploads. If you find your file is too large, consider exporting a smaller version or using a cloud link rather than an attachment. Double-check your export settings every time, as the app retains the last used format, which might not be appropriate for your current project's specific requirements.
Best file formats for different projects
Choosing the right format is critical for maintaining quality across different mediums. For digital sharing and web display, PNG and JPEG are the industry standards. PNG is superior for images containing text or sharp lines because it uses lossless compression, preventing the "artifacting" often seen in JPEGs. For professional print work, use PDF or TIFF, as these formats support high-resolution data and CMYK color profiles, ensuring that your colors remain accurate when transferred from your tablet to paper.
If you are moving your work to desktop software like Adobe Photoshop, the PSD format is your best choice. It preserves your layer structure, blending modes, and masks, allowing you to continue editing your work seamlessly on a computer. Always verify that your desktop software is up to date to ensure full compatibility with the exported files. By selecting the format that matches your final destination, you ensure your artwork looks exactly as intended, whether it is viewed on a smartphone screen or printed on a large canvas.
Key facts
- Tap the "Actions" icon (a wrench symbol) in the top-left corner to access the Share menu.
- Choose "Share" to export your artwork in various formats including Procreate, PSD, PDF, JPEG, PNG, or TIFF.
- Select "Procreate" format to preserve all layers, masks, and blending modes for future editing.
- Use "PNG" format if you need to maintain a transparent background for your artwork.
- Export time-lapse videos via the "Video" tab in the Actions menu to showcase your creative process.
- Avoid exporting directly to cloud storage apps if the file size is massive, as this can sometimes cause the app to crash.
The bottom line
Exporting from Procreate is a straightforward process managed entirely through the Actions menu. By selecting the correct file format, you ensure your artwork maintains the necessary quality and compatibility for your specific needs, whether for digital printing or social media sharing. Always verify your canvas settings and layer visibility before finalizing your export to avoid common issues like low resolution or unwanted background colors in your files.
People also ask
How do I export a file with a transparent background?
To keep transparency, ensure you uncheck the "Background Color" layer in your layer panel before exporting. Then, select PNG as your file format to save the image without an opaque background.
Can I export my Procreate files to Photoshop?
Yes, select the PSD format from the Share menu. This conversion retains your layer structure, allowing you to continue working on the file within Adobe Photoshop on a desktop.
Why does my exported image look blurry?
Blurriness often results from exporting at a low resolution or small canvas size. Always check your canvas dimensions in the Canvas Information menu before you begin your project to ensure it meets your print or display requirements.
Is there a way to export multiple files at once?
You can export multiple artworks by going to the Gallery, tapping "Select," and choosing the files you want to share. Once selected, tap "Share" to export them as a batch.
How do I export a video of my painting process?
Go to the Actions menu, tap "Video," and select "Export Time-lapse video." You can choose between a full-length version or a 30-second shortened clip for social media.
What is the difference between exporting as a JPEG and a PNG?
JPEG is a compressed format that is ideal for web sharing but does not support transparency. PNG is a lossless format that supports transparency, making it better for professional design work and overlays.
This answer was created with the help of AI research tools and reference sources. Spotted an error? Let us know — we correct mistakes quickly. See our editorial policy.