How do you draw glowing effects?
Short answer
Drawing glowing effects involves layering light intensities to simulate luminosity. You achieve this by placing a bright, saturated core color against a darker background, followed by a soft, semi-transparent halo of a similar hue. The key is managing contrast, as light appears brightest when surrounded by deep shadows and muted tones.
On this page
How to create a glow effect in digital art
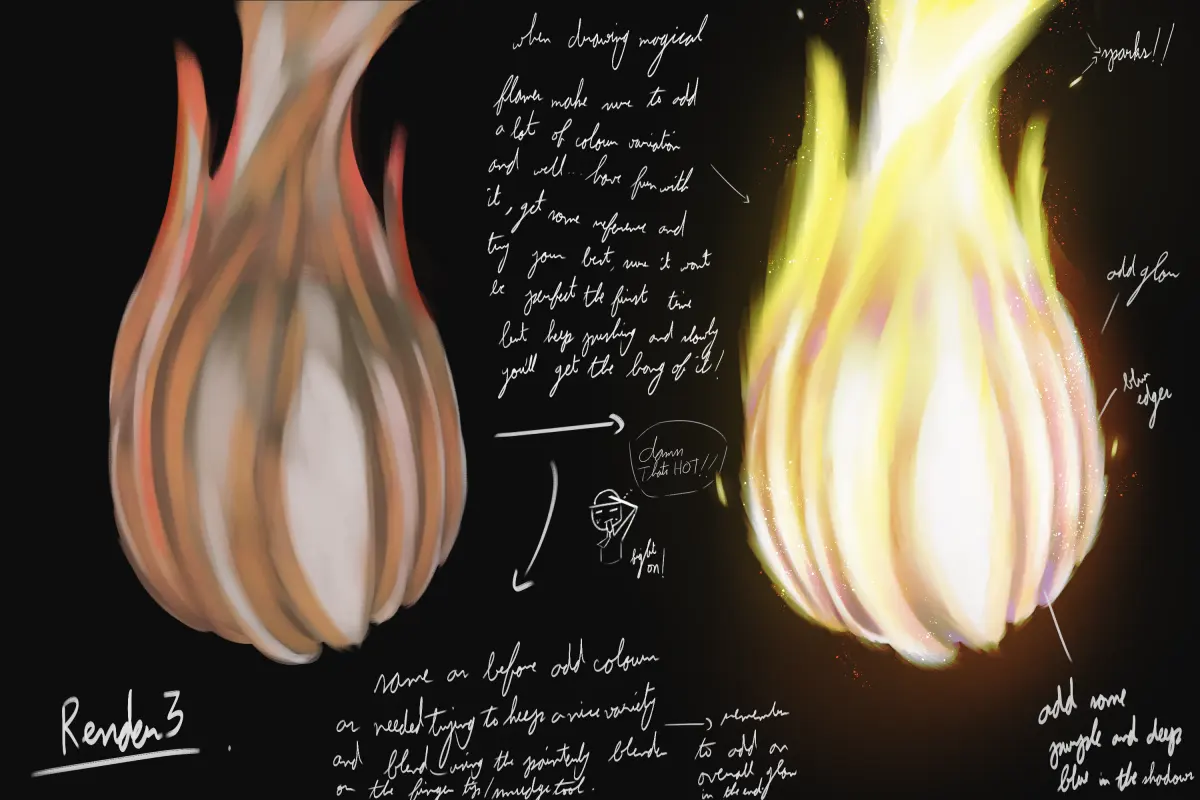
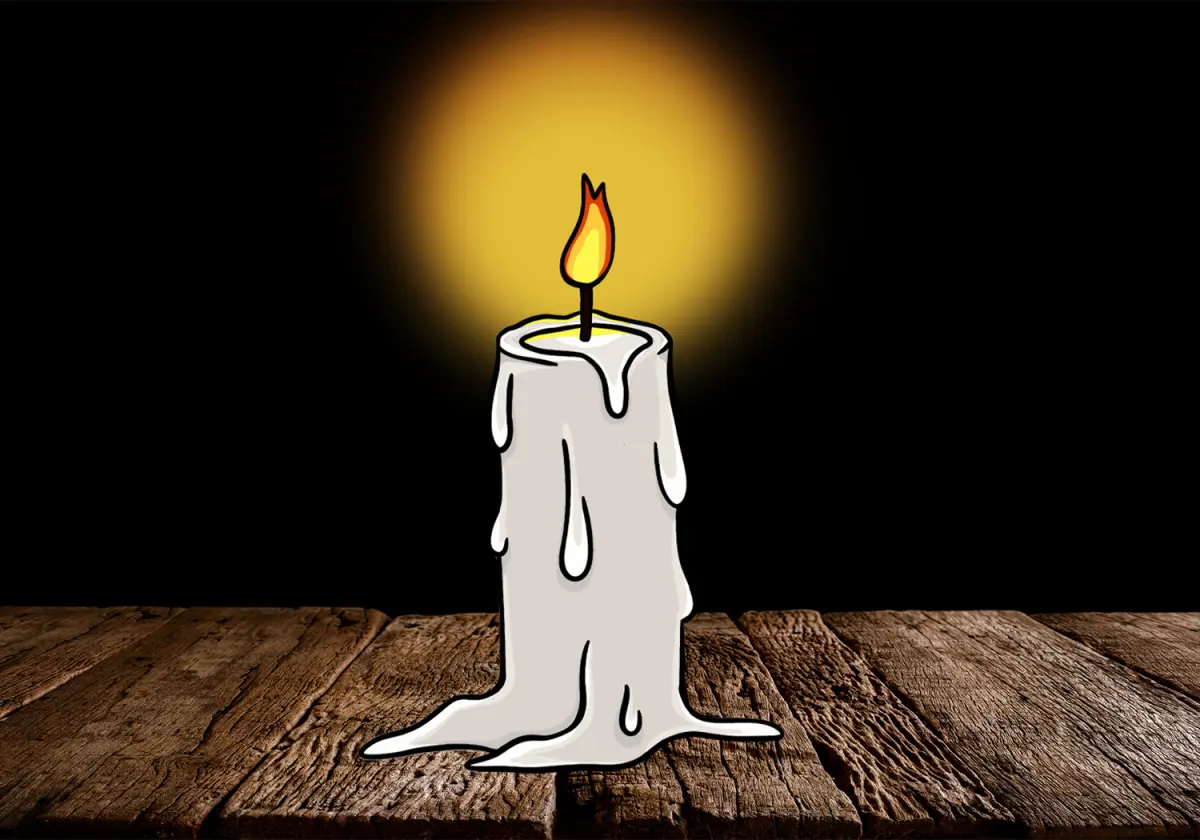
Creating a convincing glow relies on the principle of light falloff, where the intensity of light diminishes as it moves away from the source. In digital software, you typically use multiple layers with specific blending modes to build this depth. Start with a solid, high-saturation color for the core, then create a new layer set to "Add" or "Screen" mode to paint the surrounding aura. Using a soft-edged brush with low opacity allows you to build the halo gradually.
To achieve the best results, follow these technical steps:
- Define the light source with a pure white or near-white color on a standard layer.
- Create a new layer beneath the light source and use a large, soft brush to add a wide, dim glow using the source's primary color.
- Apply a Gaussian blur to the glow layers to soften the transitions between the light and the background.
- Adjust the layer opacity to ensure the glow does not wash out the surrounding details.
Why glow effects look realistic
Real-world light behaves according to the inverse-square law, which dictates that light intensity decreases rapidly over distance. When you draw, you mimic this by using a gradient that transitions from a bright, sharp center to a wide, blurred edge. The human eye perceives light as "glowing" when it contrasts sharply with its environment. If the background is too bright, the glow effect will vanish because the contrast ratio is insufficient to trick the brain into seeing luminosity.
To enhance the realism of your light, consider the following environmental factors:
- The color of the glow should bleed into nearby objects, a phenomenon known as color bleeding.
- Reflections on surfaces near the light source help ground the effect in the scene.
- Atmospheric particles like dust or fog can catch the light, creating visible beams or volumetric rays.
- High-contrast edges make the light source appear more intense and focused.
Best tools for drawing glowing effects
Most professional illustrators use software that supports layer blending modes and adjustment filters. Programs like Adobe Photoshop, Procreate, or Clip Studio Paint offer specific tools like "Glow" brushes or "Bloom" filters that automate the process. However, manual layering remains the most effective method for controlling the specific shape and intensity of the light. A pressure-sensitive stylus is essential for building up the layers of light, as it allows you to control the opacity and flow of the brush strokes with precision.
When selecting your tools, keep these features in mind:
- Layer blending modes: Essential for combining light colors without turning them muddy.
- Gaussian blur filters: Necessary for creating the soft, diffused edges of a halo.
- Color balance adjustments: Used to tint the glow to match the mood of the scene.
- Masking tools: Helpful for refining the glow so it does not spill over unwanted areas.
Common mistakes when drawing glowing effects
The most frequent error is neglecting the core of the light source. Beginners often paint a soft, blurry cloud of color and expect it to look like a light bulb or a flame. Without a sharp, high-intensity center, the effect looks like a smudge rather than a source of illumination. Another mistake is using pure white for the entire glow; while the core should be white, the outer edges should retain the hue of the light source to provide color depth.
Avoid these common pitfalls to improve your work:
- Using a single layer for the entire glow, which prevents you from adjusting the core and the halo independently.
- Over-saturating the colors, which can make the light look neon or artificial rather than natural.
- Ignoring the background colors, which should be darkened to make the light pop.
- Forgetting to add reflected light on surfaces that the glow is supposed to hit.
How to add finishing touches to light
Once the basic glow is established, you can add final details to make the scene feel dynamic. Adding "bloom" or "lens flare" effects can simulate the way a camera lens captures bright light. You can also add small, bright particles or sparks around the light source to give it a sense of energy and movement. These details should be placed on a separate layer at the very end of your workflow so you can easily adjust their intensity or color without affecting the base glow.
Refining your light effects involves these final adjustments:
- Apply a subtle "Color Dodge" layer to add a final punch of brightness to the very center of the glow.
- Use a "Curves" or "Levels" adjustment layer to increase the contrast of the entire image.
- Add a slight chromatic aberration effect to the edges of the light to mimic high-end photographic lenses.
- Review the composition to ensure the light source remains the focal point of the viewer's attention.
Key facts
- Light sources should always be the brightest point in your composition, typically using pure white or near-white values.
- The "glow" is created by a soft-edged halo of color surrounding the light source, often referred to as a bloom effect.
- Use a desaturated, lighter color for the core of the light and a more saturated, darker hue for the outer halo.
- Layering is essential: place the brightest core on a top layer and the blurred glow on a layer beneath it.
- Increase the brush size and lower the opacity to create a smooth, feathered transition for the outer light spill.
- Add "light bloom" or "glare" by painting small, sharp streaks or starburst shapes over the brightest areas.
The bottom line
Creating a convincing glow requires a balance between a sharp, high-intensity core and a soft, diffused halo. By layering a bright white center over a wider, desaturated glow, you mimic the physics of light dispersion. Use blending modes like Linear Dodge to enhance brightness, and always ensure the surrounding environment reflects the light's color to ground the effect within your composition's overall lighting scheme.
People also ask
Why does my glow effect look muddy instead of bright?
You are likely using colors that are too dark or too saturated in the center of the glow. Ensure the core of the light is very close to white to simulate high intensity.
Should I use a hard or soft brush for glowing objects?
Use a hard brush for the light source itself and a very soft, low-opacity brush for the surrounding glow. Combining these creates the illusion of a sharp focal point with a soft light spill.
How do I make a glow look like it is reflecting on surfaces?
Paint a faint, soft-edged color wash on the surfaces near the light source. Match the color of the wash to the color of your light to maintain consistency.
What is the best blending mode for adding glow?
The "Add" or "Linear Dodge" blending modes are standard for light effects. These modes brighten the underlying colors, mimicking how real light interacts with surfaces.
Can I add glow to a dark scene without washing out the details?
Keep the glow localized to the light source and its immediate surroundings. Use a mask to ensure the glow does not bleed into areas that should remain in deep shadow.
Why do my glowing edges look pixelated?
This usually happens when the glow layer is too small or the resolution is too low. Work on a larger canvas and use Gaussian blur filters to soften the edges of your light shapes.
This answer was created with the help of AI research tools and reference sources. Spotted an error? Let us know — we correct mistakes quickly. See our editorial policy.