How do you draw animals in motion?
Short answer
Drawing animals in motion requires capturing the core rhythm and weight of the creature rather than focusing on static details. By utilizing gesture drawing to map the line of action and understanding skeletal mechanics, you can translate kinetic energy onto paper. Consistent practice with observation and simplified shapes ensures dynamic, believable results.
On this page
How to capture the line of action
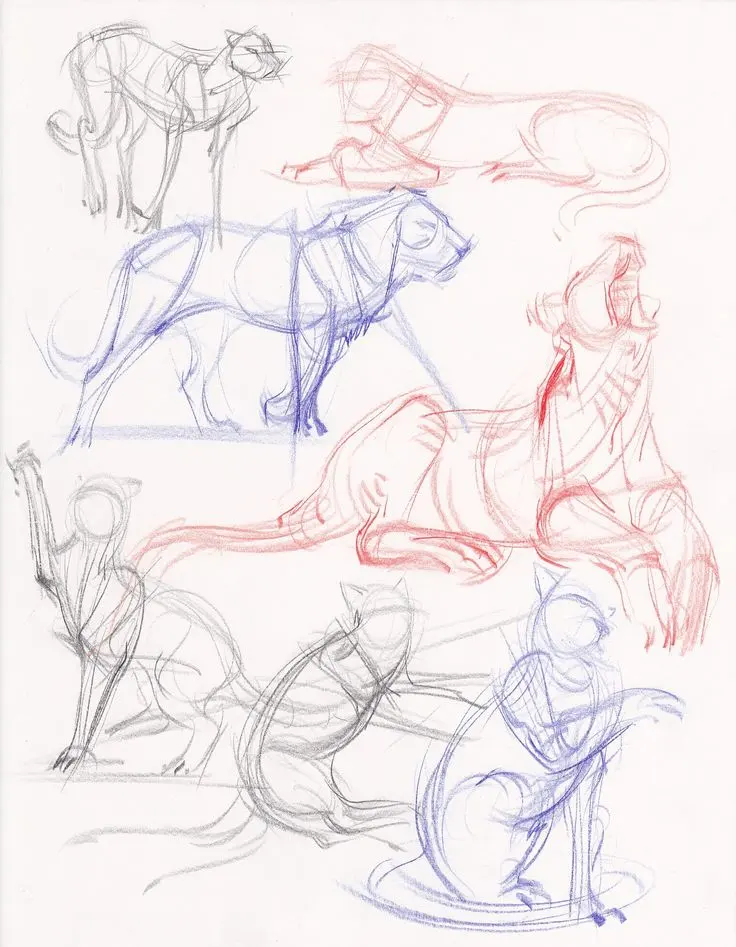
The line of action is the imaginary curve that runs through an animal's spine, dictating the flow and energy of the pose. To draw movement, you must first identify this primary arc before adding any limbs or features. If the line of action is stiff or straight, the drawing will appear stagnant regardless of how much detail you include. Think of the spine as a whip or a spring that stores and releases energy.
When observing an animal, look for the longest, most continuous curve from the head to the tail. Even in complex movements like a leaping cat or a galloping horse, this single line defines the intent of the motion. By establishing this curve early in your sketch, you ensure that the entire body follows a unified direction. This technique prevents the anatomy from looking disconnected or disjointed.
- Observe the animal's silhouette for three seconds.
- Draw a single, sweeping line representing the spine's curve.
- Add the head and hips as simple geometric anchors on this line.
- Sketch the limbs using light, gestural strokes that follow the momentum.
Why anatomy affects perceived movement
Understanding basic skeletal structure is essential for drawing believable movement. Animals share similar bone structures, but their joints move in specific, limited ways that define their gait. For example, a dog’s "knee" on its hind leg is actually the hock, which functions more like a human ankle. If you place joints incorrectly, the animal will look broken or unnatural to the viewer.
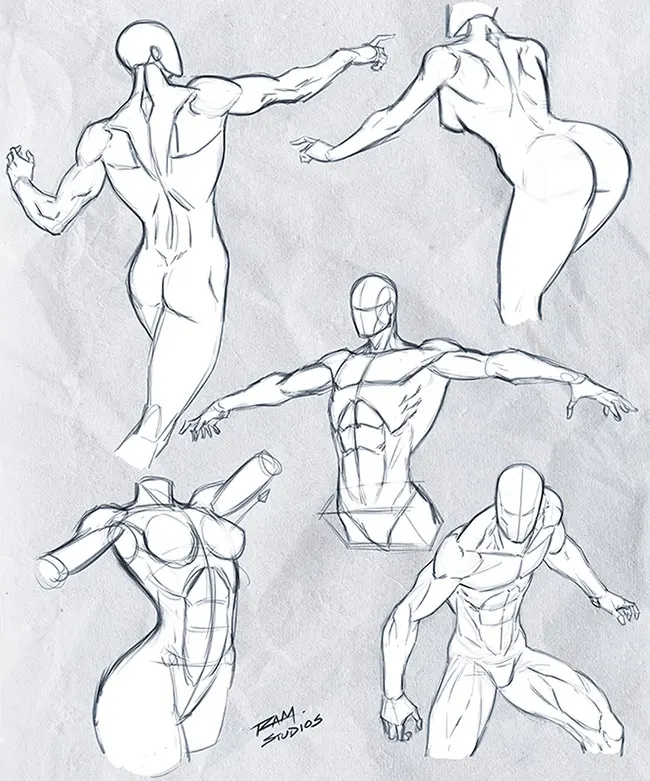
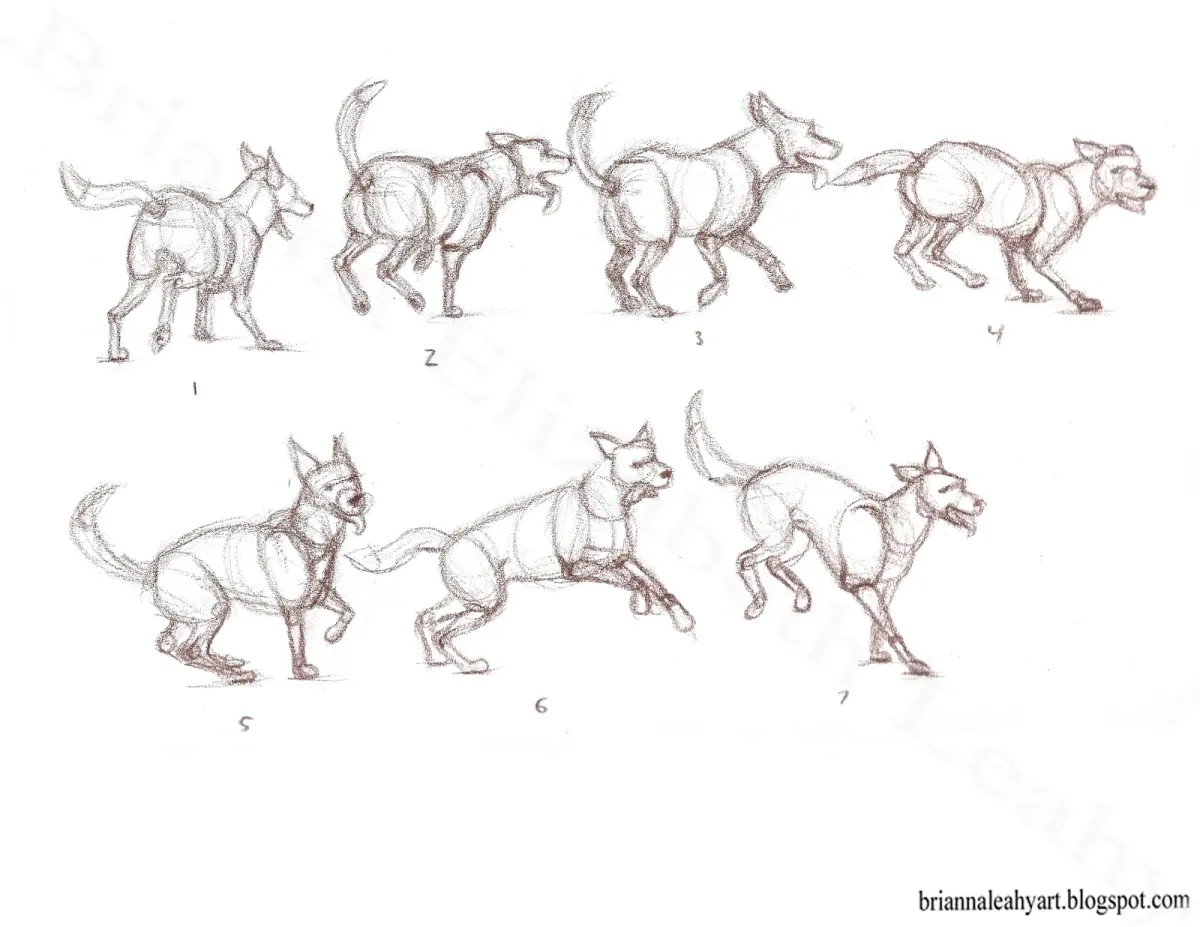
Focus on the major masses of the body: the rib cage and the pelvis. These two structures act as the heavy containers for the internal organs and dictate how the rest of the body pivots. When an animal moves, these two masses rarely stay perfectly aligned. By tilting or twisting these shapes in relation to one another, you create a sense of weight shifting, which is the hallmark of dynamic animation and illustration.
- Rib cage: Usually the largest mass, acting as the anchor for the front legs.
- Pelvis: The secondary mass, controlling the power and direction of the hind legs.
- Neck and tail: Used as counterweights to balance the body during high-speed maneuvers.
Best exercises for beginners
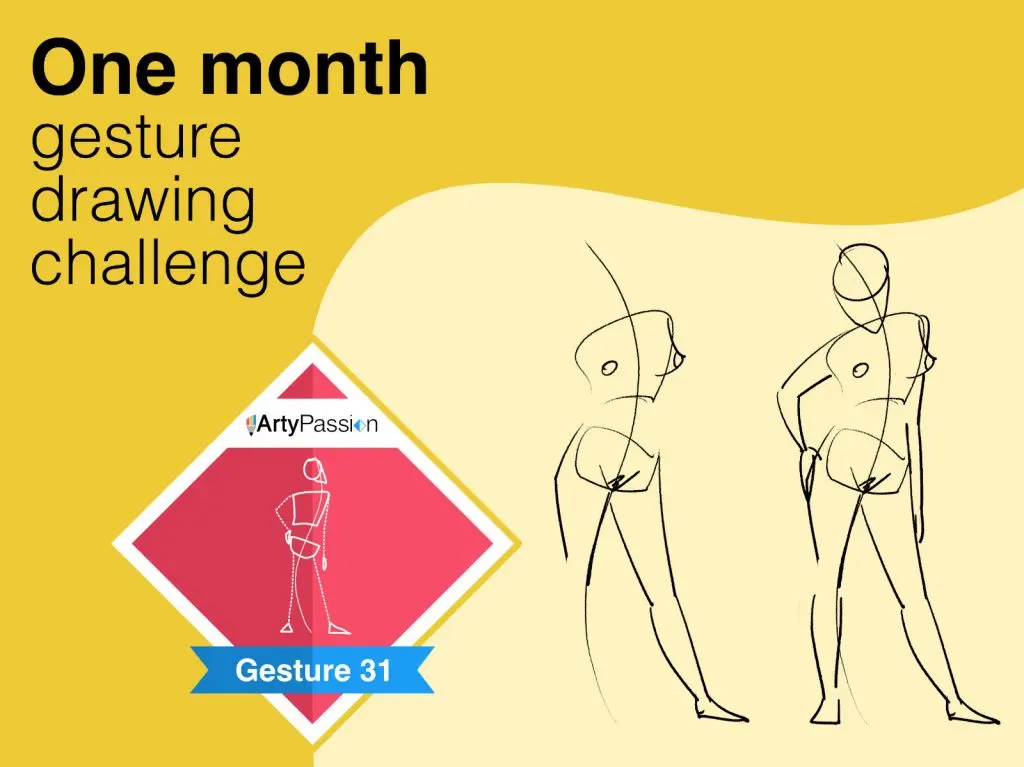
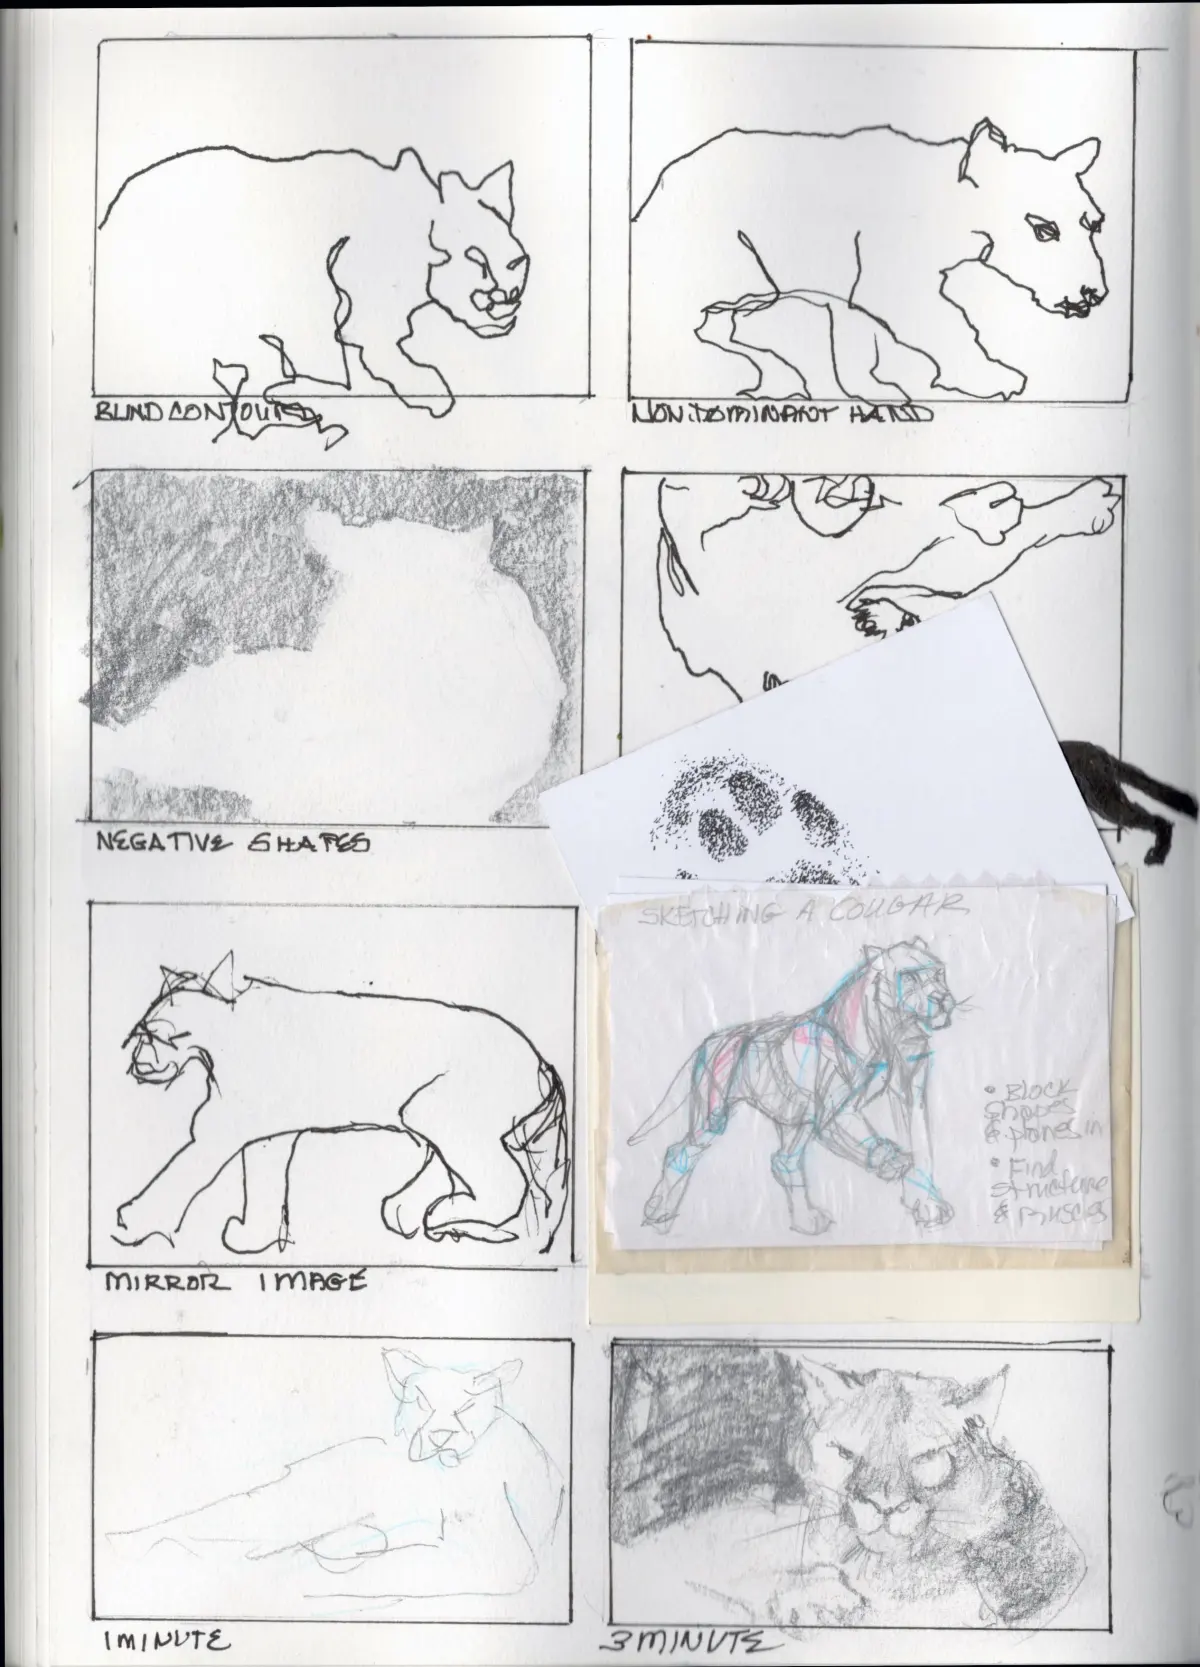
Gesture drawing is the most effective practice for improving your speed and observational skills. Set a timer for 30 to 60 seconds and attempt to capture the essence of a moving animal before the time expires. The goal is not to produce a finished drawing but to record the "rhythm" of the pose. This forces your brain to prioritize the most important aspects of the movement over trivial details.
You should also practice drawing from reference videos rather than static photographs. Videos allow you to see the transition between poses, helping you understand how muscles contract and stretch during a stride. Try to pause the video at the "peak" of an action, such as the moment a cheetah’s paws leave the ground. By repeatedly sketching these peak moments, you build a mental library of how different species distribute their weight while in motion.
Common mistakes when drawing animals
One of the most frequent errors is focusing on fur and texture before the underlying structure is correct. Beginners often get distracted by drawing individual hairs, which hides the form and kills the sense of motion. Always prioritize the silhouette and the volume of the limbs. If the silhouette does not clearly convey the action, no amount of shading or fur detail will fix the drawing.
Another common mistake is drawing limbs that are too long or too short for the torso. Use the head as a unit of measurement to check your proportions quickly. For instance, many quadrupeds have a body length that is roughly three to four times the length of their head. If you ignore these proportions, the animal will look like a caricature rather than a living, biological entity. Always check your work by flipping your canvas or looking at it in a mirror to spot errors.
How to add weight and momentum
Weight is communicated through the placement of feet and the compression of muscles. When an animal lands from a jump, the muscles on the landing side should appear compressed or "bunched up," while the muscles on the opposite side are stretched thin. This contrast between tension and relaxation is what makes a drawing feel alive. Use darker, heavier lines to indicate areas where weight is concentrated, such as the pads of the feet or the base of the neck.
Momentum is best shown through overlapping shapes and trailing elements. If an animal is running, the ears, tail, and loose skin should appear to lag slightly behind the main body mass. This "follow-through" effect suggests that the body is moving faster than the extremities. By incorporating these subtle physical reactions into your sketches, you transform a static image into a scene that feels like it is currently unfolding in time.
Key facts
- Focus on the "line of action," an imaginary curve that follows the animal's spine to establish the flow of movement.
- Use "gesture drawing" to capture the essence of a pose in under 60 seconds rather than focusing on anatomical details.
- Study the "contact point" of limbs, as the placement of feet relative to the center of gravity dictates weight and balance.
- Break down complex bodies into simple 3D shapes like spheres, cylinders, and boxes to understand how they rotate in space.
- Observe the "silhouette" of your sketch; if the movement is clear in a solid black outline, your pose is successful.
- Use reference footage to identify "anticipation," the slight wind-up movement an animal makes before performing a major action.
The bottom line
Capturing animals in motion requires prioritizing gesture and rhythm over minute anatomical details. By establishing a strong line of action and using simple geometric volumes, you can effectively communicate weight, balance, and speed. Remember that movement is defined by the relationship between limbs and the center of gravity. Regular practice with quick, timed sketches will sharpen your ability to translate dynamic energy onto the page.
People also ask
How do I make an animal look like it is running rather than falling?
Ensure the animal's center of gravity is positioned over its supporting limbs. If the weight is too far forward or backward without a counterbalancing limb, the animal will appear to be losing its balance.
What is the most common mistake when drawing animal legs?
Beginners often treat joints like human knees, but animal anatomy varies significantly. Always identify the hock and fetlock, as these joints move in specific directions that define the animal's unique gait.
Should I focus on fur or muscle structure first?
Always prioritize muscle structure and skeletal alignment before adding fur. Fur should be treated as a secondary texture that follows the underlying volume of the muscles.
How can I convey speed in a static drawing?
Use "stretch and squash" principles to exaggerate the animal's form. An animal in a full sprint often elongates its body, while the impact of landing causes the body to compress.
Why do my drawings look stiff?
Stiffness usually results from drawing parallel lines or perfectly symmetrical poses. Introduce curves and asymmetrical limb positions to create a sense of organic, fluid motion.
How do I study animal movement effectively?
Watch slow-motion videos of animals in nature to observe how their joints flex during different gaits like walking, trotting, or galloping. Pause the video at key frames to sketch the skeletal alignment.
This answer was created with the help of AI research tools and reference sources. Spotted an error? Let us know — we correct mistakes quickly. See our editorial policy.