How do you draw an island?
Short answer
Drawing an island involves sketching an irregular, organic shoreline surrounded by water. Begin by establishing a base shape, then add topographical features like mountains or beaches to create depth. Use light and shadow to define the landmass, ensuring the water’s edge remains distinct to help the island stand out from the sea.
On this page
How to sketch the basic shape of an island
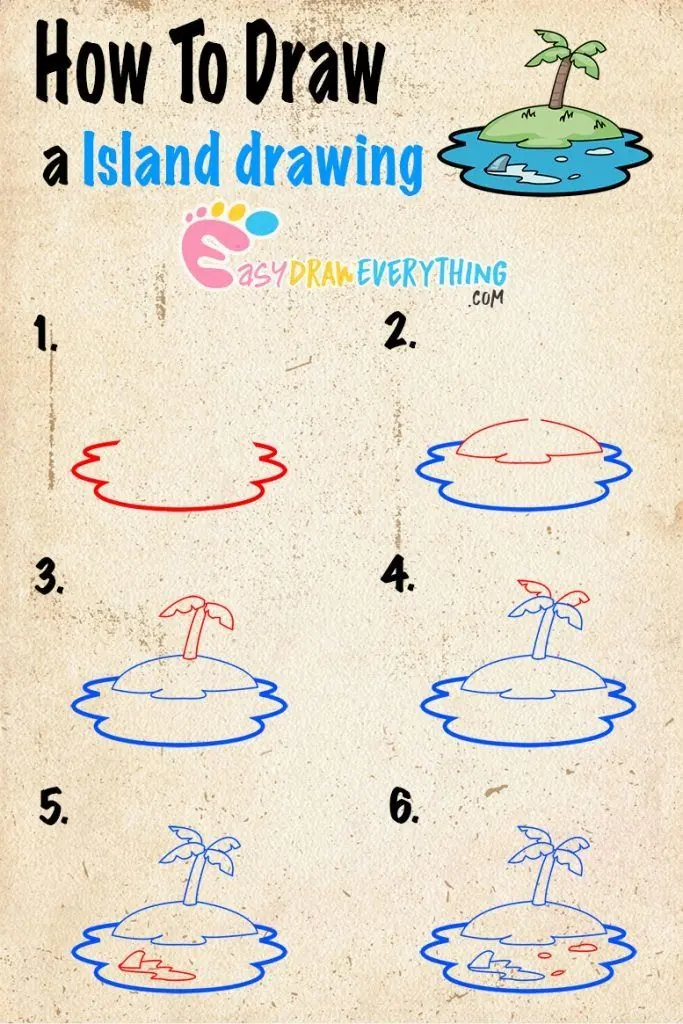
The foundation of a convincing island drawing lies in avoiding perfect geometric shapes. Circles and ovals look artificial, so aim for jagged, asymmetrical outlines that mimic natural erosion. Start by lightly sketching a "blob" with varying protrusions and indentations to represent bays, peninsulas, and rocky points. Imagine how tectonic activity or volcanic pressure would push land upward, creating an uneven silhouette that feels grounded in reality.
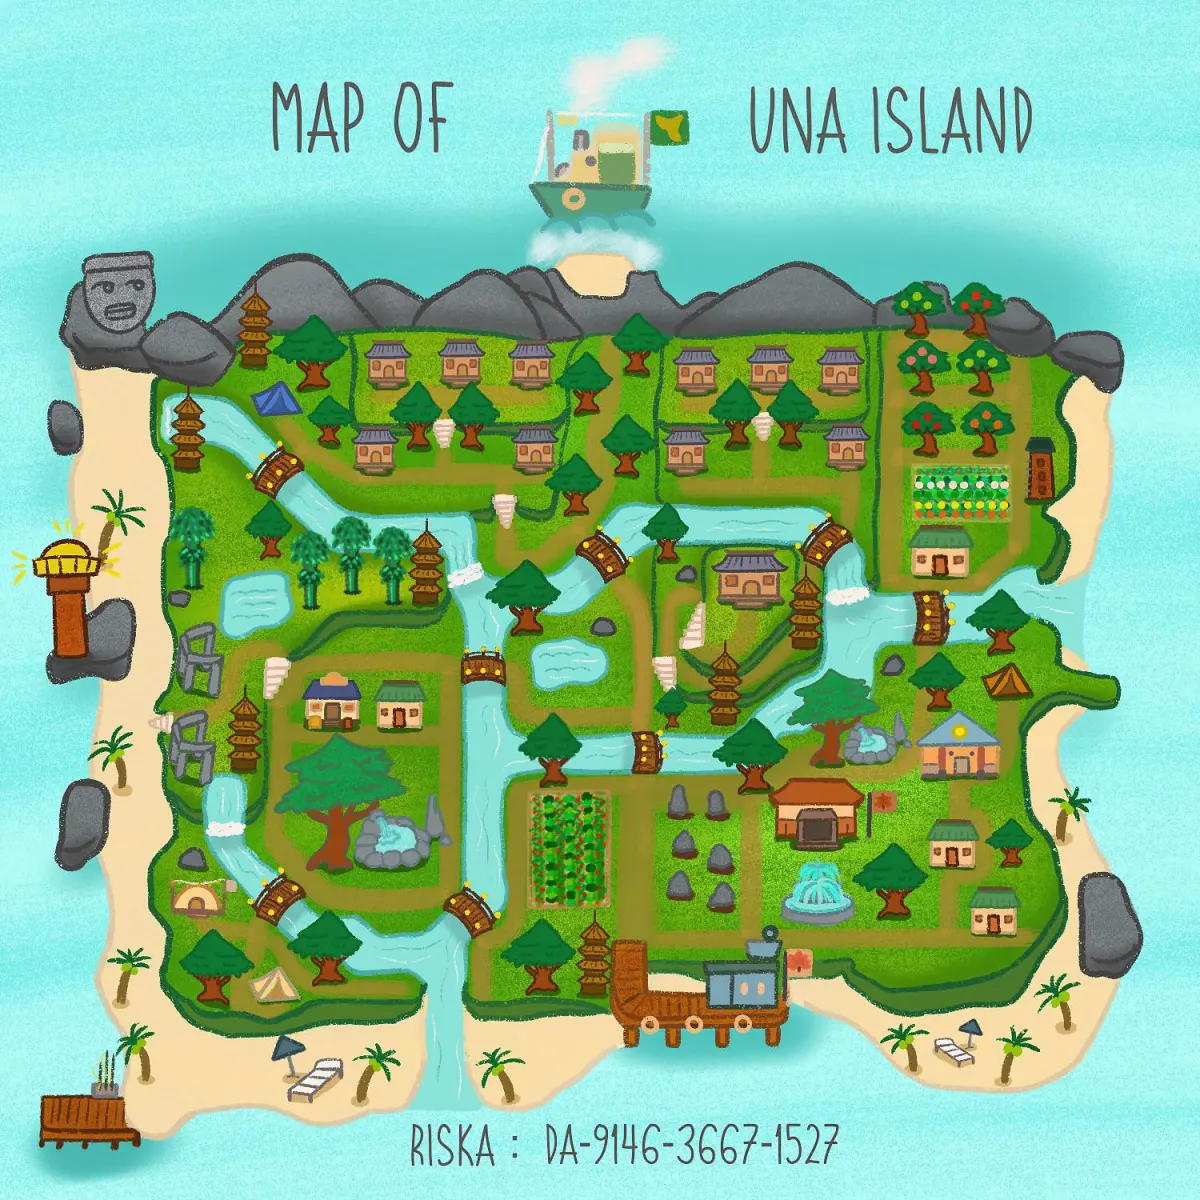
When refining your outline, consider the geological context of your island. A tropical atoll is typically circular or crescent-shaped with a central lagoon, while a volcanic island often features steep, jagged edges and a prominent central peak. Use these steps to build your initial structure:
- Draw a light, irregular perimeter line using a soft graphite pencil.
- Add small "nicks" or sharp angles to the shoreline to represent cliffs or rocky outcrops.
- Keep your lines loose and fluid, as nature rarely produces perfectly straight edges.
- Erase any overly symmetrical sections to ensure the final shape looks organic and unpredictable.
Best drawing techniques for island topography
Once the coastline is established, you must give the island three-dimensional form. Focus on elevation by drawing contour lines that follow the shape of the terrain, moving from the shoreline toward the highest point. If you are drawing a mountainous island, use triangular shapes that vary in height and width, placing the largest peaks toward the center. This creates a natural focal point and adds visual interest to the landscape.
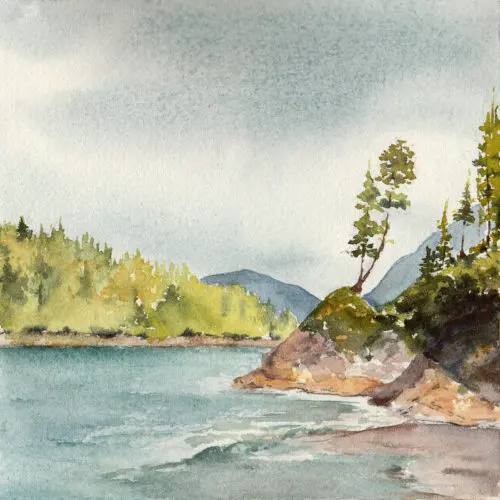
To enhance the sense of depth, apply shading based on a consistent light source. If the sun is positioned to the upper right, the left side of your mountains and the southern edges of the island should feature darker, denser hatching. Remember that land features near the water often transition into sandy beaches or flat plains. Use these techniques to define the interior:
- Use cross-hatching to create deep shadows in valleys and crevices.
- Apply lighter, stippling marks to represent sandy beaches or sparse vegetation.
- Vary the pressure of your pencil to suggest changing elevations across the terrain.
- Leave white space near the shoreline to suggest the reflective quality of shallow water.
How to draw water and waves around an island
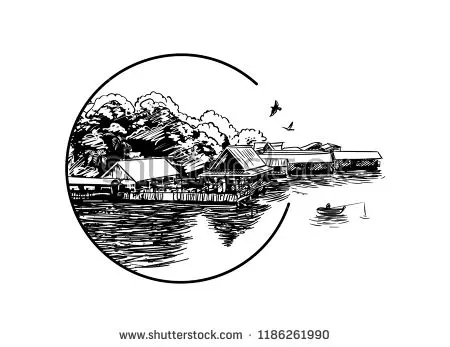
The water surrounding your island acts as a frame, so it must look distinct from the land. Use horizontal, sweeping strokes to represent the ocean surface, keeping the lines parallel to the horizon. Near the shoreline, transition to shorter, curved lines to indicate the gentle breaking of waves against the rocks or sand. This contrast between the static land and the dynamic water creates a sense of movement and scale.
Avoid drawing a solid dark line around the entire island, as this can make the land look like a sticker pasted onto the page. Instead, use subtle gradients where the water meets the shore, making the color slightly darker at the very edge to suggest depth. You can also add small circles or dashes near the coast to represent foam or spray. By varying the density of your water lines, you can imply different depths, with darker, more concentrated lines indicating deeper, offshore waters.
Common mistakes when drawing an island
A frequent error is creating an island that appears to be floating on the page rather than sitting in the water. This usually happens when the artist fails to connect the land to the environment through shadows or consistent lighting. Ensure that the shadow of the island is reflected in the water, or at least that the water lines interact with the shoreline. Without this integration, the island will lack weight and presence.
Another common mistake is over-detailing the entire surface, which can lead to visual clutter. Focus your detail on the shoreline and the peaks, leaving the mid-sections relatively simple to allow the eye to rest. Be careful with the scale of vegetation; if you draw trees or forests, ensure they look like textures rather than individual, oversized objects. Keep the following pitfalls in mind:
- Avoid perfectly straight lines, which rarely occur in nature.
- Do not neglect the horizon line, as it helps provide a sense of scale.
- Prevent "floating" effects by grounding the island with consistent shadow placement.
- Refrain from making the island perfectly symmetrical, as organic forms are inherently chaotic.
How to add realistic details to your island
Final touches bring your drawing to life and provide context for the viewer. Consider adding small islets or reefs off the main coast to break up the monotony of the surrounding water. You might also include signs of life, such as small clusters of palm trees or rocky debris at the base of cliffs. These details should be subtle, serving to enhance the overall composition rather than distracting from the primary landmass.
When finalizing your work, use an eraser to clean up stray pencil marks and sharpen the contrast between the land and the sea. If you are using ink, apply thin, delicate lines for the shoreline and thicker, bolder strokes for the deepest shadows in the mountains. This variation in line weight adds professional polish and makes the drawing pop. By balancing the simple, broad shapes of the island with these fine, intricate details, you create a compelling image that feels both expansive and authentic.
Key facts
- Islands are landmasses surrounded by water, meaning their edges should be irregular, jagged, or curved rather than perfectly geometric.
- Use a "fractal" approach by drawing small inlets and bays to simulate the natural erosion caused by waves and tides.
- Apply a darker, thicker line weight along the coastline to distinguish the land from the surrounding water.
- Add topographic features like mountains or hills in the center to create a sense of elevation and depth.
- Include a "beach" zone by drawing a thinner, lighter line parallel to the shore to represent the transition from sand to sea.
- Avoid perfectly symmetrical shapes, as natural geological processes rarely produce uniform, balanced landforms.
The bottom line
Drawing an island requires balancing organic, irregular shapes with consistent environmental details. By focusing on jagged coastlines, varied elevation, and natural textures like forests or beaches, you can create a believable landmass. Remember that nature rarely follows perfect patterns; the more chaotic and varied your lines appear, the more realistic your final drawing will look. Practice observing real-world maps to understand how land interacts with water.
People also ask
How do I make an island look realistic from a top-down perspective?
Focus on creating an irregular, organic outline rather than a smooth circle or oval. Add small offshore rocks or sandbars to break up the monotony of the surrounding water.
What is the best way to represent water around an island?
Use light, concentric lines following the contour of the coast to suggest ripples or waves. Keep these lines spaced further apart as they move away from the shore to indicate depth.
How do I draw vegetation on a small island?
Use clusters of small dots or tiny "v" shapes to represent forest cover or palm trees. Distribute these clusters unevenly, leaving clearings for beaches or rocky outcrops.
Should I draw rivers on my island?
Rivers typically flow from high ground toward the coast, often ending in a delta or estuary. Ensure your river path follows the natural slope of the terrain you have sketched.
What tools are best for sketching islands?
Fine-liner pens are excellent for capturing intricate coastlines and detailed textures. Graphite pencils allow for easy shading to denote elevation and shadows cast by mountains.
How can I show that an island is mountainous?
Use contour lines or cross-hatching to indicate steep slopes and peaks. Placing shadows on one side of the mountain range creates a three-dimensional effect.
This answer was created with the help of AI research tools and reference sources. Spotted an error? Let us know — we correct mistakes quickly. See our editorial policy.