How do you draw a hedgehog?
Short answer
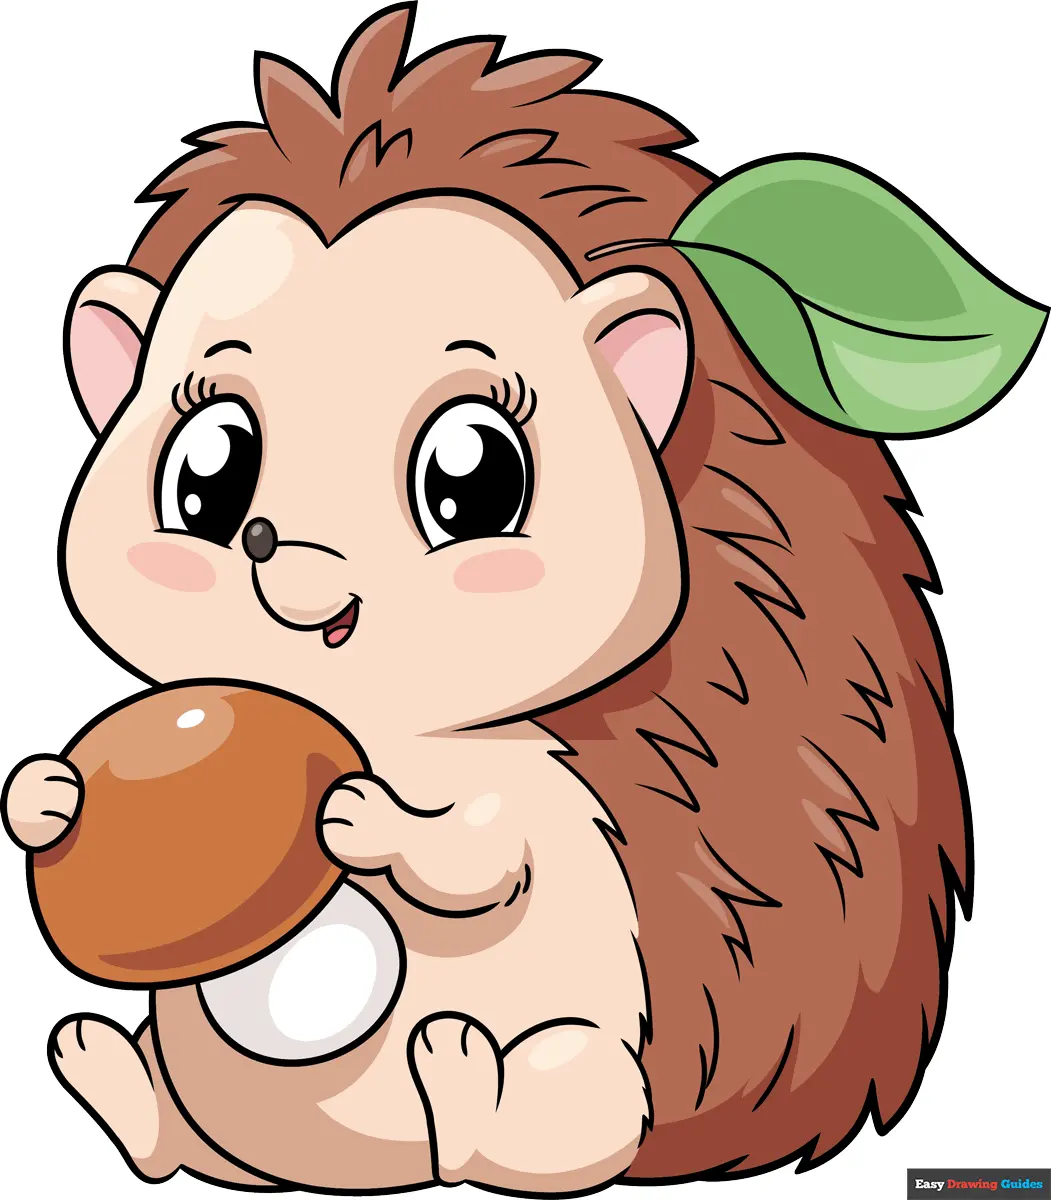
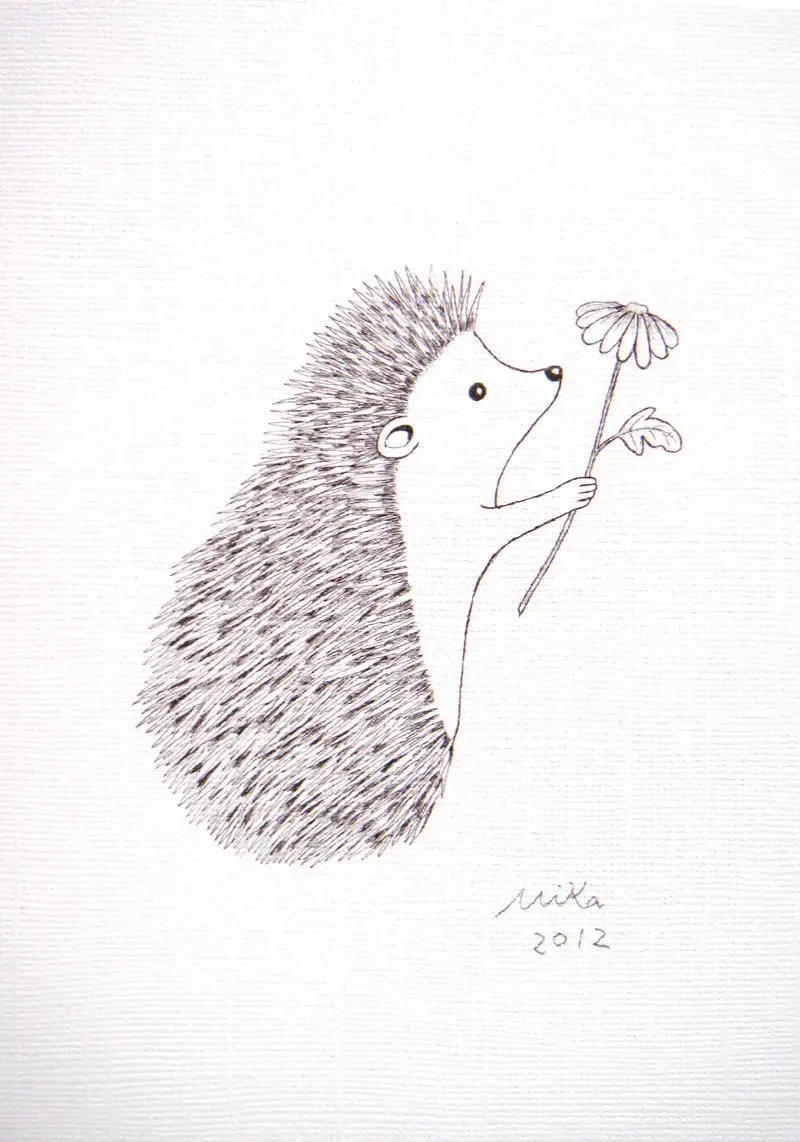
Drawing a hedgehog involves creating a rounded, teardrop-shaped body and layering sharp, V-shaped quills over the back. Start with a simple oval for the torso, add a pointed snout, and define the face. Focus on the texture of the spines by using repetitive, overlapping strokes to create depth and realistic volume.
On this page
How to draw a hedgehog body shape
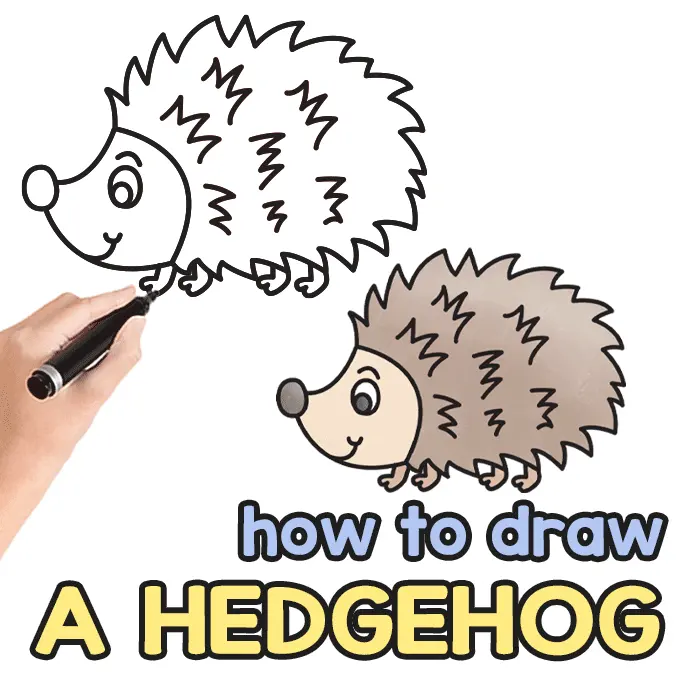
The foundation of a realistic hedgehog drawing is its distinct, teardrop-like silhouette. Begin by sketching a large, horizontal oval that tapers slightly toward one end to represent the snout. This basic geometry provides the necessary volume for the creature's rounded back, which is its most iconic feature when curled or walking. Keep your initial pencil lines light so they can be easily erased or covered by the texture of the spines later.
Once the primary shape is established, add a small, circular nose at the tip of the snout and a tiny, dark eye positioned slightly above the center of the face. A hedgehog’s legs are short and stout, usually tucked beneath the body. Draw four small, rounded shapes at the base of the oval to represent the feet, ensuring they appear sturdy enough to support the weight of the quilled back.
- Sketch a horizontal oval that is wider at the rear.
- Add a cone shape at the front for the snout.
- Draw four small, rectangular shapes at the bottom for feet.
- Refine the snout by adding a small circular nose.
Best drawing techniques for hedgehog quills
The most challenging part of drawing a hedgehog is capturing the dense, sharp texture of its quills. Instead of drawing individual spines as straight lines, use short, jagged, V-shaped strokes that overlap one another. This technique creates a sense of chaos and natural density, which is far more realistic than perfectly uniform lines. Vary the length and angle of these strokes to mimic the way quills layer over the animal’s back.
To add depth, focus on the contrast between the quills and the underbelly. The quills should be darker and more concentrated toward the center of the back, while the fur on the face and belly should remain soft and light. Use cross-hatching or stippling in the areas where the spines meet the body to create a smooth transition. This layering approach ensures the hedgehog appears three-dimensional rather than flat.
- Use a sharp HB pencil for the initial outline.
- Apply pressure variations to create light and shadow.
- Layer short, V-shaped marks to build density.
- Leave small gaps between clusters to show individual quill movement.
How to add realistic facial details
A hedgehog’s face is characterized by its pointed snout and sensitive whiskers. After establishing the head shape, refine the snout by adding a small, dark nose and a subtle curve for the mouth. The eyes should be small, round, and dark, placed near the base of the quills. Adding a tiny highlight to the eye will make the drawing feel more alive and attentive.
The ears are small and rounded, often hidden partially beneath the front of the quill line. Draw them as small, delicate semi-circles peeking out from the fur. Whiskers are essential for the final touch; use long, light, sweeping strokes extending from the snout area. These should be drawn with a very sharp pencil to maintain a thin, hair-like appearance that contrasts with the thicker, coarser quills on the back.
Common mistakes when drawing hedgehogs
One frequent error is drawing the quills as uniform, parallel lines. This makes the hedgehog look like a hairbrush or a geometric pattern rather than a living animal. To avoid this, ensure your quill strokes are irregular and overlap at various angles. Nature is rarely perfectly symmetrical, so allow some spines to point in different directions to simulate natural movement and grooming habits.
Another common mistake is neglecting the transition between the spiny back and the soft fur on the belly. Beginners often create a stark, harsh line where the quills stop, which makes the animal look like it is wearing a saddle. Instead, blend the quills into the fur by making the spines smaller and sparser as they move toward the underbelly. This gradient effect is crucial for achieving a professional and anatomically accurate result.
How to shade a hedgehog drawing
Shading is the final step in bringing your hedgehog to life through light and shadow. Identify a light source, such as the upper right corner, and ensure that the quills on the opposite side of the body are darker. Use a softer pencil, such as a 2B or 4B, to deepen the shadows between the clusters of quills. This creates the illusion of depth, making the back look rounded and heavy.
Pay close attention to the cast shadow beneath the hedgehog’s body. A dark, soft shadow on the ground will ground the drawing and prevent it from appearing as if it is floating. Use a blending stump or a piece of tissue to soften the edges of the ground shadow, keeping it darker directly under the feet and lighter as it extends outward. These subtle tonal shifts provide the final polish required for a convincing, high-quality illustration of this unique woodland creature.
Key facts
- Start by sketching a simple oval shape to represent the hedgehog's body.
- Draw a smaller, pointed oval overlapping the front of the body to serve as the snout.
- Use short, repetitive V-shaped strokes to create the texture of spines on the back.
- Keep the legs short and stubby, as real hedgehogs have low centers of gravity.
- Add a small, dark circle for the eye near the base of the snout.
- Avoid drawing spines on the belly or face, as these areas are covered in soft fur.
The bottom line
Drawing a hedgehog is an exercise in balancing simple geometric shapes with textured details. By establishing a solid oval base and focusing on the contrast between the soft, furry underbelly and the sharp, spiky back, you can create a recognizable character. Remember to keep the limbs short and the snout pointed, as these distinct features are essential for capturing the unique charm of this small mammal.
People also ask
How do you make the spines look realistic?
Vary the length and direction of your V-shaped strokes to mimic natural growth patterns. Overlapping the lines creates depth and prevents the hedgehog from looking like a flat drawing.
Should I draw the spines individually or as a mass?
It is more effective to draw the silhouette of the spine-covered area first, then add individual spikes along the edges. This prevents the drawing from looking cluttered or messy.
How do I draw a hedgehog in a ball?
Draw a tight circle and fill the entire outer edge with radiating, sharp spikes. Leave a small gap at the bottom for the feet to poke out, which helps define the shape.
What is the best pencil technique for fur?
Use light, flicking motions with your pencil to create soft, short lines on the face and belly. Press harder at the base of the hair and lift off quickly to create a tapered, natural look.
How do I draw the nose accurately?
The nose should be a small, dark oval at the very tip of the snout. Adding a tiny white highlight inside the black nose helps it appear wet and realistic.
Why do my hedgehog drawings look like porcupines?
Porcupines have much longer, thicker quills compared to the shorter, finer spines of a hedgehog. Keep your spikes shorter and more densely packed to maintain the correct species appearance.
This answer was created with the help of AI research tools and reference sources. Spotted an error? Let us know — we correct mistakes quickly. See our editorial policy.