What is a highlight in drawing?
Short answer
A highlight is the point of highest intensity on a subject where a light source directly strikes a surface. It represents the brightest area in a drawing, often appearing as pure white. By contrasting these brilliant spots against deep shadows, artists create the illusion of three-dimensional volume, texture, and physical form.
On this page
What is the purpose of highlights in drawing?
Highlights serve as the primary visual indicator of light direction and intensity within a composition. When light hits an object, it does not distribute evenly; it creates a range of values known as the chiaroscuro effect. The highlight is the anchor point for this value scale, acting as the brightest reference against which all other tones are measured. Without these bright spots, objects appear flat, dull, and lacking in physical weight.
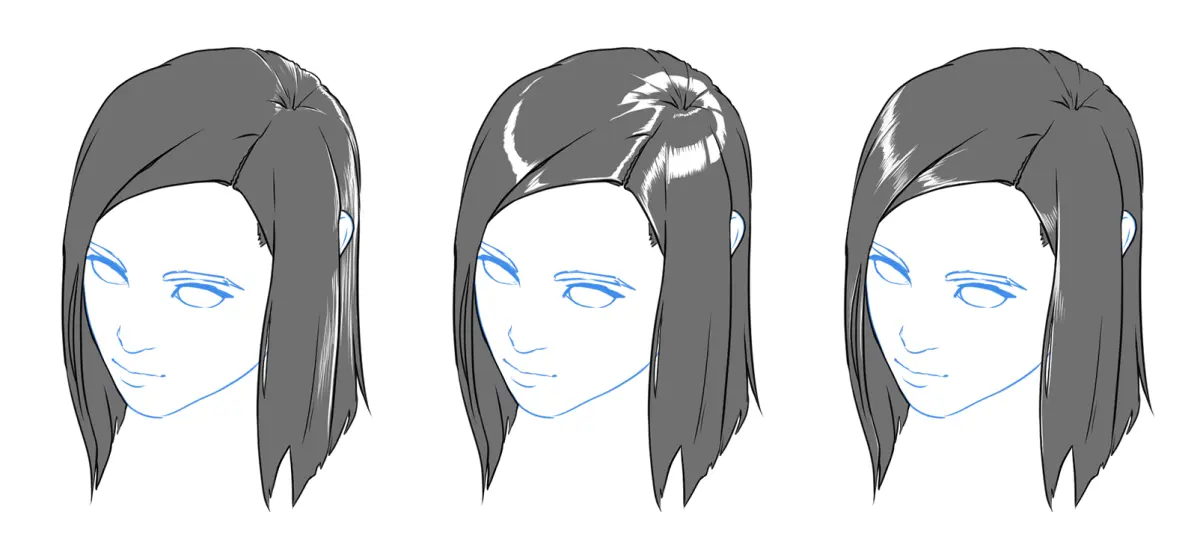
By strategically placing highlights, an artist defines the material properties of an object. For instance, a sharp, crisp highlight suggests a smooth, reflective surface like polished metal or glass. Conversely, a soft, diffused highlight indicates a matte or porous texture like skin, fabric, or stone. Mastering these variations allows the artist to communicate the tactile quality of a subject, effectively tricking the human eye into perceiving depth on a two-dimensional surface.
How to create highlights with different mediums
The technique for achieving highlights depends heavily on the tools being used. In graphite or charcoal drawing, the most common method is the "subtractive" process, where the artist removes material to reveal the white paper underneath. In contrast, painting or working with opaque media allows for "additive" highlights, where lighter pigments are applied over darker layers to build up brilliance.
- Use a kneaded eraser to lift graphite or charcoal, creating soft, organic shapes.
- Employ a precision vinyl eraser for sharp, geometric highlights on metallic surfaces.
- Apply white gouache or a white gel pen for final touches on top of finished layers.
- Utilize masking fluid before starting a watercolor wash to preserve the pure white of the paper.
Each medium offers unique challenges. When working with charcoal, the dust can easily smudge, so highlights must be carefully protected or applied as a final step to maintain their clarity and brightness.
Common mistakes when drawing highlights
One of the most frequent errors is placing highlights in the wrong location relative to the light source. If the light comes from the upper left, the highlight must appear on the upper left side of the object, consistent with the rest of the scene. Inconsistent highlights confuse the viewer and destroy the sense of spatial logic, making the drawing feel disjointed or amateurish.
Another common pitfall is making highlights too small or too numerous. Every object should generally have one primary, dominant highlight, with secondary, softer reflections elsewhere. Overloading a drawing with bright white spots creates a "noisy" image that lacks a clear focal point. Artists should also avoid using pure white for every highlight; on many surfaces, the brightest point is actually a very light grey or a tinted color, rather than the stark white of the paper.
- Placing highlights on the shadow side of an object.
- Using pure white on objects that are inherently dark or matte.
- Creating highlights that are perfectly circular when the light source is a broad window.
- Forgetting that highlights often take the shape of the surface they land on.
Why highlights look different on various surfaces
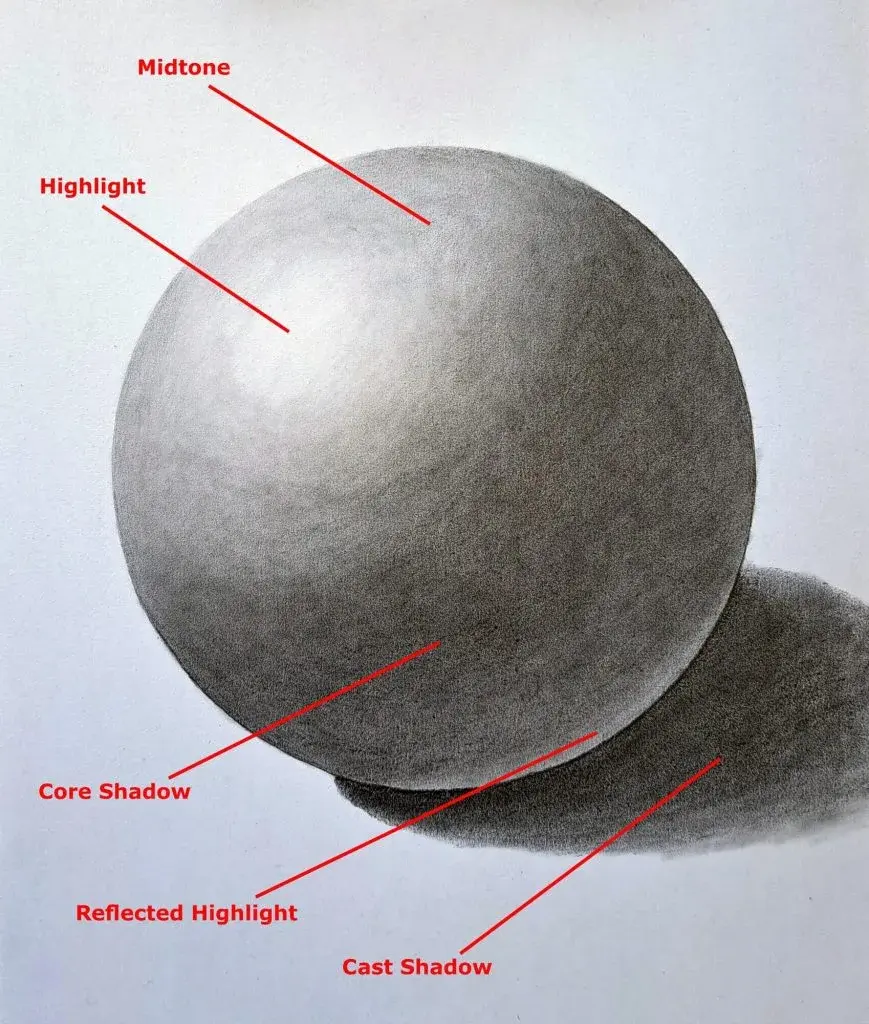
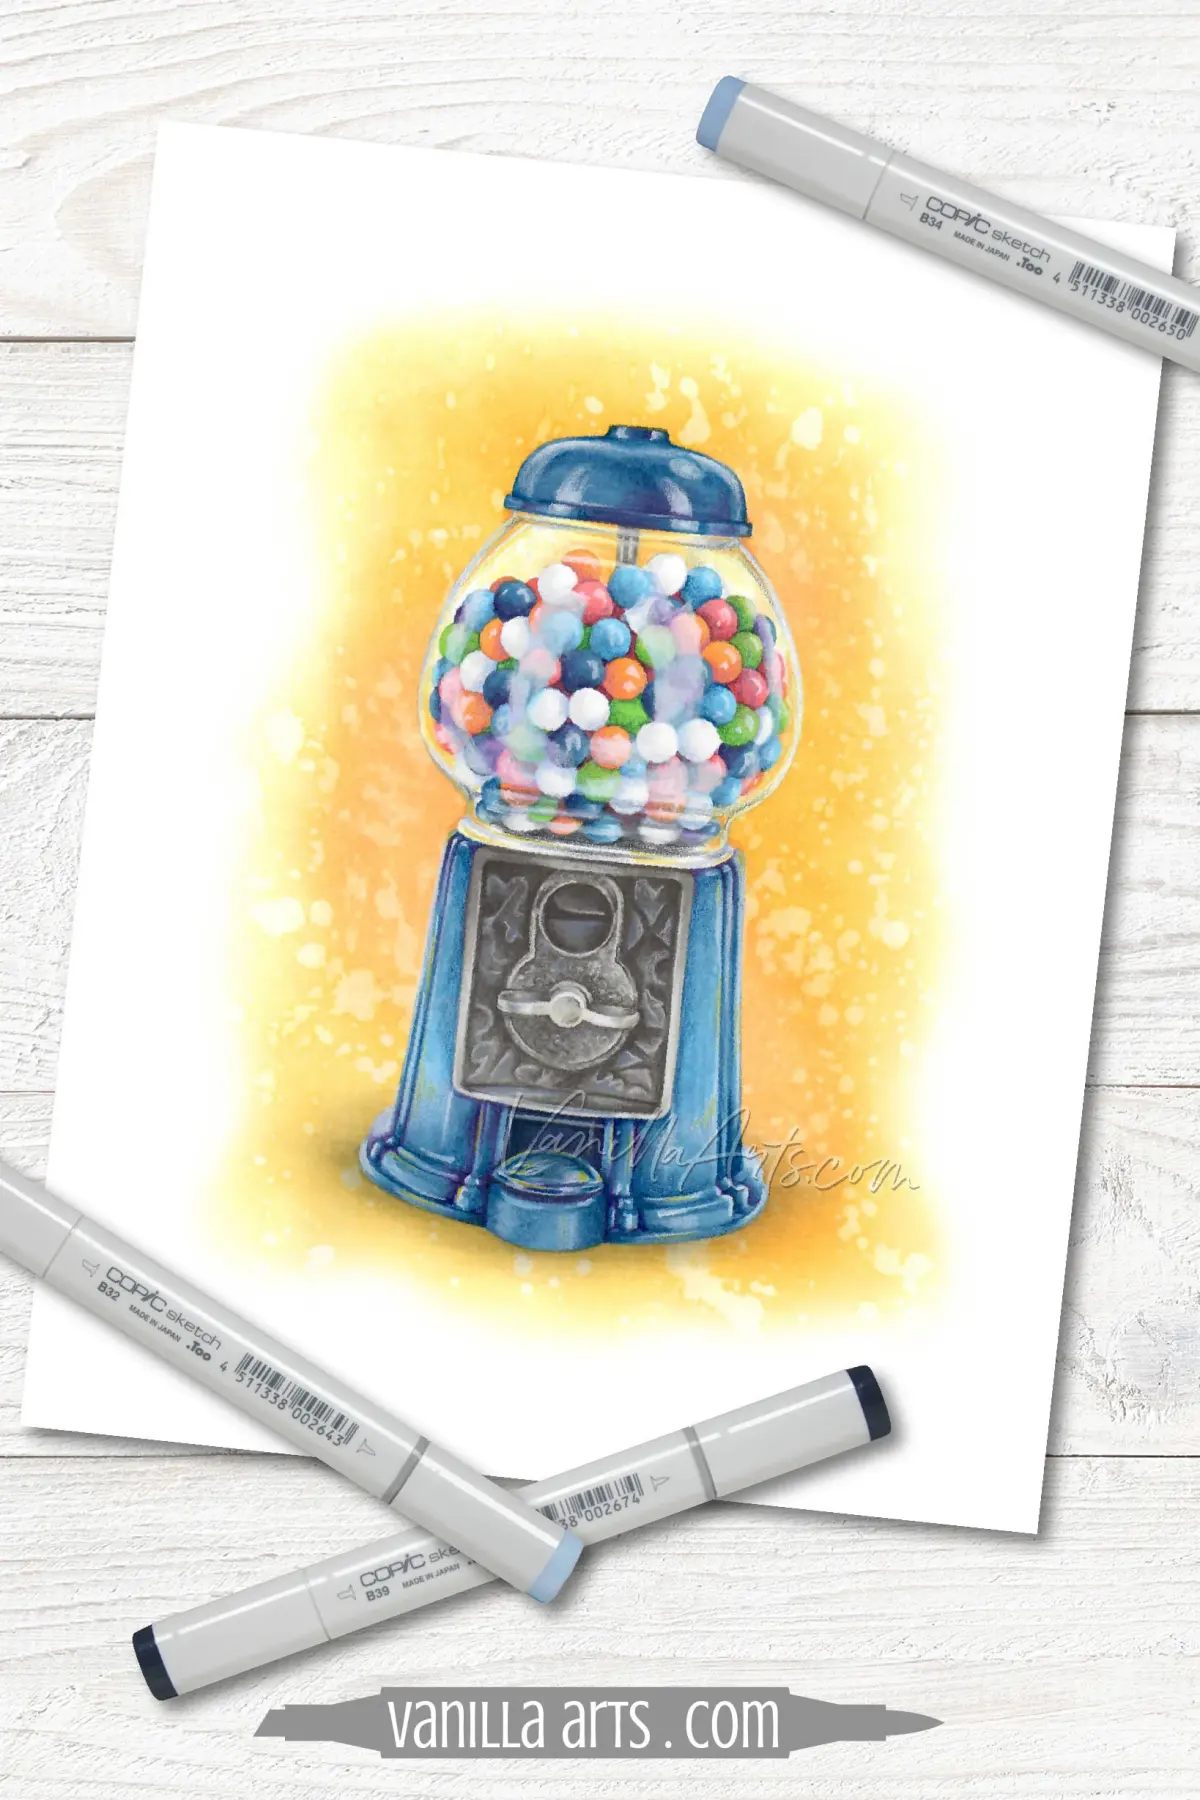
The appearance of a highlight is dictated by the interaction between the light source and the surface texture. A specular highlight occurs on glossy surfaces, reflecting the light source itself with high clarity. These highlights are usually very bright with hard, well-defined edges. On rounded, shiny objects like a sphere, the highlight often follows the curve of the form, providing essential clues about the object's geometry.
Matte or rough surfaces produce diffuse highlights. Because the surface is uneven, the light rays scatter in many directions, resulting in a highlight that is broader, softer, and less intense. Understanding this distinction is vital for realistic rendering. If you draw a rough orange with the same sharp, bright highlight you would use for a chrome ball, the texture will look incorrect. By observing how light behaves in the real world, you can adjust the size and edge quality of your highlights to match the material you are depicting.
How to practice drawing highlights effectively
To improve your ability to render light, start by studying simple geometric forms under a single, strong light source. A white egg or a polished metal sphere provides a perfect subject because the highlight is clearly visible and easy to analyze. Set up a desk lamp in a dark room and observe how the light moves across the object as you shift your position.
- Sketch the object using only three values: the highlight, the midtone, and the core shadow.
- Limit yourself to a single light source to avoid confusing cross-shadows.
- Spend time observing how the highlight changes shape when it moves from a flat plane to a curved surface.
- Practice drawing the same object at different times of day to see how ambient light changes the intensity of the highlight.
Consistent practice with these basic shapes builds the muscle memory required for more complex subjects. As you gain confidence, move on to objects with more intricate textures, such as crumpled paper or glass bottles, to further refine your ability to manipulate light and shadow.
Key facts
- A highlight is the point of highest intensity on an object where light hits a surface directly.
- Highlights are typically rendered as pure white or the lightest value available in your medium.
- Placing a highlight correctly defines the material’s texture, such as making a surface look shiny or wet.
- Use a kneaded eraser to lift pigment off the paper to create crisp, clean highlights in charcoal or graphite.
- Never place a highlight in the shadow area unless it is a reflected light, which should always be darker than the main highlight.
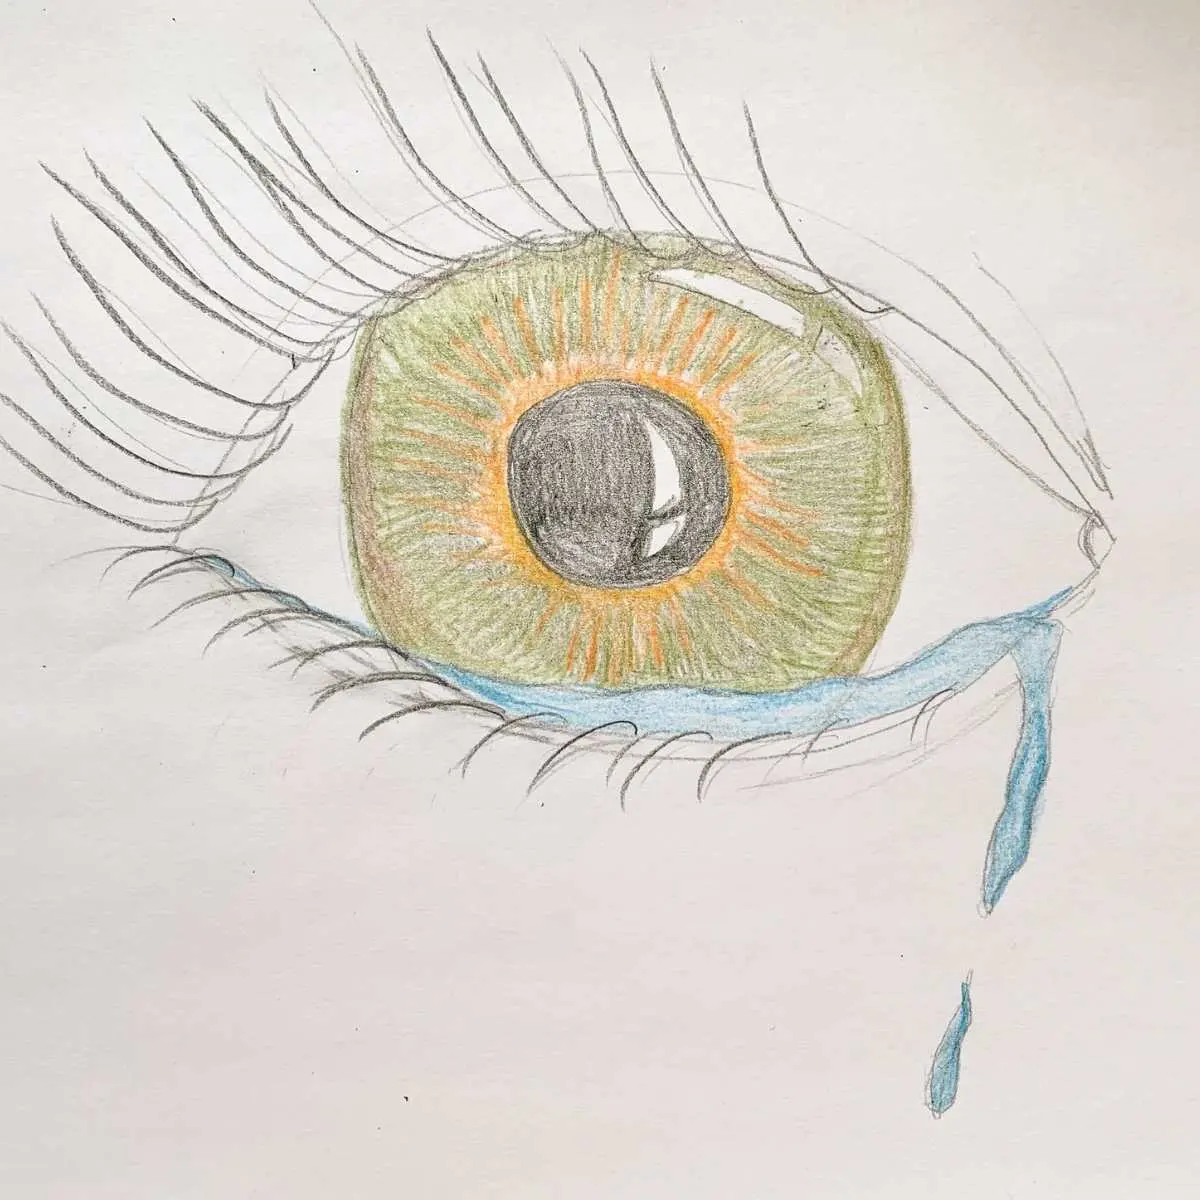
- Observe the "specular highlight," which is the small, sharp reflection of the light source itself on glossy objects like glass or eyes.
The bottom line
A highlight is the essential tool for creating the illusion of three-dimensional form on a two-dimensional surface. By strategically placing the brightest values where light strikes an object, you establish its volume, texture, and material quality. Mastering the placement and intensity of these light points is the most effective way to elevate a flat sketch into a convincing, professional-looking drawing that captures the viewer's immediate attention.
People also ask
How do I know where to place a highlight?
Identify the direction of your primary light source. The highlight will appear on the part of the object closest to that light, provided the surface is reflective or smooth.
Should every drawing have a highlight?
Most drawings benefit from highlights to create depth and volume. However, matte or non-reflective surfaces may have very subtle highlights rather than bright white spots.
What is the difference between a highlight and a midtone?
A highlight is the brightest area that captures direct light, while midtones are the transition values between the highlight and the shadows. Midtones define the local color and shape of the object.
Can I use white ink for highlights?
Yes, white gouache, gel pens, or acrylic paint are excellent for adding sharp, opaque highlights over graphite or colored pencil. These tools provide a brighter contrast than erasing alone.
Why does my highlight look flat?
A highlight often looks flat if it lacks surrounding values. Ensure you have a full range of dark shadows and midtones to make the brightest spot pop against the paper.
How do highlights change on different textures?
Shiny objects like metal have small, high-contrast highlights with sharp edges. Soft, matte objects like fabric have larger, diffused highlights with very soft, blended edges.
This answer was created with the help of AI research tools and reference sources. Spotted an error? Let us know — we correct mistakes quickly. See our editorial policy.