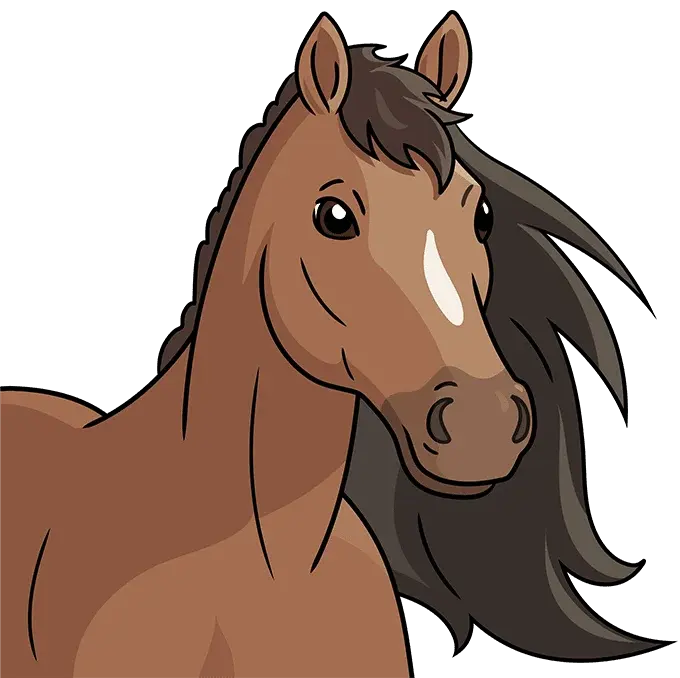
How do you paint a horse with acrylic paint?
Short answer
Painting a horse with acrylics requires layering colors from dark to light to build depth and muscle definition. Begin by sketching the equine anatomy, then block in base tones. Use small, synthetic brushes to detail the coat texture and highlights, ensuring you maintain the correct proportions of the head and legs.
On this page
How to prepare a canvas for painting horses
Before applying paint, you must establish a clear foundation. Start by sketching the horse’s outline using a light-colored watercolor pencil or a thin wash of burnt umber. Focus on the skeletal structure, specifically the placement of the shoulder, the curve of the neck, and the joints in the legs. Accuracy here prevents anatomical errors that are difficult to correct once the paint is applied.
Once the sketch is complete, apply a thin layer of gesso to the canvas if you prefer a smoother surface. For a more textured look, leave the canvas grain visible. Use a neutral mid-tone wash, such as a mix of raw sienna and water, to cover the white background. This "imprimatura" layer helps you judge values more effectively, as white canvas can be deceptive when you are trying to gauge the intensity of your shadows.
Best acrylic painting techniques for beginners
Acrylics dry rapidly, which is both a benefit and a challenge. To create a realistic horse coat, use a glazing technique. This involves applying thin, translucent layers of color over a dried base coat. By layering colors like burnt sienna, ochre, and black, you can simulate the natural sheen and depth of a horse's hide without the paint becoming muddy or flat.
When working with acrylics, keep a spray bottle of water nearby to mist your palette and prevent the paint from skinning over. Follow these steps to build your painting:
- Block in the darkest shadows first to establish the form.
- Apply mid-tones to define the muscle groups and bone structure.
- Add the lightest highlights last, focusing on the bridge of the nose, the tops of the haunches, and the eyes.
- Use a dry-brush technique to suggest the texture of the mane and tail.
How to capture equine anatomy accurately
The most common struggle for artists is getting the proportions of the horse correct. A horse’s head is roughly one-third the length of its body, and the eyes should be positioned high on the skull. Study reference photos of horses in motion to understand how the muscles shift beneath the skin. Observe how the light hits the curved surfaces of the chest and hindquarters to create a three-dimensional effect.
Pay close attention to the legs, as they are often drawn too short or too thick. The distance from the elbow to the ground is roughly equal to the distance from the elbow to the top of the withers. Use a measuring tool, such as a pencil or a divider, to compare these distances on your reference image before you commit to your final paint layers.
Common mistakes when painting horses
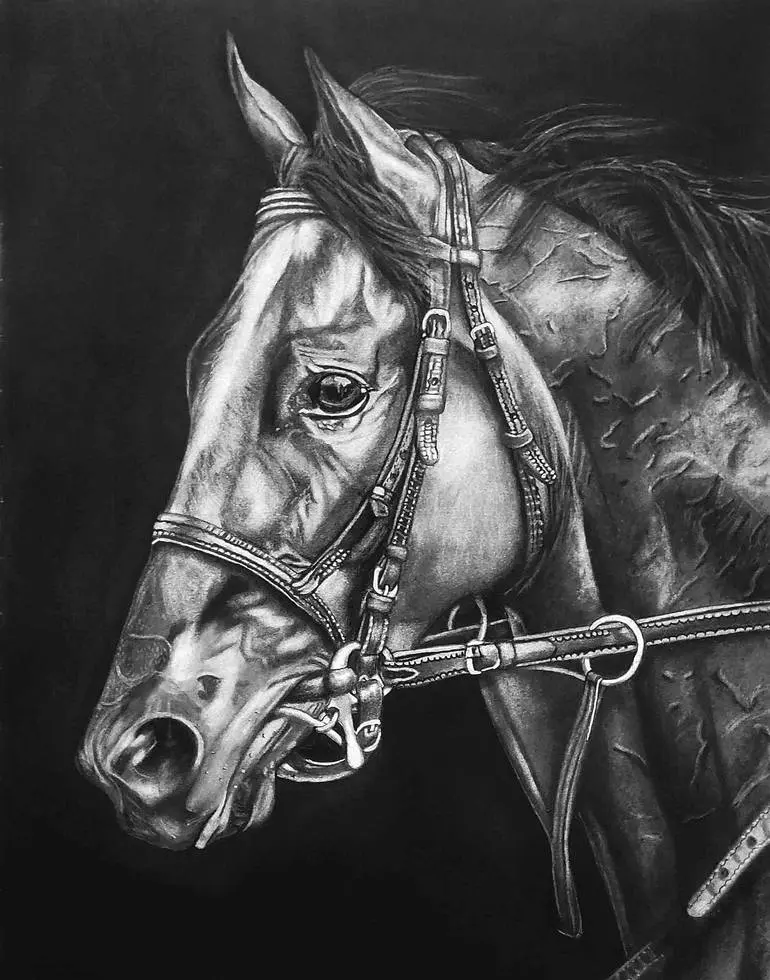
Many beginners fail to account for the way light interacts with the horse's eye. The eye is not just a black circle; it contains a distinct highlight and subtle reflections of the surrounding environment. Neglecting these details makes the horse appear static or lifeless. Always spend extra time refining the eye, as it serves as the focal point of the portrait.
Another frequent error is using a single color for the coat. A horse's color is rarely uniform; it changes based on the angle of the light and the underlying muscle structure. Avoid "coloring in" the horse like a cartoon. Instead, use a variety of shades within the same color family to show depth. If your painting looks flat, you likely lack sufficient contrast between your darkest shadows and your brightest highlights.
How to add realistic details and textures
The final stage of your painting involves adding the fine details that bring the horse to life. Use a small, round synthetic brush to add individual hairs along the mane and tail. Rather than painting every single hair, suggest the texture by using short, directional strokes that follow the flow of the hair growth. This creates a sense of movement and volume that looks natural from a distance.
To finalize your work, consider these finishing touches:
- Use a fan brush for a soft, blended look on the mane.
- Apply a high-gloss varnish once the acrylics are fully cured to enhance color vibrancy.
- Check your edges; soften the transition between light and shadow on the horse's neck to ensure it looks rounded rather than harsh.
- Sign your work in a corner that does not distract from the main subject.
By following these structured steps, you can successfully capture the elegance and power of a horse on canvas. Remember that patience is your greatest tool when working with fast-drying acrylics, so take your time to build the layers slowly and deliberately for the best results.
Key facts
- Acrylic paint dries rapidly, often within 10 to 20 minutes, allowing for quick layering.
- Use a synthetic-bristle brush, as natural hair brushes can become damaged by the alkalinity of acrylics.
- Always sketch the horse's anatomy with a light graphite pencil before applying paint to ensure correct proportions.
- Apply thin, translucent layers, known as glazes, to build up the depth and sheen of the horse's coat.
- Keep a spray bottle of water nearby to keep the paint on your palette moist during long sessions.
- Clean brushes immediately after use with soap and water, as dried acrylic paint is permanent and difficult to remove.
The bottom line
Painting a horse with acrylics requires patience and a focus on anatomical accuracy. By starting with a light sketch and building color through thin, layered glazes, you can capture the complex musculature and sheen of the animal. Remember to keep your brushes clean and work in manageable sections. With practice, the rapid drying time of acrylics becomes a significant advantage for refining details and textures.
People also ask
Can I use acrylics on a canvas that has not been primed?
You should always prime your canvas with gesso before painting. Unprimed fabric absorbs moisture, which can cause the fibers to rot and the paint to crack over time.
How do I achieve a realistic look for a horse's eye?
Focus on the highlight, which is usually a small white dot reflecting the light source. Keep the surrounding iris dark and use a tiny amount of blue or brown to add warmth to the reflection.
Is it better to start with the background or the horse?
Most artists prefer to block in the background first to establish the overall color temperature. This makes it easier to judge the tones and highlights of the horse's coat accurately.
How do I blend colors on the horse's body?
Work quickly while the paint is still wet, using a soft, dry brush to feather the edges together. If the paint dries too fast, use a slow-drying medium to extend the working time.
What is the best way to paint the horse's mane and tail?
Use a fine-tipped liner brush to paint individual strands rather than solid blocks of color. Varying the pressure of your brushstrokes will create a sense of movement and volume.
How do I fix a mistake made with acrylic paint?
Because acrylics are opaque, you can simply let the area dry completely and paint over it. A second layer will effectively cover any previous errors or unwanted color shifts.
This answer was created with the help of AI research tools and reference sources. Spotted an error? Let us know — we correct mistakes quickly. See our editorial policy.