How do you make soap at home?
Short answer
Making soap at home involves a chemical process called saponification, which combines fats or oils with a strong alkali, typically sodium hydroxide. By carefully mixing these ingredients and allowing the resulting reaction to cure, you create a solid bar of soap that is safe for skin use after several weeks.
On this page
How to make soap at home safely
The most common method for home soapmaking is the cold process. This technique requires precise measurements, as the reaction between lye (sodium hydroxide) and fats must be balanced to ensure no caustic lye remains in the final product. You must always wear protective gear, including safety goggles and chemical-resistant gloves, because lye can cause severe burns upon contact with skin or eyes. Always add lye to water—never water to lye—to prevent a dangerous volcanic eruption of hot liquid.
To begin, you will need a digital scale, a stainless steel pot, an immersion blender, and heat-resistant silicone molds. You must work in a well-ventilated area, as the initial mixing process releases fumes. Once you have prepared your lye solution and melted your oils—such as olive, coconut, or palm oil—you combine them when both are at similar temperatures. Blending the mixture until it reaches "trace," a pudding-like consistency, signifies that the saponification process has successfully begun.
What ingredients are needed for soap
The quality of your soap depends entirely on the fatty acids provided by your choice of oils. Coconut oil is frequently used to create a hard bar with excellent lather, while olive oil provides a gentle, moisturizing effect. Most soapmakers use a "lye calculator" to determine the exact amount of sodium hydroxide required for their specific recipe, as different fats require different amounts of alkali to saponify completely.
- Distilled water: Essential for dissolving lye without impurities.
- Sodium hydroxide (lye): The caustic agent required to turn oils into soap.
- Base oils: Common choices include olive, coconut, castor, and shea butter.
- Essential oils: Added at the end of the process for fragrance.
- Colorants: Natural clays, micas, or botanical powders for visual appeal.
Using high-quality, food-grade oils ensures that your soap is mild and effective. Avoid using old or rancid oils, as they will negatively impact the shelf life and scent of your finished bars.
How long does it take to make soap
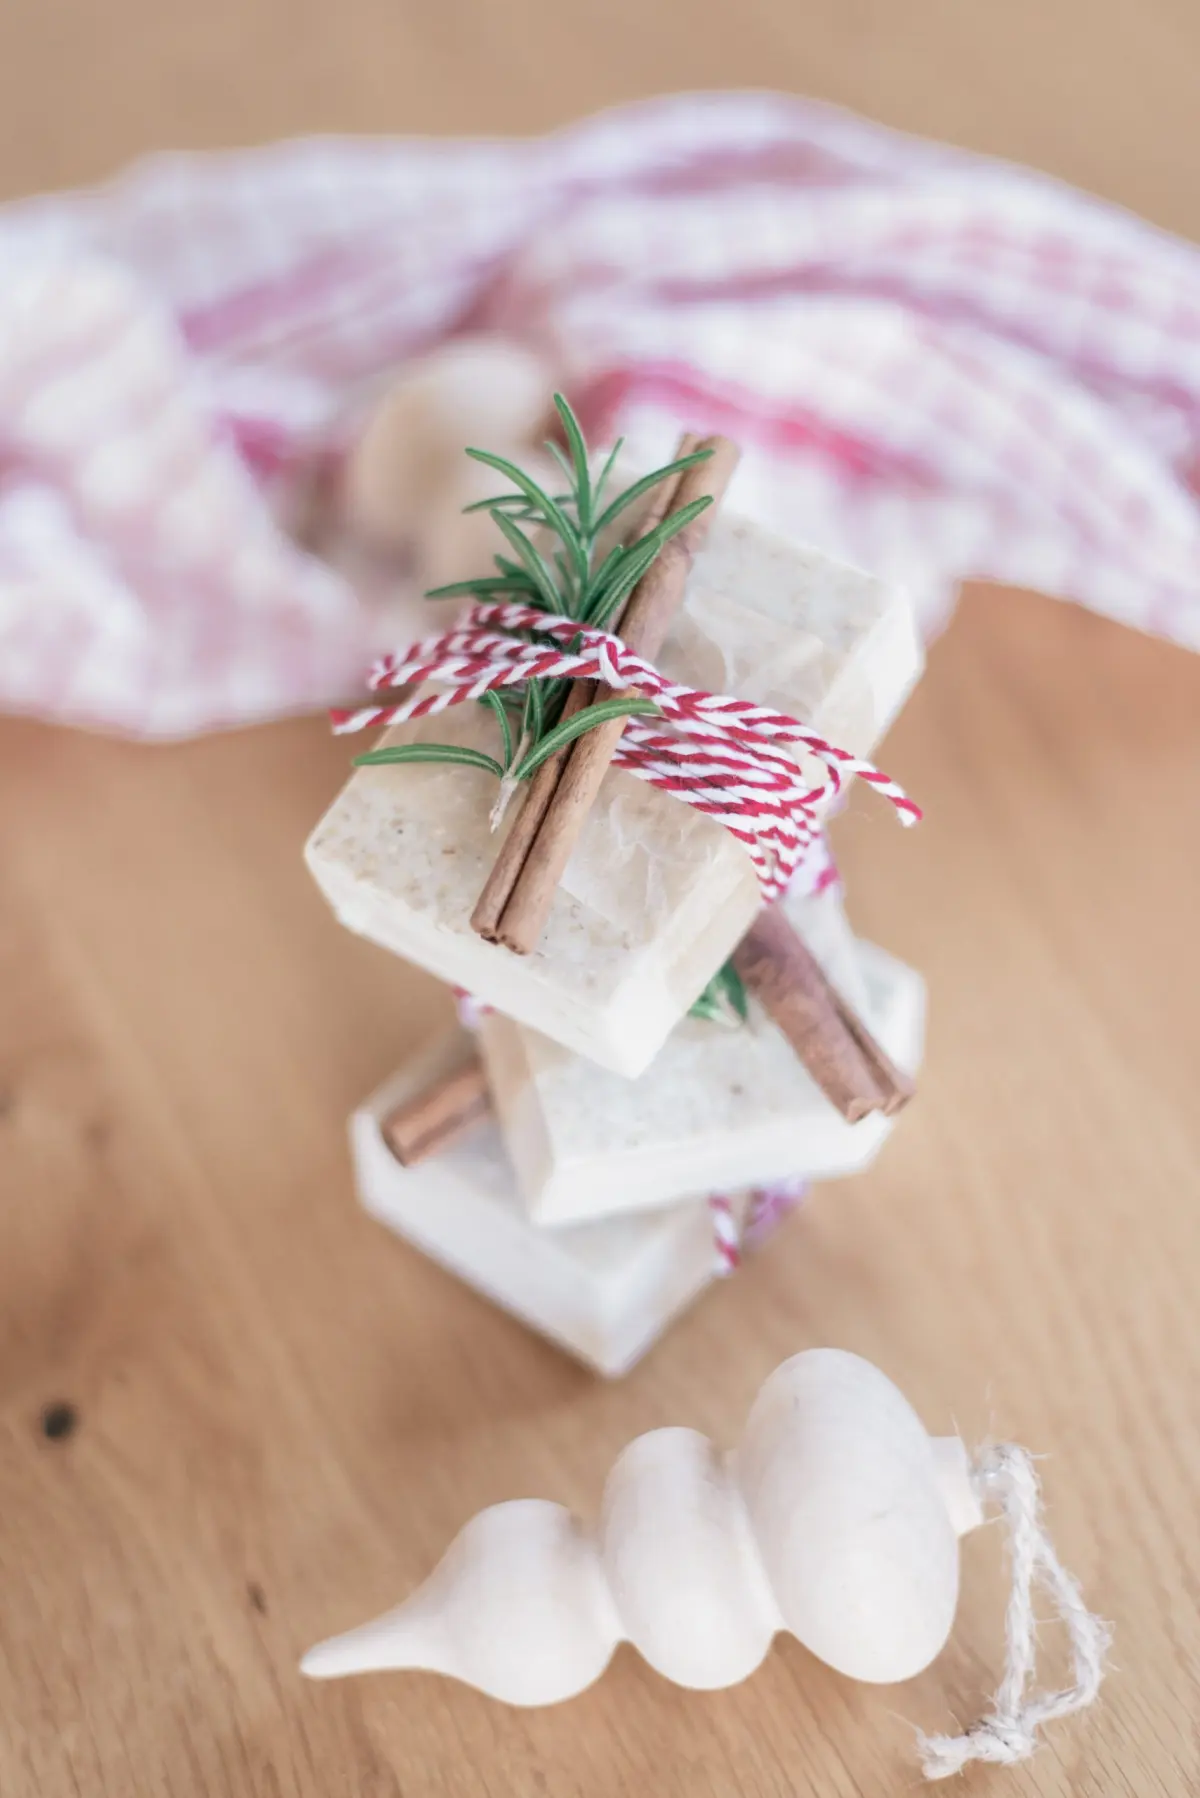
The active preparation time for a batch of cold process soap is usually between one and two hours. After pouring the raw soap into your mold, it must sit undisturbed for 24 to 48 hours to solidify. During this time, the soap undergoes a gel phase where the internal temperature rises, which helps the saponification process complete thoroughly. Once the soap is firm enough to unmold, you must cut it into bars using a sharp knife or a wire cutter.
The most critical phase is the curing period, which lasts between four and six weeks. During this time, the bars sit in a cool, dry place with good airflow. Curing allows excess water to evaporate, resulting in a harder, longer-lasting bar that is much gentler on the skin. While the soap is technically safe to use after a few days, a fully cured bar produces a superior lather and is less likely to dissolve quickly in the shower.
Common mistakes when making soap
One of the most frequent errors is inaccurate measurement. Because soapmaking is a precise chemical reaction, even a small deviation in the weight of your lye or oils can result in a batch that is either too soft or dangerously caustic. Always use a digital scale that measures in grams, as volume measurements like cups are far too imprecise for chemical formulation. Another common mistake is failing to blend the mixture enough. If you stop mixing before reaching a true trace, the oil and lye may separate, resulting in a crumbly or oily bar.
- Measuring ingredients by volume instead of weight.
- Adding fragrance oils that cause the soap to "seize" or harden instantly.
- Using aluminum pots, which react dangerously with lye.
- Insufficiently mixing the lye solution, leaving pockets of caustic material.
- Attempting to use the soap before the curing process is finished.
If your soap develops a white, powdery layer on top called "soda ash," it is purely cosmetic and safe to use. You can prevent this by covering your mold with plastic wrap or a lid during the initial 24 hours.
Best soapmaking tips for beginners
Start with a simple, single-recipe batch to understand the basics before experimenting with complex swirls or layered colors. Olive oil-heavy recipes, often called "Castile soap," are excellent for beginners because they are very gentle, though they do take longer to harden than recipes containing coconut or palm oil. Keep a detailed logbook of every batch you make, including the exact weights, temperatures, and any additives used. This record allows you to replicate successful batches and troubleshoot when things do not go as planned.
Finally, prioritize safety above all else. Keep your workspace clear of children and pets while working with lye, and always keep a bottle of vinegar nearby to neutralize any accidental spills on non-skin surfaces. If you do get lye on your skin, rinse the area with cool running water for at least 15 minutes and seek medical attention if irritation persists. With patience and attention to detail, you will soon produce professional-quality soap that is far superior to many commercial alternatives.
Key facts
- Soap is created through saponification, a chemical reaction between fats or oils and a strong alkali like sodium hydroxide.
- Always wear safety goggles and gloves, as lye is highly caustic and can cause severe chemical burns upon contact with skin or eyes.
- Use a digital kitchen scale to measure ingredients by weight, as volume measurements are too imprecise for safe soap chemistry.
- Stainless steel or heat-resistant plastic containers are essential because lye reacts dangerously with aluminum and certain other metals.
- Add lye to water, never water to lye, to prevent a "volcano" effect where the solution erupts and splashes hot, caustic liquid.
- Allow the finished soap to cure in a well-ventilated area for four to six weeks to ensure the chemical reaction is complete and the bars harden.
The bottom line
Making soap at home is a rewarding scientific process that transforms simple fats and oils into functional cleansing bars. By strictly following safety protocols, measuring ingredients with precision, and allowing sufficient time for the curing process, you can create high-quality, customized products. Always prioritize safety by wearing protective gear and verifying your recipes, as the chemistry of saponification requires accuracy to ensure a safe, usable result.
People also ask
Can I use potassium hydroxide instead of sodium hydroxide?
Potassium hydroxide is used to make liquid soap, while sodium hydroxide is required for solid bar soap. You cannot swap them, as they produce different chemical results and require different calculations.
Why did my soap turn out crumbly or brittle?
This usually happens if you used too much lye or if the mixture was not blended thoroughly. Always use a lye calculator to ensure your oil-to-lye ratio is mathematically accurate.
How do I know when the soap is ready to cut?
Most cold-process soaps are ready to be removed from the mold and sliced after 24 to 48 hours. If the soap is still soft or sticky, wait another day before attempting to cut it.
Can I use fragrance oils or essential oils in my soap?
Yes, you can add scents at the "trace" stage, which is when the soap mixture reaches the consistency of thin pudding. Use only oils labeled as skin-safe and check the manufacturer's usage rates.
What is the "trace" stage in soap making?
Trace is the point where the oils and lye water have emulsified and will not separate. You can identify it when a small amount of batter drizzled on the surface leaves a visible trail.
Is homemade soap safe to use immediately after it is made?
No, you must let the soap cure for several weeks. During this time, the water evaporates, the bar hardens, and the pH level stabilizes to become gentle on the skin.
This answer was created with the help of AI research tools and reference sources. Spotted an error? Let us know — we correct mistakes quickly. See our editorial policy.