How do you draw a polar bear step by step?
Short answer
Drawing a polar bear involves constructing the animal’s massive, elongated frame using simple geometric shapes. Start with two overlapping ovals for the body and head, then add thick, pillar-like legs and a distinctively curved snout. Focus on capturing the bear's dense, rounded silhouette and small ears to achieve an accurate, recognizable appearance.
On this page
How to sketch the basic anatomy of a polar bear
To begin your drawing, visualize the polar bear as a collection of heavy, rounded forms. Start by sketching a large horizontal oval for the chest and a slightly smaller oval for the hindquarters, connecting them with a curved line to suggest the bear’s powerful back. Place a smaller, elongated oval for the head at the front of the chest shape, ensuring it sits low and close to the body.
The key to a realistic polar bear is its unique skeletal structure, which is more elongated than that of a grizzly bear. Keep the neck thick and muscular, as it needs to support the bear's heavy, wedge-shaped head. When drawing the initial outlines, use light pencil strokes so you can easily refine the proportions later. Aim for a long, low-slung profile that emphasizes the bear's mass and strength.
- Draw a large oval for the chest.
- Add a smaller, overlapping oval for the rear.
- Position a medium-sized oval for the head.
- Sketch a thick, short neck connecting the head to the chest.
Best techniques for drawing the head and snout
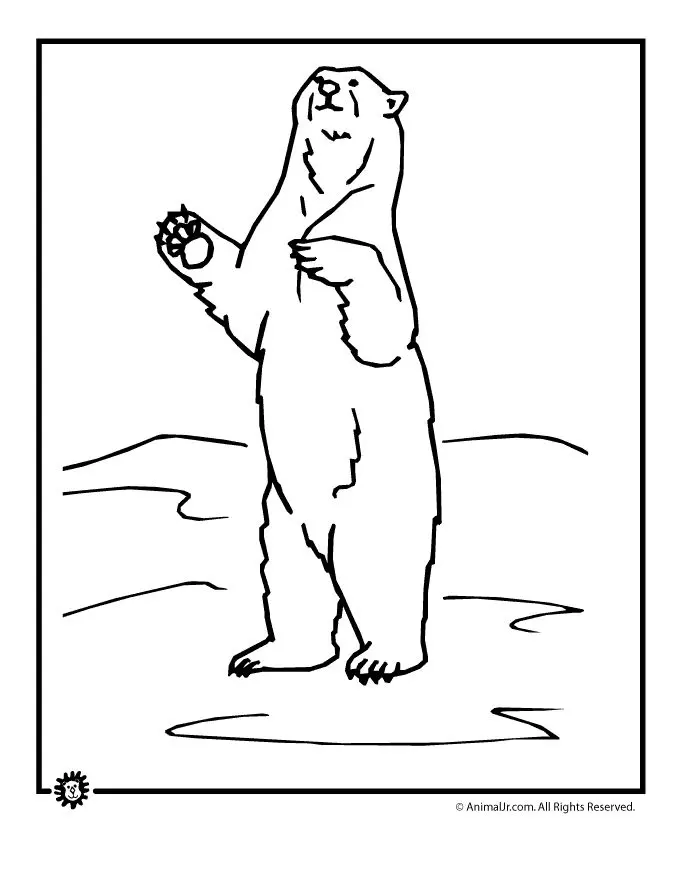
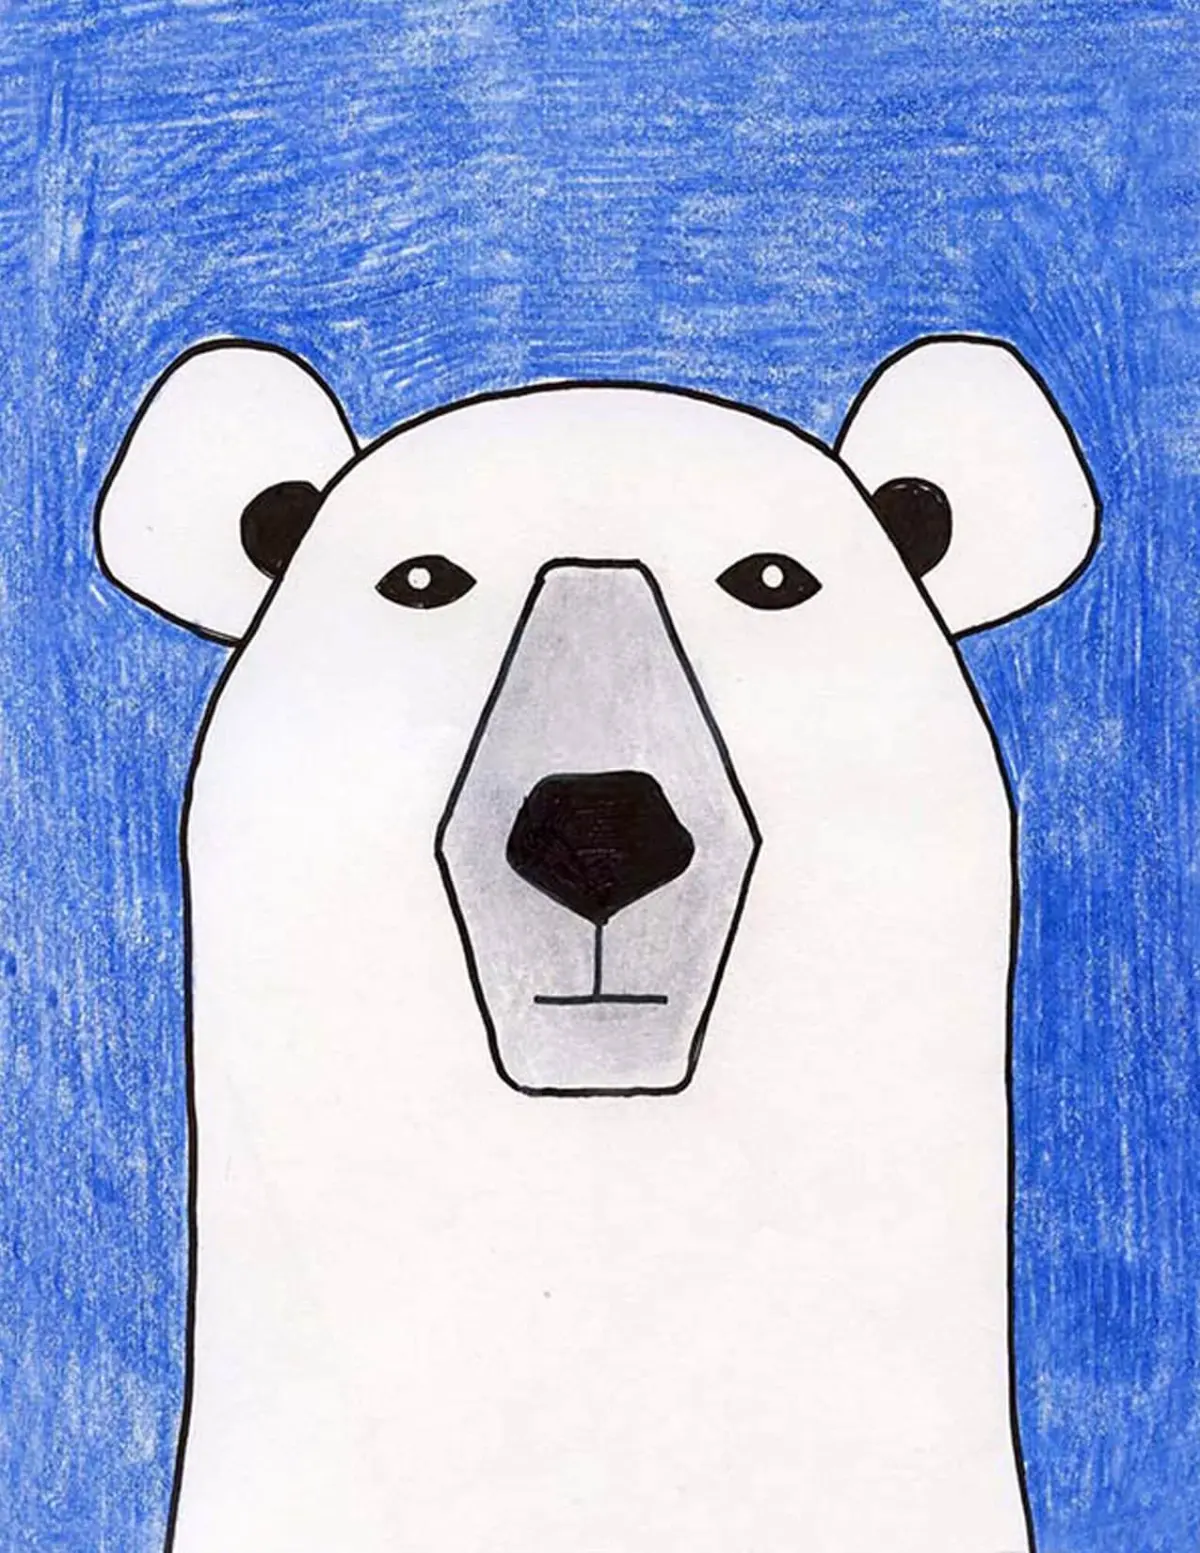
The polar bear’s head is distinct from other ursids due to its elongated, narrow muzzle and small, rounded ears. When drawing the head, focus on the slope of the forehead, which is relatively straight compared to the concave profile of a brown bear. The snout should be long and dark, with a slight downward curve at the nose.
Position the eyes small and set relatively high on the head, just above the line where the snout begins to taper. The ears should be tucked close to the head, appearing as small, furry semicircles. Avoid making the ears too large or pointed, as this will make the animal look more like a dog or a different bear species. Using a soft lead pencil allows you to create the subtle gradients needed to show the depth of the eye sockets and the curve of the muzzle.
- Keep the forehead profile nearly flat.
- Draw the snout as a long, rectangular-trapezoid shape.
- Place the ears low and rounded on the sides of the head.
- Ensure the nose is prominent and slightly blunt at the tip.
How to draw the legs and massive paws
Polar bears possess thick, sturdy legs designed for walking on ice and swimming. Draw the front legs as straight, vertical pillars that attach directly under the shoulder blades. The hind legs should be slightly longer and more muscular, with a distinct bend at the knee and ankle to convey a sense of power and movement.
The paws are a defining feature of the species, as they are exceptionally large and covered in dense fur to provide traction. Draw the paws as wide, rounded pads that appear slightly flattened against the ground. Do not forget to include the thick, non-retractable claws, which are shorter and more curved than those of a grizzly. These claws are essential for gripping ice, so ensure they look functional rather than decorative or overly sharp.
- Sketch the front legs as wide, straight cylinders.
- Add the hind legs with a visible bend at the joint.
- Draw the paws significantly wider than the lower leg.
- Include five short, sturdy claws on each foot.
Common mistakes when drawing polar bear fur
One of the most frequent errors is attempting to draw every individual hair, which often leads to a cluttered and messy appearance. Instead, focus on the overall texture by using soft, directional shading that follows the contours of the bear's body. Polar bear fur is actually transparent and appears white or yellowish, so avoid using heavy, dark outlines that make the bear look like a cartoon character.
Use light, feathery strokes to suggest the thickness of the coat, especially around the neck and the back of the legs where the fur is longest. Leave large areas of the paper blank to represent the bright highlights of the white coat, using only faint gray tones to define shadows. If you are drawing on toned paper, you can use a white charcoal pencil to add highlights, which creates a striking effect that mimics the way light reflects off the bear's dense, oily fur.
- Avoid heavy black outlines around the entire body.
- Use soft, broken lines to suggest fur edges.
- Focus shadow placement on the underside of the belly and legs.
- Keep the fur texture consistent with the direction of the body's mass.
Tips for adding realistic details and shading
To bring your polar bear to life, pay close attention to the nose and eyes, which are the only dark features on an otherwise pale animal. Use a deep black or very dark graphite for the nose and eyes, as these areas provide the necessary contrast to make the rest of the body look white. Adding a tiny white dot in the center of the eye will create a realistic glint, giving the bear a sense of life and focus.
Finally, consider the environment to ground your drawing. A polar bear looks most natural when depicted on a flat or slightly uneven snowy surface. Use long, horizontal strokes to suggest the texture of ice or snow beneath the bear's paws, ensuring the shadows cast by the bear are long and cool-toned. By maintaining a clean, minimalist approach to the background, you keep the viewer's focus on the majestic form of the animal itself. Always step back from your work periodically to ensure the overall proportions remain balanced and the bear’s massive scale is effectively conveyed through your shading.
Key facts
- Polar bears have a streamlined, elongated body shape compared to the stockier build of brown bears.
- The head of a polar bear is relatively small and narrow, featuring a long, straight snout profile.
- Their fur is actually transparent and hollow, appearing white due to light scattering, which is a key detail for shading.
- Focus on drawing large, thick paws with visible pads, as these act as natural snowshoes for the animal.
- A common mistake is drawing the neck too short; polar bears have long, muscular necks to assist in swimming.
- Use soft, rounded lines for the body to emphasize the thick layer of insulating fat and dense fur.
The bottom line
Drawing a convincing polar bear requires focusing on its unique anatomy, specifically the elongated head, long neck, and massive, paddle-like paws. By prioritizing the correct silhouette and using cool-toned shading to represent white fur, you can capture the animal's powerful presence. Avoid common errors like adding a shoulder hump or making the snout too short, and always keep your lines soft to suggest dense insulation.
People also ask
What is the most important feature to emphasize when drawing a polar bear?
The most distinct feature is the long, sloping profile of the head, which transitions smoothly into a long neck. Unlike other bears, the polar bear lacks a prominent shoulder hump.
Should I draw individual hairs on the polar bear?
Avoid drawing every single hair, as this makes the bear look messy. Instead, use light, directional shading to suggest texture and focus on the overall silhouette.
How do I make the polar bear look like it is in a cold environment?
Use minimal, sharp lines to suggest snow drifts or ice blocks around the feet. Keep the background clean to ensure the white fur of the bear remains the focal point.
Why do my polar bear drawings look like grizzly bears?
This usually happens because the snout is too short or the forehead is too steep. Ensure the bridge of the nose is straight and the head appears narrow from the side.
What is the best way to represent the paws?
Draw the paws significantly larger than the limbs to reflect their biological function. Add slight indentations between the toes to show the webbing that aids in swimming.
How do I shade a white animal effectively?
Use cool grays and pale blues rather than pure black for shadows. This creates the illusion of white fur reflecting the arctic light without making the bear look dirty.
This answer was created with the help of AI research tools and reference sources. Spotted an error? Let us know — we correct mistakes quickly. See our editorial policy.