How can I draw a cartoon face easily?
Short answer
Drawing a cartoon face begins with a simple circle to establish the head shape and a crosshair to guide feature placement. By breaking the face into basic geometric shapes and emphasizing exaggerated expressions, you can create expressive characters quickly. Consistent practice with these foundational grids allows for endless variations in style and personality.
On this page
How to draw a basic cartoon head
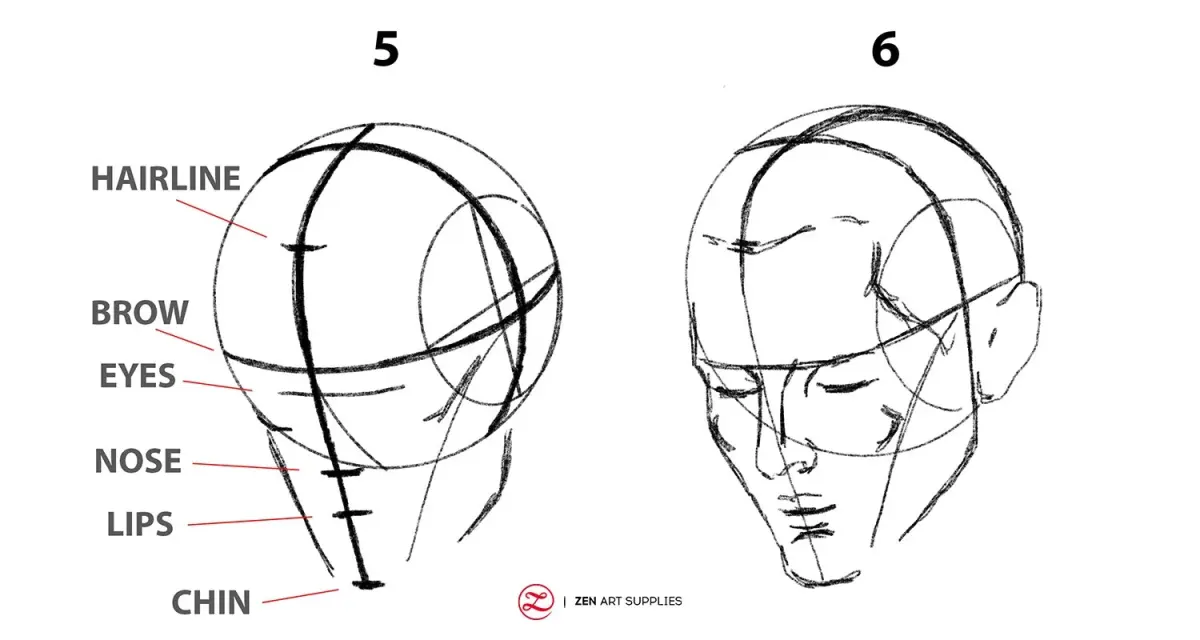
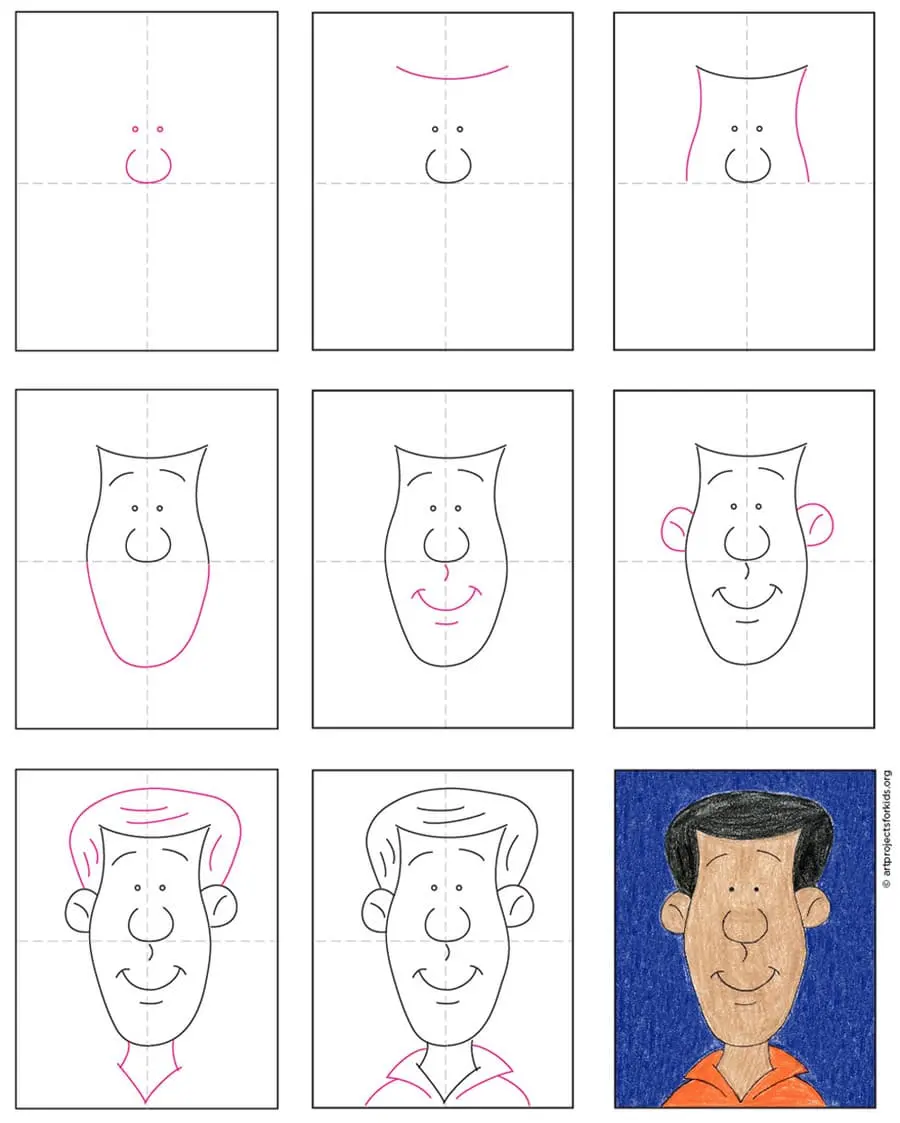
The most effective way to start a cartoon face is by drawing a light, circular shape. This circle serves as the cranium, which holds the brain and provides the structural anchor for the rest of the face. Once the circle is drawn, sketch a vertical line down the center and a horizontal line across the middle to create a crosshair. These guides help ensure that your features remain symmetrical and properly aligned regardless of the character's orientation.
After establishing the grid, add a slightly curved shape below the circle to form the jawline. The length and width of this shape determine the character's age and personality; a rounded chin often denotes a friendly, youthful character, while a square jaw suggests strength or maturity. Remember to keep your initial pencil strokes very light so they can be easily erased or covered later. Mastering this simple template is the most important step for any aspiring cartoonist.
Best tools for cartooning beginners
You do not need expensive equipment to begin drawing cartoons. A standard HB graphite pencil is ideal for sketching because it allows for both light construction lines and darker, more defined outlines. Pair this with a high-quality white vinyl eraser, which removes graphite cleanly without smudging the paper or tearing the surface. Using a smooth, acid-free sketchbook will also help your pencil glide across the page with minimal resistance.
If you prefer working with ink, technical pens with varying tip sizes are excellent for adding professional-looking line weights. A 0.5mm tip is versatile for general outlines, while a 0.1mm tip is perfect for fine details like eyelashes or small wrinkles. When choosing paper, look for medium-weight stock that prevents ink from bleeding through to the other side. Keeping your toolkit simple allows you to focus entirely on developing your drawing skills rather than managing complex equipment.
How to place facial features correctly
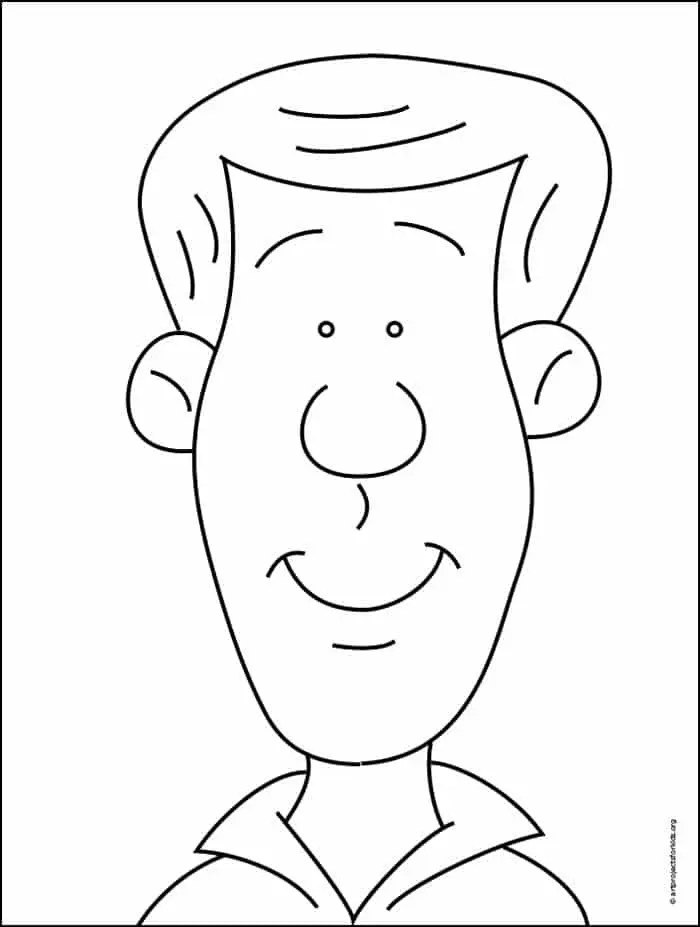
Facial placement follows a consistent logic based on the crosshair grid you established earlier. The eyes should sit directly on the horizontal guideline, spaced about one eye-width apart. Placing the eyes closer together can make a character look more intense or sly, while wider spacing often creates a cute, innocent expression. The nose is typically positioned halfway between the horizontal eye line and the bottom of the chin.
- Draw the eyes on the horizontal crosshair line.
- Place the nose just below the center point of the face.
- Position the mouth halfway between the nose and the chin.
- Add ears so they align vertically between the eye line and the nose line.
- Sketch the eyebrows above the eyes to dictate the character's mood.
Following these proportions ensures your character looks balanced. Once you are comfortable with these standard placements, you can experiment with distorting them to create unique, stylized caricatures that convey specific emotions or traits.
Common mistakes when drawing cartoons
One frequent error is drawing features too small or too close to the center of the head. Beginners often fear that large eyes will look strange, but in cartooning, exaggeration is the primary tool for communication. If the features are cramped, the face loses its ability to express clear emotions. Always aim to use the available space on the face to make the eyes, nose, and mouth distinct and readable from a distance.
Another common mistake is neglecting the hair and neck. A character’s hair should be drawn as a solid mass or shape rather than individual strands, which helps define the head's silhouette. Similarly, failing to include a neck can make a character look like a floating head. Even a simple, two-line neck provides a necessary transition to the shoulders. Avoid these pitfalls by stepping back frequently to look at your drawing as a whole, ensuring the proportions remain consistent and the character feels grounded.
How to practice drawing expressions
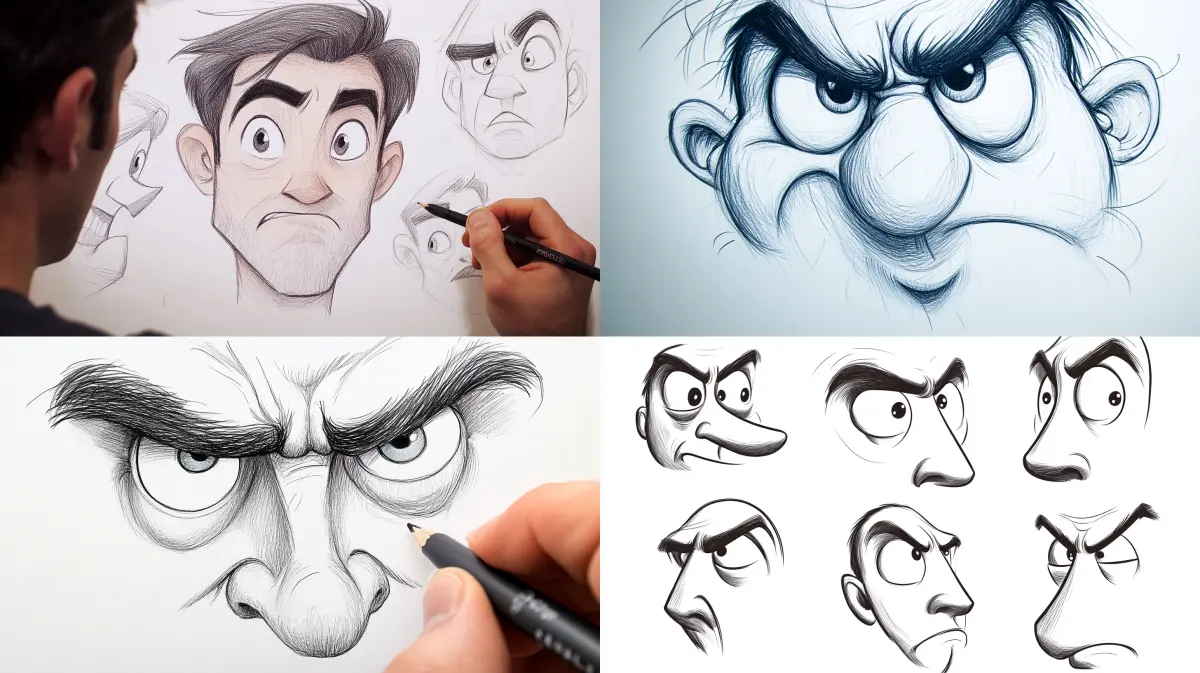
The secret to bringing a cartoon face to life is mastering the eyebrows and the mouth. These two elements act as the primary indicators of emotion. To practice, draw five identical head shapes and give each one a different expression by changing only the curve of the eyebrows and the shape of the mouth. A downward-sloping eyebrow combined with a flat mouth creates anger, while arched brows and a wide, open mouth indicate excitement or surprise.
- Use a mirror to observe how your own eyebrows move when you feel different emotions.
- Practice drawing "squash and stretch" by slightly distorting the head shape during intense expressions.
- Keep a reference sheet of different mouth shapes, such as ovals for shock or thin lines for indifference.
- Try drawing characters with one eye closed or squinting to add a sense of movement.
Consistent daily practice of these small variations will eventually build muscle memory, allowing you to draw expressive faces instinctively without needing to rely on strict construction lines every time.
Key facts
- Start with a basic circle or oval to establish the cranium and jawline.
- Use a cross-hair guide inside the circle to align the eyes, nose, and mouth symmetrically.
- Keep facial features simple by using basic shapes like dots for eyes and a small curve for a smile.
- Place the eyes slightly below the horizontal midline to give the character a more youthful or "cute" appearance.
- Vary the size and placement of ears and hair to create distinct, recognizable character archetypes.
- Practice drawing different eyebrow angles to convey emotions like anger, surprise, or sadness instantly.
The bottom line
Drawing a cartoon face is an accessible skill that relies on mastering basic geometric shapes and consistent guidelines. By starting with a simple circle and using a cross-hair to balance your features, you can create endless variations. Focus on clear, intentional lines and practice varying the placement of eyes and mouths to explore different expressions. Consistency and experimentation are the keys to developing your unique style.
People also ask
What is the best tool for a beginner to use?
A standard HB pencil and a soft eraser are ideal for beginners. These tools allow you to sketch light guidelines that can be easily removed once you ink or finalize your lines.
How do I make my cartoon characters look different from each other?
Focus on changing the head shape, such as using squares, triangles, or rectangles instead of circles. Adjusting the size of the nose and the style of the hairline also creates significant variety.
Why do my cartoon faces look lopsided?
This usually happens because the initial cross-hair guide is tilted or off-center. Always draw your vertical and horizontal guidelines lightly first to ensure the features remain balanced across the face.
How can I draw expressive eyes?
Experiment with the size of the pupils and the curvature of the eyelids. Larger pupils often indicate innocence, while narrow, slanted eyelids can suggest skepticism or intensity.
Should I draw the ears before the hair?
Yes, drawing the ears first helps you determine the depth of the head. Once the ears are placed, you can draw the hair over the top to make it look like it sits naturally on the skull.
What is the most common mistake when drawing cartoon mouths?
Placing the mouth too high on the face is a frequent error. Keep the mouth in the lower third of the head to ensure the proportions look natural and leave room for the nose.
This answer was created with the help of AI research tools and reference sources. Spotted an error? Let us know — we correct mistakes quickly. See our editorial policy.