How do you draw a cougar?
Short answer
Drawing a cougar requires capturing its muscular, streamlined anatomy and distinct feline features. Begin by sketching basic geometric shapes to establish the animal’s posture and proportions. Focus on the low-slung shoulders, long tail, and small, rounded head. Refine these forms with anatomical details, shading, and texture to bring the powerful predator to life.
On this page
How to sketch basic cougar anatomy
The foundation of a realistic cougar drawing lies in understanding its skeletal structure. Unlike domestic cats, cougars possess a highly muscular build with a deep chest and powerful hindquarters designed for explosive movement. Start by drawing a large oval for the ribcage and a slightly smaller, rounded shape for the pelvis. Connect these with a curved line representing the spine, which should dip slightly in the middle.
Position the head as a smaller circle atop a thick, muscular neck. The cougar’s neck is notably robust, flowing seamlessly into the shoulder blades. Use these simple shapes to ensure your proportions are accurate before moving to finer details. A common error is making the head too large; remember that cougars have relatively small, compact heads compared to their massive, athletic bodies.
Best drawing techniques for beginners
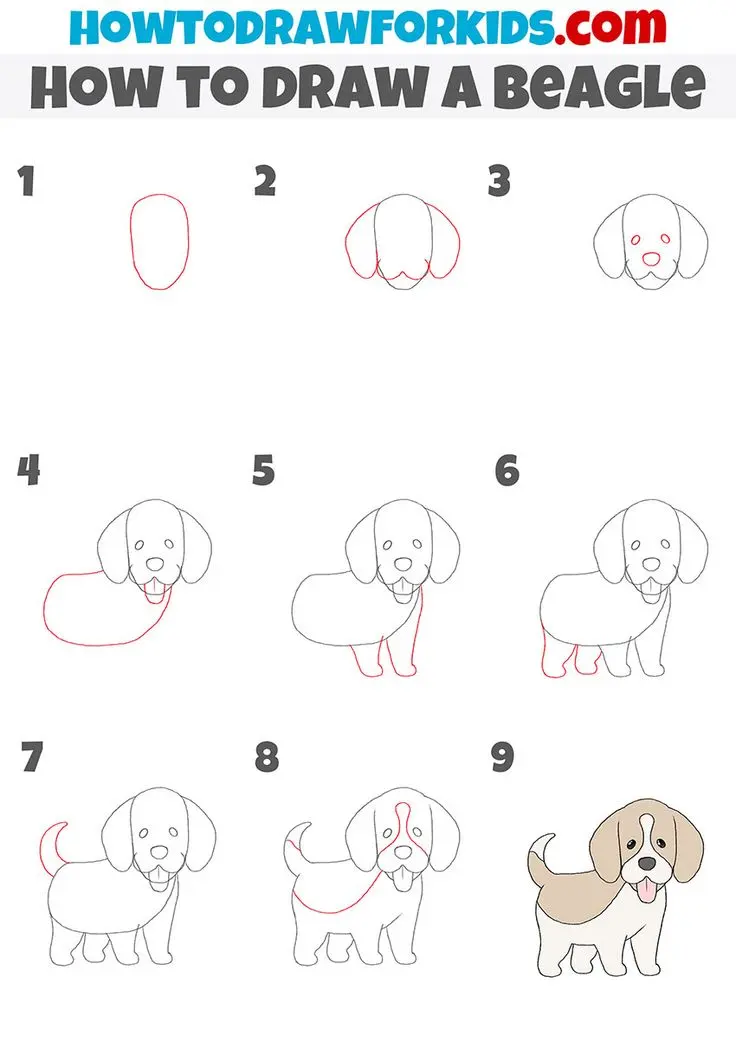
For those new to wildlife art, breaking the cougar down into manageable steps is the most effective approach. Begin with light pencil strokes to map out the silhouette, as this allows for easy adjustments. Once the framework is set, focus on the "S" curve of the back and the characteristic slope of the rump.
- Sketch the main body masses using light, circular motions.
- Define the legs, keeping in mind that the front legs are straight while the hind legs are bent for power.
- Add the tail, which is thick at the base and tapers toward the end, often reaching down to the hocks.
- Refine the facial features, placing the eyes midway down the head and adding small, rounded ears.
By following these steps, you maintain control over the overall composition. Focus on the flow of the lines rather than individual hairs during this initial phase.
How to capture cougar facial features
The cougar’s face is defined by a short muzzle, dark markings around the mouth, and piercing, forward-facing eyes. When drawing the head, pay close attention to the transition from the forehead to the nose. The nose pad is wide and somewhat rectangular, while the eyes should be almond-shaped with a focused, intense expression.
- Use soft shading to define the contours of the muzzle and cheeks.
- Keep the ears small and rounded, set wide apart on the skull.
- Add subtle, dark whiskers sprouting from the muzzle area to provide a sense of scale.
- Emphasize the light-colored fur around the eyes and throat, which contrasts with the tawny coat.
Avoid drawing the eyes as perfect circles, as this makes the animal appear cartoonish. Instead, focus on the heavy eyelids that give the cougar its signature predatory gaze.
Why proportions matter in wildlife art
Proportion is the most critical element in making a drawing look like a cougar rather than a generic feline. A cougar’s front legs are shorter than its hind legs, giving it a distinctive prowling stance. The tail is exceptionally long and serves as a counterbalance during high-speed turns, so it should never look short or stubby.
If the body is too long, the animal will look like a weasel; if the legs are too thin, it will lose its sense of power. Always compare the size of the head to the chest width. A useful trick is to hold your drawing up to a mirror or look at it from a distance to spot imbalances. If the silhouette feels off, adjust the skeletal framework before adding fur texture or final shading.
Common mistakes when drawing cougars
Many artists struggle with the texture of the fur and the placement of the limbs. A frequent mistake is drawing fur as individual lines all over the body, which creates a messy, unnatural look. Instead, use shading to suggest the volume of the muscle groups and only add texture lines at the edges of the silhouette or in areas of shadow.
Another issue is failing to account for the weight of the animal. A cougar’s paws are large and padded, reflecting its need to move silently across rugged terrain. Ensure the paws are firmly planted on the ground line to avoid a floating appearance. Finally, do not over-define the joints; the cougar’s anatomy is smooth and sleek. By focusing on the interplay of light and shadow across the muscles, you create a dynamic, realistic representation of this elusive mountain cat.
Key facts
- Cougar anatomy features a long, heavy tail that acts as a rudder for balance during high-speed turns.
- The head is proportionally small compared to the muscular body, with rounded, low-set ears.
- Focus on the "M" shape of the muzzle, which is a defining characteristic of the feline face.
- Draw the hind legs slightly longer than the front legs to emphasize the animal's powerful jumping ability.
- Use soft, curved lines for the belly and chest to convey the cat's lithe, athletic build.
- Avoid drawing a mane, as cougars lack the neck fur seen on lions.
The bottom line
Drawing a cougar requires balancing its powerful, muscular frame with its sleek, aerodynamic appearance. By prioritizing the small head size, the rounded ears, and the heavy, functional tail, you can create an accurate representation of this elusive predator. Focus on the tension in the limbs and the fluidity of the spine to capture the essence of a cat designed for explosive speed and stealthy movement.
People also ask
What is the most common mistake when drawing a cougar?
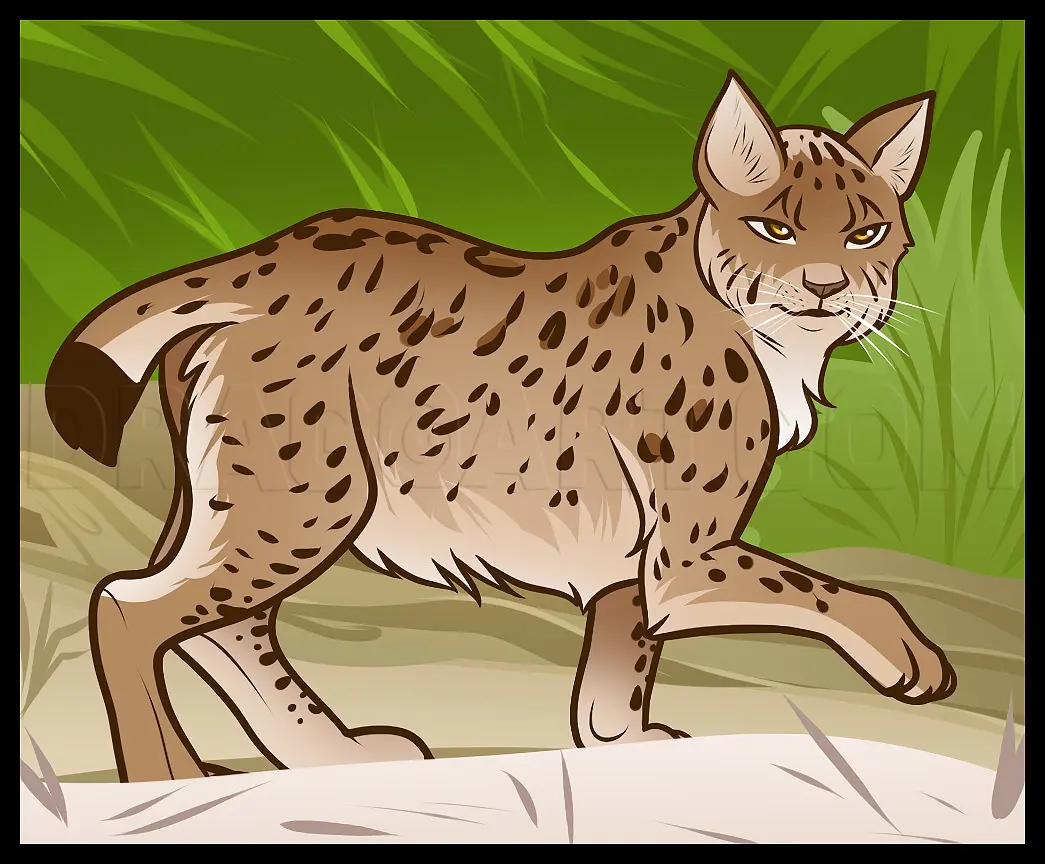
Many beginners make the head too large or the ears too pointed. A cougar’s head is surprisingly small, and its ears should be rounded rather than triangular like a lynx.
How do I capture the texture of a cougar's fur?
Use short, directional strokes that follow the muscle structure of the body. Keep the fur smooth and tight rather than shaggy, as cougars have a sleek, short coat.
Should I draw the cougar standing or in motion?
Drawing the cat in a crouched or pouncing position highlights its predatory nature. Motion allows you to emphasize the tension in the shoulder blades and the curve of the spine.
How do I draw the eyes correctly?
Cougar eyes are set forward and have round pupils. Ensure the eyes are positioned on the same plane to avoid a cross-eyed appearance, which is a frequent error in animal portraiture.
What pencil grades are best for sketching a cougar?
Start with an HB pencil for light construction lines and basic shapes. Use a 4B or 6B pencil for adding depth to the shadows and defining the darker fur markings.
How do I make the cougar look realistic?
Focus on the shadow areas under the chin and belly to create volume. Adding subtle whiskers and a wet nose texture will significantly increase the level of realism in your drawing.
This answer was created with the help of AI research tools and reference sources. Spotted an error? Let us know — we correct mistakes quickly. See our editorial policy.