How do you draw a hug?
Short answer
Drawing a hug requires capturing the overlapping forms of two figures and the tension of their embrace. Focus on the connection points where bodies meet, the compression of clothing, and the natural arc of the arms. By simplifying the anatomy into basic shapes, you can effectively convey intimacy and physical weight.
On this page
How to structure the figures for a hug
To draw a convincing hug, you must first establish the silhouettes of both characters as a single, unified mass. Begin by drawing two overlapping circles or ovals to represent the heads, ensuring they are positioned close together to suggest intimacy. Use light, gestural lines to outline the torsos, keeping in mind that the bodies will be compressed where they touch. Avoid drawing two separate, complete figures side-by-side, as this creates a gap that ruins the illusion of physical contact.
Instead, prioritize the "contact zone" where the chest, shoulders, and arms meet. Think of the two figures as a single interlocking shape rather than two distinct individuals. By establishing this foundation early, you ensure that the anatomical proportions remain consistent even when limbs are obscured. Use these steps to build your base:
- Sketch two overlapping ovals for the heads, slightly tilted toward each other.
- Draw a larger, singular shape to represent the combined torso area.
- Mark the center point of the embrace where the pressure is most concentrated.
- Use light guidelines to map out the path of the arms as they wrap around the backs.
How to draw arms wrapped around someone
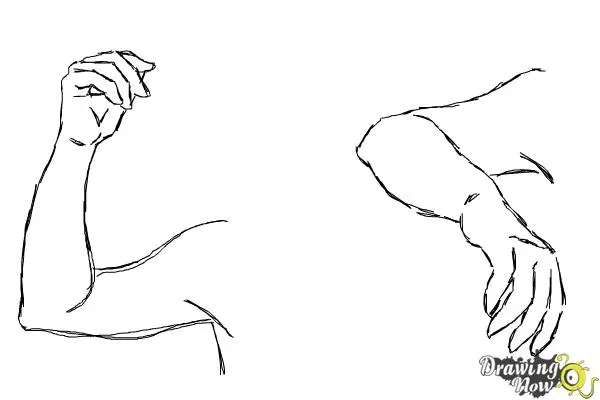
Drawing arms in an embrace is often the most challenging part of the process because of foreshortening and hidden anatomy. When one character wraps their arms around another, the upper arm usually stays close to the torso while the forearm angles upward or downward across the other person's back. Remember that the elbow is a hinge; it should not bend in unnatural directions. If the arm is reaching far across the back, the hand will likely appear on the opposite side of the torso, creating a sense of depth.
To keep the drawing accurate, pay attention to the length of the limbs. Even in a tight hug, the arm must remain proportional to the body. If the arm looks too short, the hug will appear stiff or awkward. Use these techniques to refine the arm placement:
- Keep the shoulder line soft, as it will be slightly hunched during an embrace.
- Place the hands where they would naturally rest, such as on the shoulder blades or the small of the back.
- Ensure the arm follows the contour of the other person’s body rather than floating in space.
- Use overlapping lines to show which arm is in the foreground and which is behind the back.
Best techniques for showing physical weight
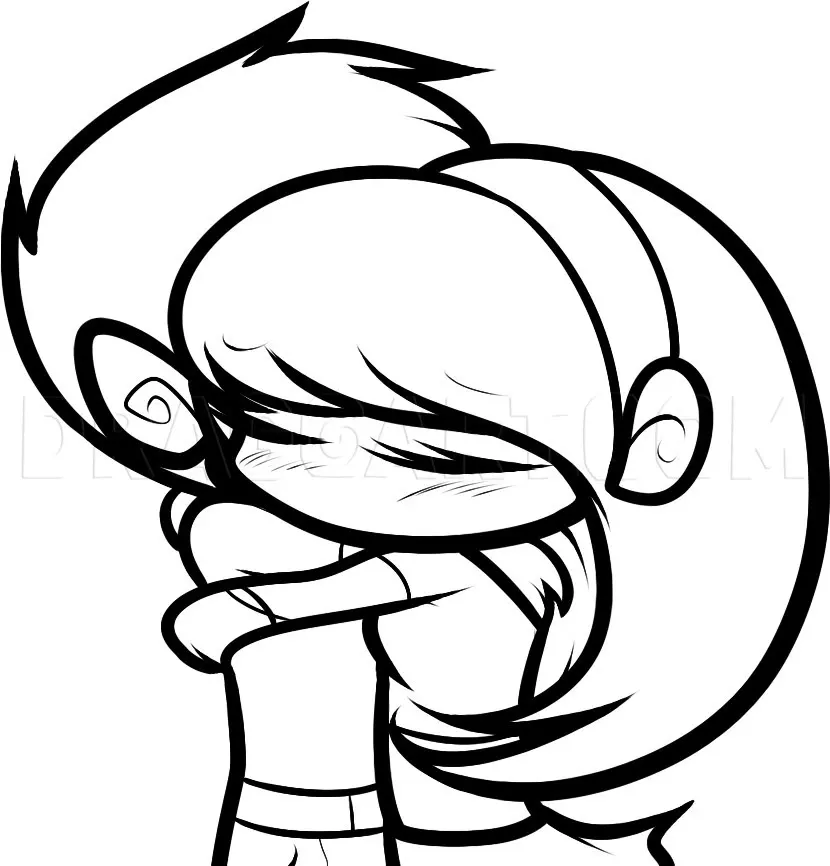
A realistic hug conveys the sensation of weight and gravity. When two people embrace, their clothing will naturally bunch up and fold at the points of contact, particularly around the shoulders, waist, and under the arms. Adding these small details provides visual cues that the figures are pressing against one another. Without these folds, the characters may look like they are merely standing near each other rather than engaging in a genuine, physical hold.
Focus on the distribution of weight by observing how the shoulders tilt. If one person is leaning into the other, their shoulder might be slightly higher or pushed forward. This subtle shift in posture makes the interaction feel dynamic and grounded. Do not draw the bodies as rigid blocks; instead, allow the forms to curve and compress slightly. This compression is the key to making the drawing feel like an authentic human connection rather than a static pose.
Common mistakes when drawing a hug
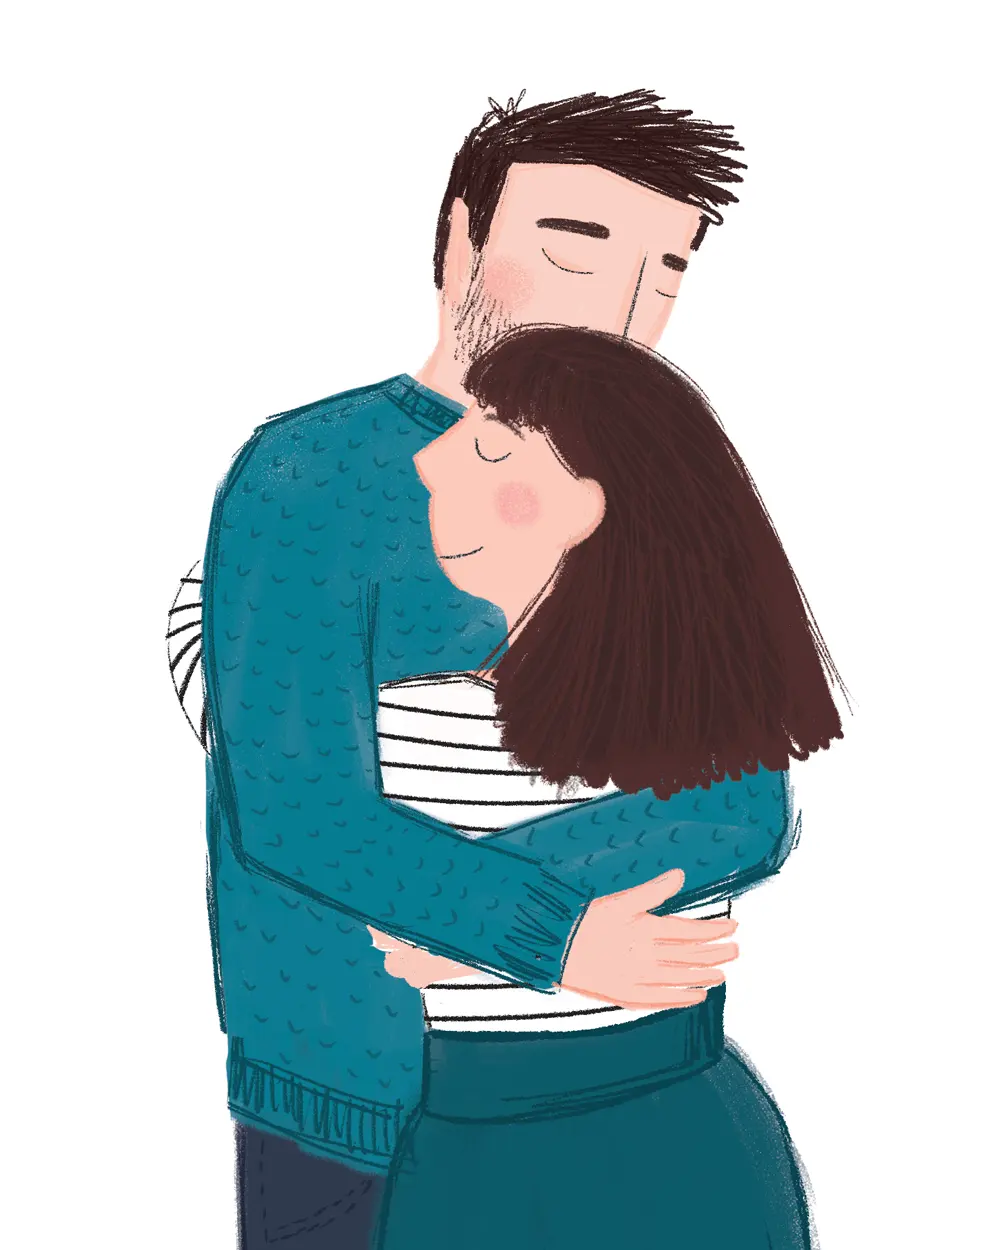
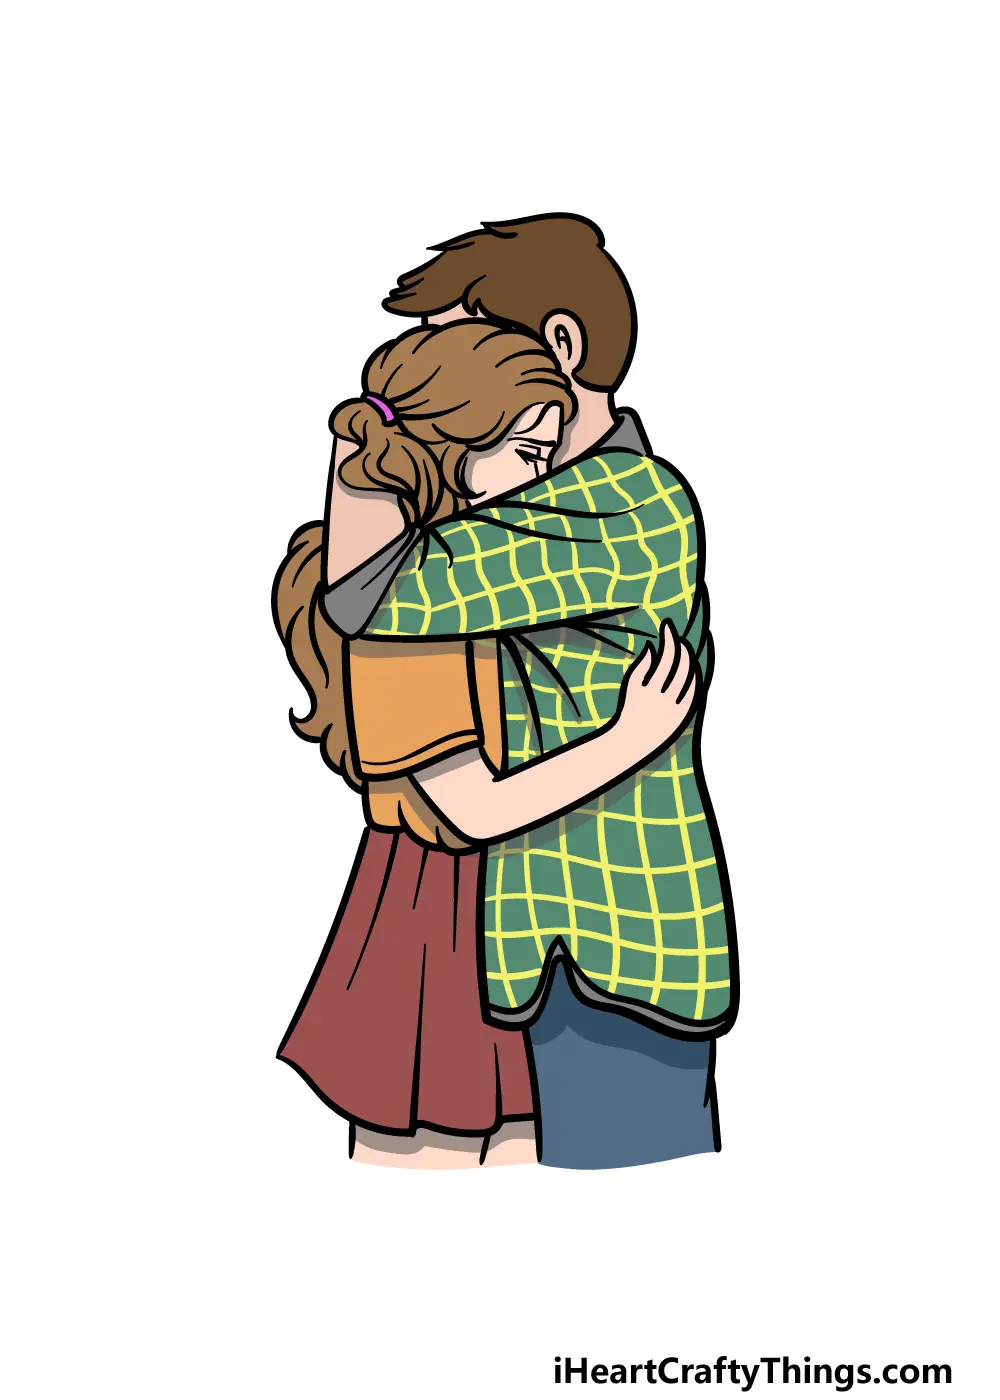
One of the most frequent errors is creating a "floating" effect, where the characters look like they are standing inches apart rather than touching. This usually happens when the artist fails to overlap the forms or ignores how the clothing should compress between the two figures. Another common mistake is neglecting the neck and head position. In a real hug, heads often rest against shoulders or lean into the other person’s neck, which creates a natural, cozy silhouette that should be reflected in your sketch.
Additionally, many beginners struggle with the "limp arm" syndrome, where the arms look like they are hanging loosely rather than actively holding the other person. To fix this, ensure the hands are actively gripping or resting firmly against the fabric of the other person's clothes. If the hands are just hovering, the emotional weight of the hug is lost. Always verify that the arms are long enough to reach the intended destination, as shrinking them to fit the frame often leads to distorted, unrealistic proportions.
How to add emotion through body language
The emotional tone of a hug is communicated through the posture and the tilt of the heads. A tight, protective hug often features heads tucked closely together, with arms wrapped firmly around the shoulders or back. Conversely, a casual or friendly hug might involve more space between the bodies, with arms resting more lightly. By adjusting the angle of the spines and the closeness of the heads, you can shift the narrative of the drawing from comfort and grief to joy or excitement.
Use facial expressions and the position of the feet to reinforce the mood. If the characters are standing on their tiptoes, it suggests a high-energy or very intimate moment. If their feet are firmly planted, the hug feels more stable and supportive. Experiment with these elements to ensure your drawing tells a complete story. By combining accurate anatomy with expressive body language, you can create a powerful image that resonates with the viewer and captures the essence of a human embrace.
Key facts
- Focus on the "overlap" where the arms wrap around the other person's torso to create a sense of depth.
- Draw the heads close together, often touching or tilted, to signify intimacy and connection.
- Use rounded, organic shapes for shoulders and backs to avoid stiff, robotic poses.
- Ensure the hands are visible or implied at the back of the partner to ground the action.
- Keep the center of gravity between the two figures to make the embrace look balanced and stable.
- Sketch the clothing folds near the armpits and waist to emphasize the pressure of the hug.
The bottom line
Drawing a convincing hug requires careful attention to physical contact and anatomical overlap. By focusing on the connection points—such as the shoulders, heads, and arms—you create a believable sense of closeness. Remember to use soft, curved lines to suggest weight and intimacy. With practice, these techniques will help you capture the emotional warmth of an embrace, turning simple sketches into meaningful, expressive pieces of art.
People also ask
How do you show emotion in a drawing of a hug?
Focus on facial expressions and body language, such as closed eyes or relaxed shoulders. These details convey comfort and affection more effectively than the physical positioning alone.
Should the characters be the same height when drawing a hug?
Characters do not need to be the same height, but you must adjust the positioning accordingly. A taller person might lean down, while a shorter person might reach up, creating a natural interaction.
What is the most common mistake when drawing arms in a hug?
The most frequent error is making the arms appear too short or disconnected from the shoulders. Always trace the line from the shoulder joint to the elbow to ensure the anatomy remains proportionate.
How do I make the hug look realistic rather than stiff?
Avoid drawing perfectly straight lines; instead, use soft curves to represent the spine and limbs. Adding slight compression to the clothing where the bodies touch adds a sense of weight.
Is it better to draw a side view or a front view of a hug?
A side view is often easier for beginners because it clearly shows the silhouette of the embrace. Front views are more challenging due to the complex overlapping of limbs and torsos.
How do I handle the clothing folds during an embrace?
Draw tension lines radiating from the points where the arms press against the other person's back. These small details indicate physical contact and prevent the characters from looking like they are floating apart.
This answer was created with the help of AI research tools and reference sources. Spotted an error? Let us know — we correct mistakes quickly. See our editorial policy.